• Steel Soldiers now has a few new forums, read more about it at: New Munitions Forums!

  • Microsoft MSN, Live, Hotmail, Outlook email users may not be receiving emails. We are working to resolve this issue. Please add support@steelsoldiers.com to your trusted contacts.


My Cab upgrades

jp-234

New member
23
0
0
Location
Canby/Oregon
I decided it was about time I contributed to the site, I have enjoyed all the photo's others have posted on their mods and helpful information. I'll have several post to this thread showing my changes to the interior of my M35A2 cab, everyone loves pictures and I have a bunch.

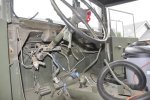
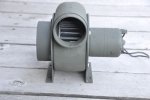
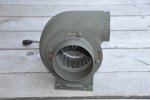
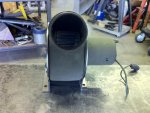
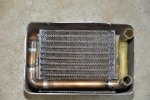
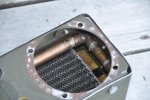
I started out adding a muffler to help knock down the noise when that wasn't enough, I decided to prep the cab for some sound deadening and carpet. I kind of went overboard seems like one thing led to another and before you know it I had removed everything in the cab that wasn't welded on. The interior was sanded down in preparation for new paint, dash and instrument panel removed and sand blasted, All gauges and switches replaced with new, removed air wiper motors and installed 24 volt electric wiper motors, Installed all new placards on dash, Installed modified M151 heater, Installed under dash switch panel, Installed new elite 80 air ride seats, installed 30 amp 24v to 12volt converter, installed hurst shift boot, Installed new speedo cable and tach cable, Installed new engine shut down cable and throttle cable,

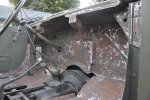
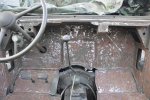
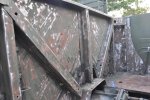
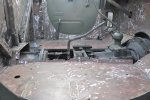
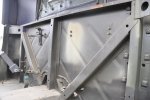
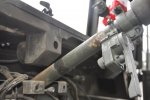
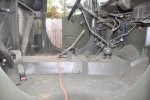
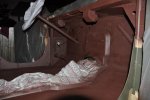
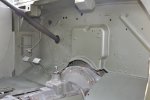
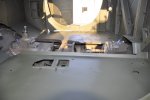
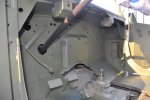
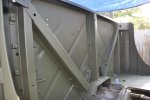
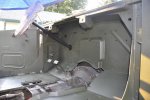
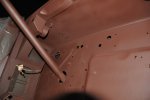
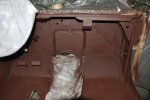
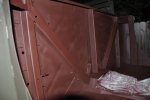
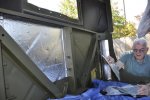
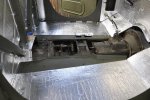
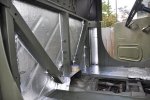
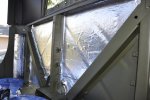
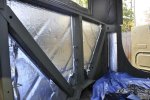
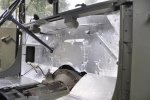
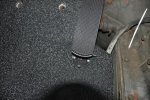
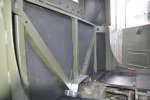
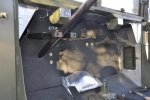
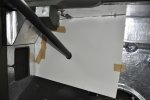
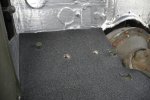
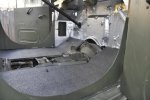
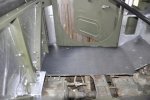
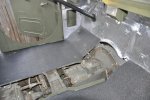
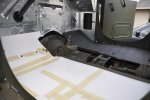
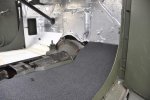
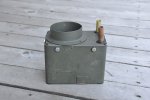
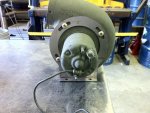
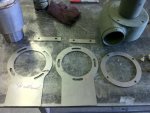
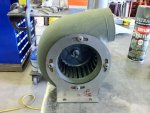
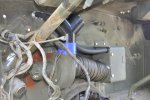
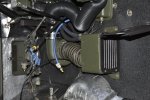
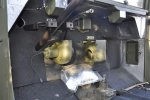
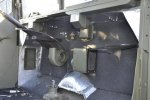
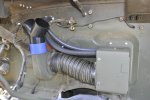
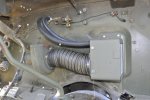
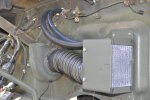
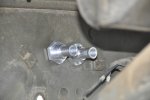
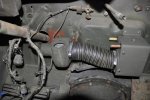
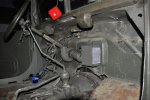
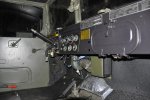
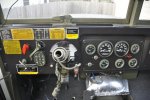
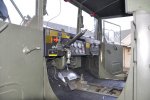
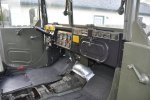
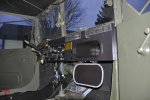
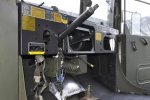
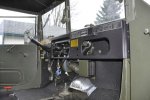
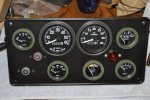
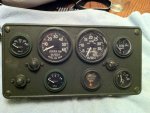
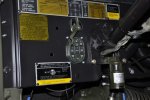
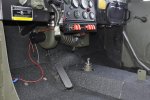
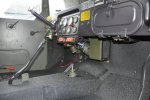
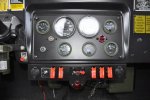
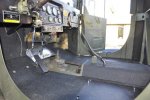
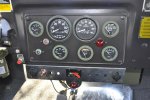
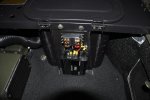
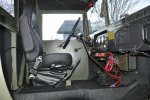
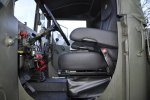
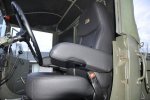
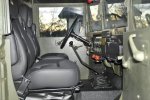
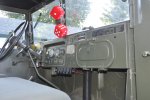
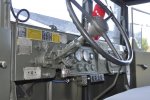
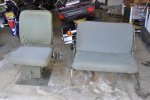
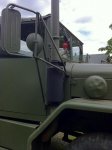
Here are a couple pictures to show what I started with before the tear down started.
 

Attachments

jp-234

New member
23
0
0
Location
Canby/Oregon
Here are some pics of sanding down the interior, most of it was in good condition except behind the dash it was a little crusty. There was at least three layers of paint to remove.
 

Attachments

jp-234

New member
23
0
0
Location
Canby/Oregon
The main purpose of removing the paint and re-paintng was to give a nice clean surface for my sound deadening material ( Zilla Mat) to stick to the surface. I can tell you that stuff sticks really good once you use the roller to apply it.
 

Attachments

jp-234

New member
23
0
0
Location
Canby/Oregon
Now for the sound deadening material, I ordered 1 roll but ran a little short and had to order a second roll to finish the project. I haven't used any other material like this before but I was impressed with it's thickness and ability to stick to the surface.

I had a helper, my dad would show up every weekend to help me, he was a huge help. (Thanks Dad)
 

Attachments

jp-234

New member
23
0
0
Location
Canby/Oregon
I had a hard time trying to figure out what material I wanted to use as carpet over the sound deadening, I searched the internet and even had some carpet samples sent to me. The end result was Dynadeck but it is very expensive. The quality of Dynadeck is very good and I recommend it to those that don't mind spending the money. I used one large roll 72" x 54" for the firewall and back wall and 3 rolls 36"x 54" for the floor and T/C cover, transmission cover, bell housing cover.
 

Attachments

jp-234

New member
23
0
0
Location
Canby/Oregon
My truck didn't have a heater when I purchased it so that was one of the things I wanted to add. I searched the forum and decided to order the M151 heater as many others have done.
I thought if I separated the heater core from the blower that I might be able to fit it up under the dash better and hide it, that didn't really work out the way I planned it but I'am happy with the way it turned out. Once I separated the blower from the heater core I cut the box down by about 2 inches then I rerouted the inlet and outlet so they came out of the end plate together. I added a 4 inch hose between the blower and heater core but this required me to have some adapters made for the hose connection. I then had some mount brackets laser cut for the blower mount. I also had a plate laser cut to protect the heater core fins.

I have lots of pics of this for those that are interested so it will be continued in my next reply.
 

Attachments

jp-234

New member
23
0
0
Location
Canby/Oregon
Here is a sneak preview of the modified M151 heater mock up and final installation.
 

Attachments

Last edited:

jp-234

New member
23
0
0
Location
Canby/Oregon
Here are some pics of the instrument panel and dash, the push button light switch i have in the picture was fried so I have gone back to the 3 lever switch.
 

Attachments

jp-234

New member
23
0
0
Location
Canby/Oregon
I added a under dash switch panel, it has 2 12 volt out lets and 6 switches I also incorporated the front axel air valve and light into the panel. I mounted the converter under the glove box along with a fuse block, and added the electric windshield wiper motors.
 

Attachments

TMNT

New member
789
6
0
Location
Canton, Ga
Awesome, awesome, awesome. I want to do something similar to my deuce so much. I have to win the lottery and retire first though!
 
Top
AdBlock Detected

We get it, advertisements are annoying!

Sure, ad-blocking software does a great job at blocking ads, but it also blocks useful features of our website like our supporting vendors. Their ads help keep Steel Soldiers going. Please consider disabling your ad blockers for the site. Thanks!

I've Disabled AdBlock
No Thanks