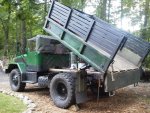
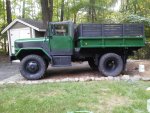
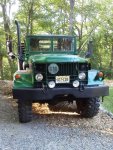
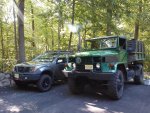
aheilmann68
Member
- 228
- 1
- 18
- Location
- North NJ
Kinda late considering I got the truck in the last week of June but wanted to share my build and say thanks to everyone who contributes to the forum as i do a fair bit of lurking and think the knowledge base here is incredible.
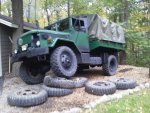
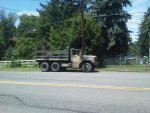
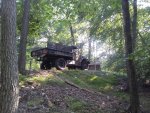
got this '66A2D from a former member selling his truck on CL, great guy and was upfront about the truck and awesome to deal with. Had the tuck low boyed the 140 mile trip home after contemplating driving it and although it was fully capable, being able to follow the truck home is pretty neat.
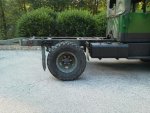
I purchased the truck with the intent to bob and had everything planned in my head, i was able to complete the bob in a four day window. Just my luck it was one of the hottest weeks on record for NJ and was working in 95+ heat in the shade.
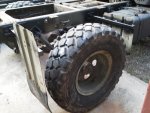
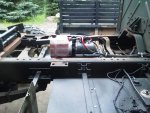
I picked the truck up on a wendnesday got it home and started to remove the mud flaps and other parts off the bed to prep it to take the bed off. took off 5 tires to bring to Kublos to exchange for some 365/85r20's and loaded them into my 101A1
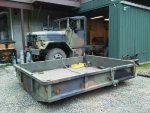
Thursday i spent the better half of a day at DMV getting everything straightend out before i did any work to make sure that i had a tile and regestration for a 1966 Jeep M35A2 pickup 4x4 with a GVW of 17000lbs. After dealing with all that i started sliding the bed back to get it shortened up. I shorted the bed 32" by cutting the tailgate 6" towards the center of the bed and rewelded the tailgate section to the bed and reinforced it in the frame.
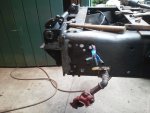
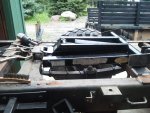
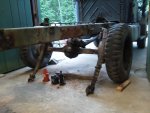
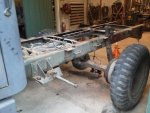
Friday started at 530 driving out to kublos (great guys to work with and will continue to get parts from) to get the tires, bob kit and all the hardware that i needed which saved me as ken had all the grade 8 harware i needed to do this bob saving me another stop in having to order the hardware. Got home around 3, unloaded the trailer and finished stripping the frame for the next days long hours of removing the back axle.
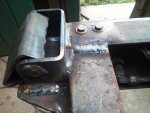
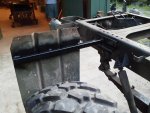
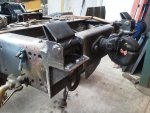
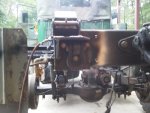
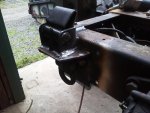
Saturday got the old bogey set out and started getting the front hangers mounted up on the truck using the existing driveshaft locating the axle exactly where it was as a 6x6. Measured like 6 times to make sure it was square, true and goood to go trianglating the centerpoints and center line of the axle and started drilling the holes for the hangers.
Sunday was finishing the drilling and bolting as well as reconnecting the axles and break components. By the end of sunday i had taken it for a victory lap up and down the road.
Monday was remounting the bumperetts and lights and finising the air line connections and putting the bed back on an bolted down. at this point i was dont with the bob job by about 3 and took it out for a good 30 mile drive and it took me and my girlfriend out to dinner.
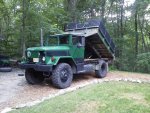
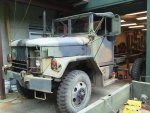
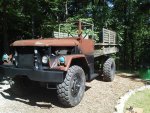
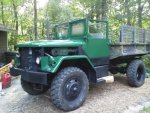
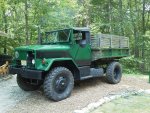
The next weekend was painting time, during the week after work my father and i would wire wheel the truck and had it all ready to shoot by friday after work. I had a gallon of rustoleum rusty metal primer left over and shot it real quick friday night and it was ready for its two tone of forest green (too bright for what i wanted) and flat black, which was shot on saturday. I did only the cab since we were planning to put a dump hoist on the truck and the bed would have to be taken off anyway.


