A definite need to buy something green
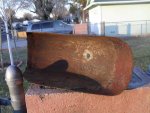
I could not resist posting the pictures below. My brother went wild with the M35A2 and M43B1 that I had restored. He went with me to Tower Park in the fall and almost went away with a M38 jeep, and then almost went away with a m38A1 jeep and trailer. But, he just did not quite bite the bullet.
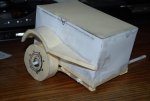
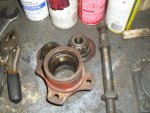
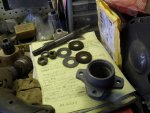
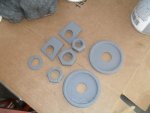
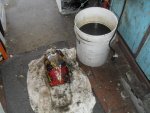
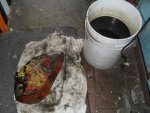
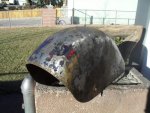
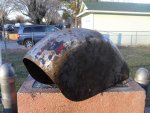
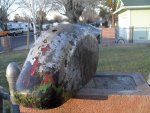
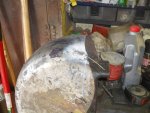
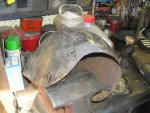
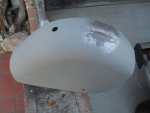
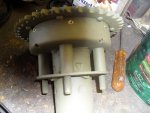
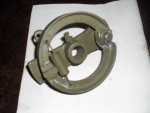
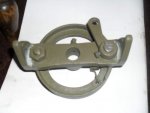
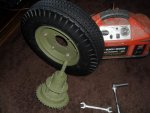
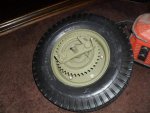
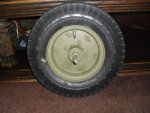
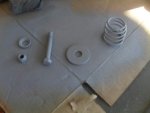
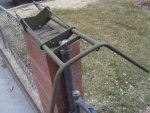
As we all know...the O.D. Green disease can be really wild in some folk. So, when I said I was going after a little 3-wheeled steel soldier it sent him over the edge. He wanted to help me on all aspects of the restore of the little steel soldier and, did in fact, help with dismantaling and parts acquisition.
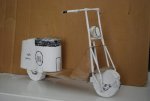
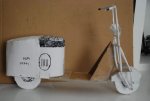
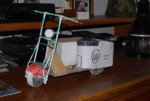
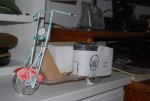
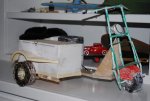
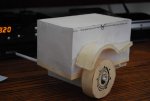
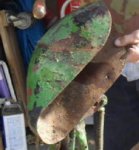
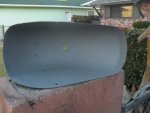
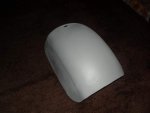
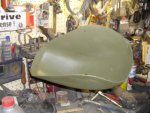
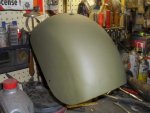
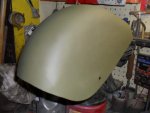
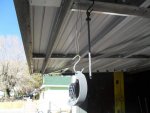
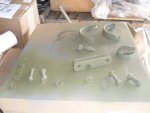
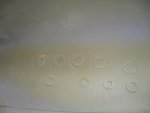
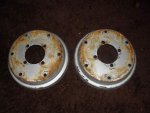
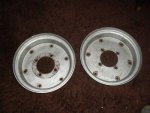
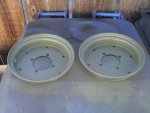
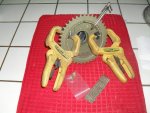
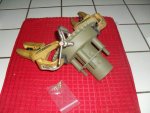
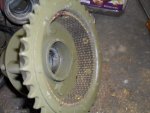
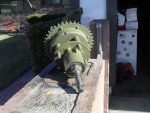
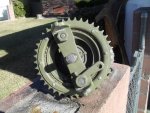
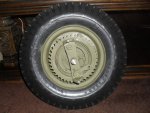
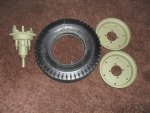
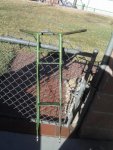
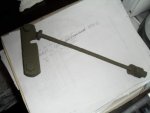
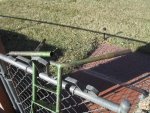
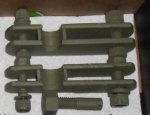
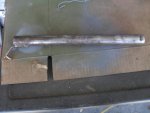
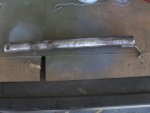
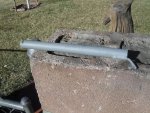
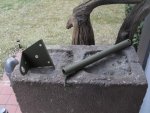
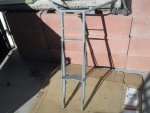
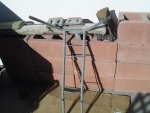
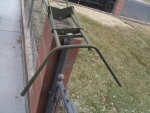
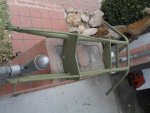
But he lives over 250 miles away and simply can not be here for the majority of the restore. So the green disease finally got into his cerebral cortex and produced what you see in the pictures below.
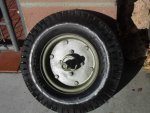
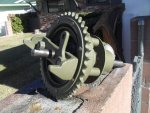
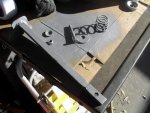
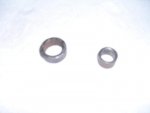
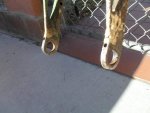
He sent them to me with explicit instructions as to the sidecar attachment.
The doctors say there is no cure......