Another Ahab
Well-known member
- 17,824
- 4,153
- 113
- Location
- Alexandria, VA

I get it:
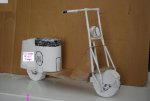
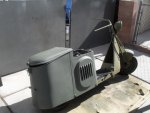
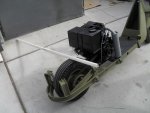
- Variant for governments on a limited military budget.
- It's a push scooter.
Steel Soldiers now has a few new forums, read more about it at: New Munitions Forums!


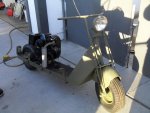
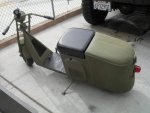
I did not think anyone would notice the "Push Version Variant". Nice job Ahab. This would be the Model "32 1/2" Push series recommended for use on flat or downhill grades.View attachment 476773
I get it:
- Variant for governments on a limited military budget.
- It's a push scooter.
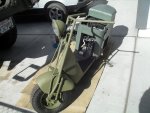
Yes, that would be for the Model "32 1/2" Push series in Gasoline mode, of course.I did not think anyone would notice the "Push Version Variant". Nice job Ahab. This would be the Model "32 1/2" Push series recommended for use on flat or downhill grades.
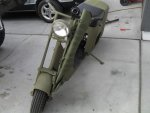
You are required to make a "vroom vroom" sound to alert others around you while operating this vehicle.

You guys both missed it, it's the Russian built copy of the Razor scooter!View attachment 476783
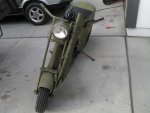
We need to check with USSR about this. He'll know.I am sorry to have to correct you, MWMULES...but the Russian built copy of the Razor scooter was taken from the Model "32 3/4" version
that was used by the W.A.C.s from 1942 thru 1945 that had all pink markings.
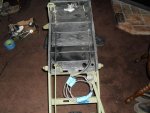
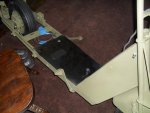
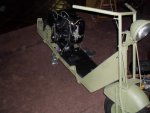

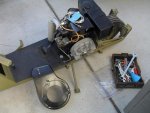
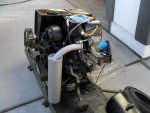


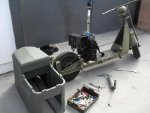
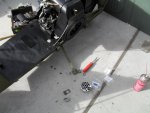
I really do enjoy a thread like this, thank you for taking so many photos and detailing the work. I'll probably never restore one of these, but I sure am vicariously enjoying yours!
Cheers
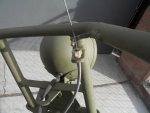
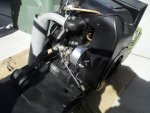
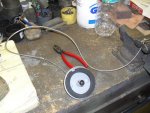
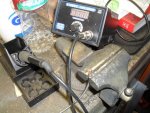

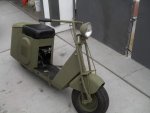


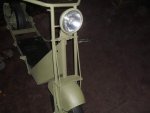
Very NICE !!!! bet it felt great on that FIRST RIDE !!! That will be be great at the MV shows , beats walking by a mile , plus it looks cool !
We get it, advertisements are annoying!
Sure, ad-blocking software does a great job at blocking ads, but it also blocks useful features of our website like our supporting vendors. Their ads help keep Steel Soldiers going. Please consider disabling your ad blockers for the site. Thanks!