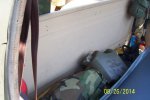
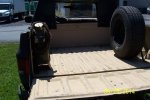
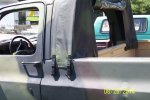
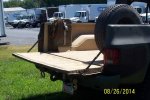
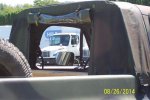
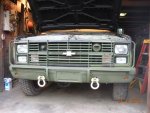
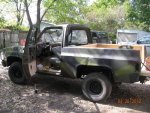
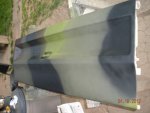
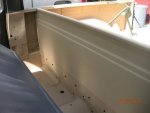
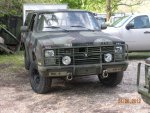
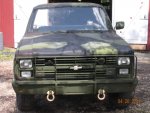
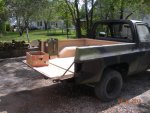
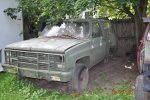
As always I did a complete cleaning of each vehicle and inventory of all parts and condition and estimate the cost of replacement parts. I wanted a real change to make the Mule. I wanted to do it with what ever I had in my stock pile of parts. I also decided early on that I would not repair any of the body dents and would just make everything 100% funtional. No add on accesseries or anything just bare bones all go no show. I even opted to repair the inner front fender aprons verses replacing them. Hey watch the pennies and the dollars take care of themselves. I started by attaching a starter and 2 new batteries. Changed the oil and filter and filled the radiator with antifreeze. Turn the switch it cranked but no start. Well 1 of the 4 had no hood and it had rained down the intake. Engine scrap in that one. Logbook was in that glovebox and showed that the injection pump was replaced in 24 July 2005. Less then a year ago and had less then 100 miles on it. I removed it put it on my project Mule. Purged the air and fired it up. The dust and mouse nests fell from the exhaust. Next I stretched a belt over the water pump and lower pulley and left it idle while I worked on other things. I like to wake these engine calmly not rev and beat the crap out of them. The mule had been sitting since 1996 and not been run. It only had 12 miles on it since the oil was changed 10 years previous. I shut it off and drained all the fluids went to work rewiring both of the alternators and doing other odds and ends repairs to the wiring and under the hood. I pressure washed everything with steam and simple green to get rid of the mouse smell and stripped the inside completely out. I mean completely. Heater box, instument cluster, all the firewall insulation all the seats, doors , rear gate , hood , brush guard , bumpers , roof , front inner fenders and batterie boxes and all the axles and driveline parts. The driveshafts were both junk. I then went to work at everything 1 piece at a time. I completly went over the engine and what was rusty I painte or undercoated with 3M undercoating. This was scrap undercoating that I kept from the undercoating totes that we use at work. The bottom of the barrel. Freebie stuff. I undercoated the underside of the hood and inner fenders and fender aprons and fixed the common inner fender holes with 1/4" black plastic mudflap material cut and screwed in to place. Never hurt a thing looks good and does the job it was intended to do. Freebie stuff. Anywhere that I found a rust hole of perforation I cut out and used sheet metal from a donor CUCV at the same spot on the body and made a patch. I used the 3/16" HD steel rivets and riveted it over the cut out and prepped hole. Freebie parts from junk fenders and hoods. I used a left replacement rocker panel and glue it over the old rocker panel after I cut all the rust out and prepped the surface with rust inhibitor. $20. for both at a swap meet. I bought about 10 sets 20 years ago. I sanded all the doors on the inside at the bottom and primed and re seam sealed them. $50. zinc primer and seam sealer. I got back to the rear gate. Well as you know the rear gate of an M1009 get real expensive fast. Tracks, seals , regulator , crank , and all other parts $500. gos real fast. The light bulb shone brightly at this time. Into the barn I went and out with a M1008 tailgate and hardware. the perfect fit and funtion. They should have all had this set up and a top gate with the glass in it. Better yet spit barn doors like an astro van 2 uppers and 2 lowers. I went to the suburban and checked out the rear barn doors no good. Back to the truck tailgate. Perfect. From the parts pile $0. complete gate. More later. I need to work now.


 78.3 KB Views: 163
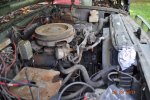 66 KB Views: 157
 52.6 KB Views: 162
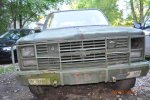 82.7 KB Views: 155
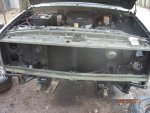 67.7 KB Views: 157
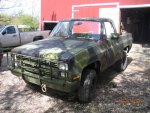 80.7 KB Views: 162
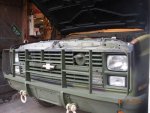 56.9 KB Views: 161
 37.9 KB Views: 203
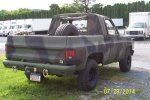 64.3 KB Views: 243
 63.2 KB Views: 181