- 797
- 6
- 18
- Location
- Winter Springs, FL
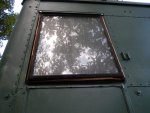
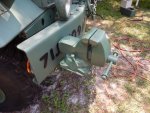
Just a side note, be sure your van body windows are CLOSED before driving close to trees.
Attachments
-
 49.9 KB Views: 142
 -
 87.5 KB Views: 138
Steel Soldiers now has a few new forums, read more about it at: New Munitions Forums!


I was wanting to do the same thing. Can you tell me where did you source the plastic to create the window pieces?Yikes!
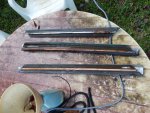
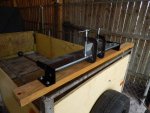
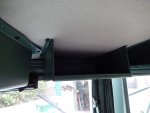
I also replaced the wood cores with plastic pieces that I cut down on a table saw.
I know I bought the plastic from Mcmaster.com but I cant remember what size it was. I think I tried to find something about the same size as the wood and then I used the table saw to cut the dado grooves in it that the metal window halves pinch onto. I also ran stainless 8-32 screws & locknuts though the parts so the windows wouldn't be able to separate in the future.... so I probably didn't need to do the dado cuts and crimp the metal windows again but I did anyway.I was wanting to do the same thing. Can you tell me where did you source the plastic to create the window pieces?

Thanks Mark. I like to be able to see and be seen. Old age and all. Can't do the shut down while driving, but I think it could be handled with the trans., clutch and brakes then.I really like all of the floods you installed under the truck! I also like the extra signal lamps! I'm glad you tested your emergency air cut off. You know what to do if that engine ever runs away on you!
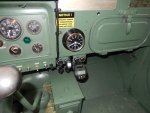


Thanks red, took me a weekend for the overhead. Will post some finished dash pics soon.That's a lot of interior mods, nice work
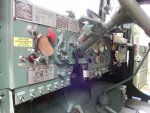
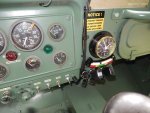
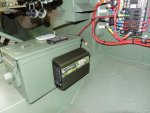
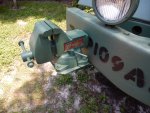
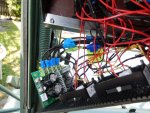
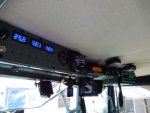
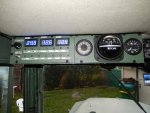
Ha ha, thanks rustystud. Not so sure about the cockpit, but I like to know what is going on. Vice is handy, had it laying around. Inverter is a low cost addition, never know when you might want ac power in the cab.WOW Scott ! Your dash is looking more like a airplane cockpit ! I also love you vise on the bumper ! I think I will also get an inverter after seeing yours !
X2 on the ammo can setup, probably going to be "tactically acquiring" that idea from you hahaTotally like the idea of the ammo box. I love lights and toggle switches too!
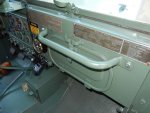
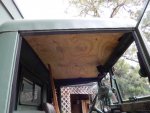
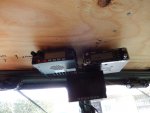
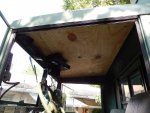
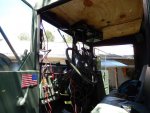
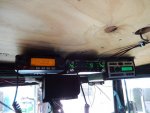
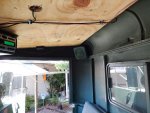
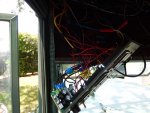
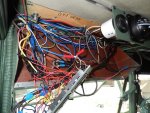
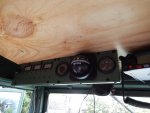
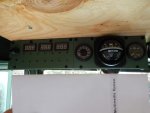
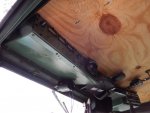
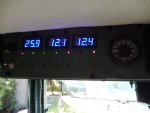
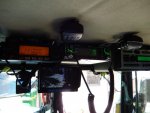
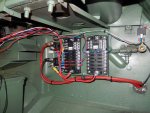
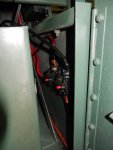
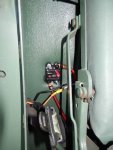
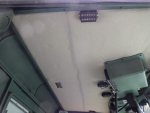
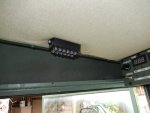
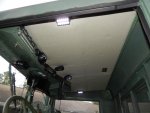
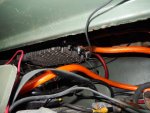
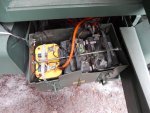
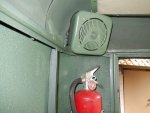
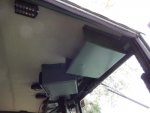
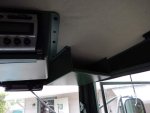
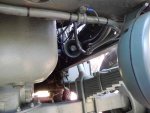
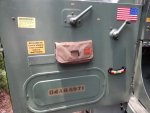
Take a look at the side battery posts, in the picture they look very, very close. I'd look for a sheet of melamine or thick plastic to wedge in-between those suckers. Not trying to be negative or take away from your build, it is outstanding. That just looks like a disaster waiting to happen.Forgot the indicator label pic and a pic of the converter, located over the battery compartment. Also included a battery compartment pic with 3 batteries and a threaded rod holddown. Some pics of a couple of LED dome lamps I installed. Mounted them so they illuminate the door steps as well as the interior. Couple of pics of the stereo speaker mounting. I wanted some extra storage so made a sheet metal cubby bin for overhead and to the right of the radio's. Has a lip to keep stuff in. CD case etc. fits there well. Placed a PA speaker on the left frame rail near the IP.
We get it, advertisements are annoying!
Sure, ad-blocking software does a great job at blocking ads, but it also blocks useful features of our website like our supporting vendors. Their ads help keep Steel Soldiers going. Please consider disabling your ad blockers for the site. Thanks!