- 1,425
- 36
- 48
- Location
- Winter Haven, florida
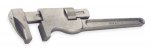
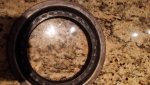
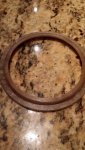
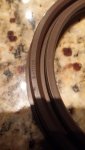
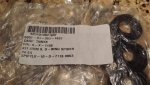
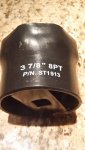
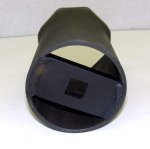
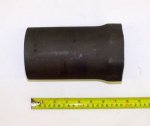
On the spindle nut socket. OTC PN# 1913-GOV This was made for the motor pool.
Attachments
-
 34.6 KB Views: 75
 -
 34.7 KB Views: 88
 -
 15.5 KB Views: 90