1951M1078
Well-known member
- 1,018
- 184
- 63
- Location
- Glendale,AZ
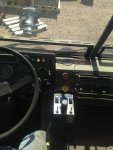
You have the seat lower by about 2" Is it better ?
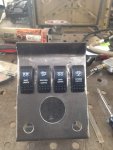
Like the idea of a lock box !
How does it sit ? How many miles do you have in the seat ?
Thanks
Like the idea of a lock box !
How does it sit ? How many miles do you have in the seat ?
Thanks