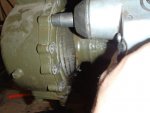
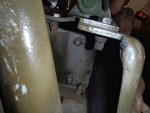
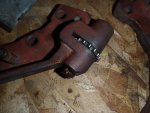
I picked up a second winch and a PTO today. With what we already have, the control levers and cable that you have found almost complete the set.
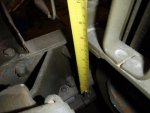
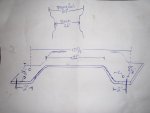
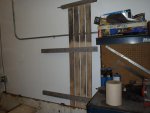
The least spendy thing to purchase, but shipping costly, would be the actual winch mounting brackets in the bumper.
If you could snap a couple of pics of that, I need overall length, and the offset from the frame rails. Just stretch out a tape line, and email me the high res pics, and I can make my welder guy earn his keep.
Thanks, and the other pics will be very helpfull for the coming installation.
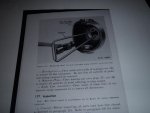
Keep your eyes open for the Winch Operation Data Plate. That donor truck should have one.
Next time, I'm buying the beers! Lt. L
There is no way that I'll have this installed for the Legion Toy Drive,
but that is happening over the next 2 weeks,
and I think that I'll have enough toys to fill the M135, a WC52, and an M37.
I might even have to drag out the M105 , so that we can do all of this in 2 trips!
Then again, if my crew want to donate even more toys ...
I'll drive all day to help out Santa!
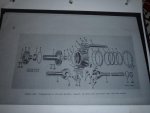
BTW, I think that I finally found part numbers for filters and gaskets.
Once I review the catalouge closer, I'll scan and post it!


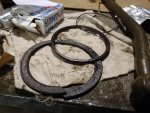

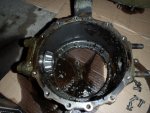
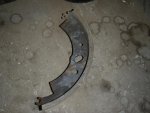
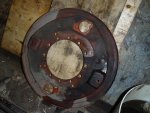
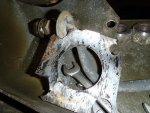
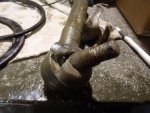
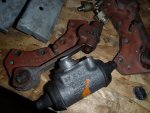
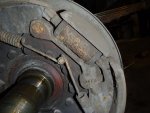
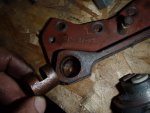
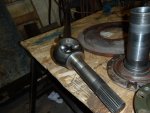
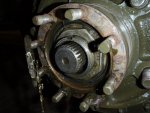
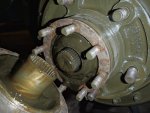
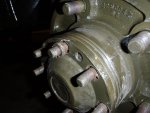
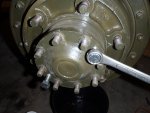
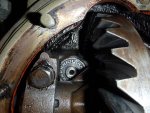
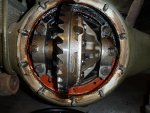
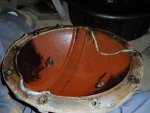
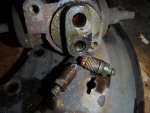
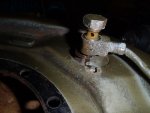
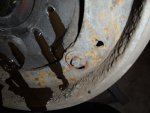
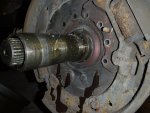
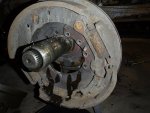
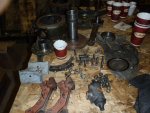
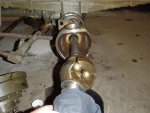
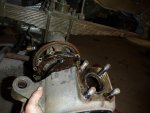
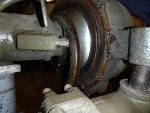
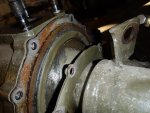
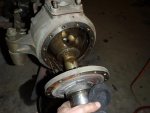
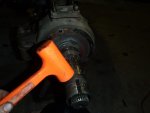
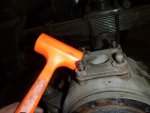
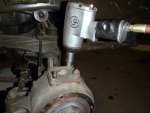
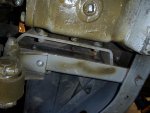
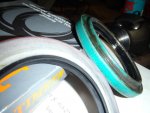
 Once again a pic of the splitter and the 2 different size washers that must be replaced prior to re-assembly. The last pic shows the dirt in the bleed screws that will require some clean-up.
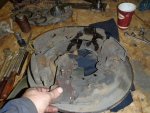