M109 Live-in Rig - Spacial Transformations style
I've been promising to some of you that I would do a build thread when we (finely) got started . . . that time has come.
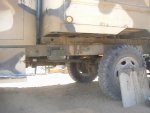
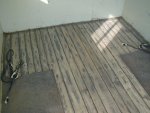
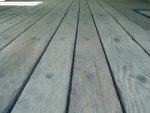
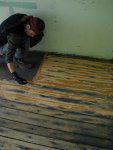
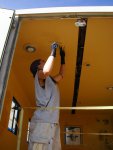
We spent the last year getting to know the rig, sealing leaks, singling out the rears & changing the tranny, re-deucing the sound levels, sanding, filling the floors and painting.
Now it's time to start the build.
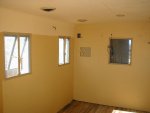
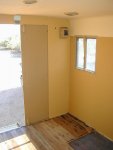
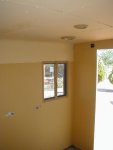
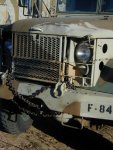
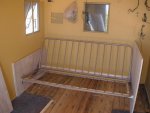
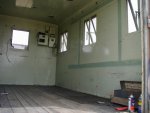
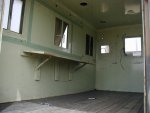
I'll start w/ some photos of the inside as we got it,
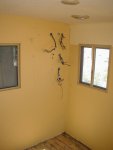
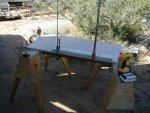
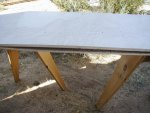
then the work that we did to get it to this starting point. I say "starting point" because up until now I've only gotten to do the wrenching and tear-outs. All the floor work and painting was Elise's, . . . it is her rig.
Now I get to do some "Spacial Transformations".
The link at the bottom will take you to the detailed photo site. Lots of photos, small on words, perfect for those that don't want to read and would prefer to "just look at pictures".")
Some of the things getting changed on this mech monster are;
HEMTT wheels w/ 14.5's
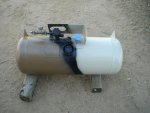
12v add-on alt & solar panels (to power the 12v stuff in the camper box)
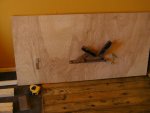
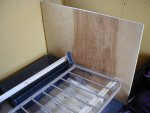
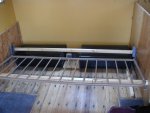
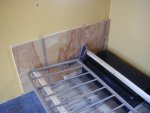
Camper build w/ futon couch/fold-out bed, LP stove, sink, desk/work space, etc. (no inside toilet for us, we don't like to crap where we live). So it's low tech/ outside for us.
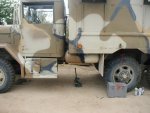
Back-up & tag lights (other small stuff like, lift handle on the hood, step on the front bumper, things that make it easier for the lady to get up and check the fluids)
Now it's started
I've been promising to some of you that I would do a build thread when we (finely) got started . . . that time has come.
We spent the last year getting to know the rig, sealing leaks, singling out the rears & changing the tranny, re-deucing the sound levels, sanding, filling the floors and painting.
Now it's time to start the build.
I'll start w/ some photos of the inside as we got it,
then the work that we did to get it to this starting point. I say "starting point" because up until now I've only gotten to do the wrenching and tear-outs. All the floor work and painting was Elise's, . . . it is her rig.
Now I get to do some "Spacial Transformations".
The link at the bottom will take you to the detailed photo site. Lots of photos, small on words, perfect for those that don't want to read and would prefer to "just look at pictures".
Some of the things getting changed on this mech monster are;
HEMTT wheels w/ 14.5's
12v add-on alt & solar panels (to power the 12v stuff in the camper box)
Camper build w/ futon couch/fold-out bed, LP stove, sink, desk/work space, etc. (no inside toilet for us, we don't like to crap where we live). So it's low tech/ outside for us.
Back-up & tag lights (other small stuff like, lift handle on the hood, step on the front bumper, things that make it easier for the lady to get up and check the fluids)
Now it's started
Attachments
-
 52.1 KB Views: 500
 -
 66.3 KB Views: 488
 -
 64.1 KB Views: 491
 -
 64.5 KB Views: 568
 -
 52 KB Views: 589
 -
 46.6 KB Views: 545
Last edited: