• Steel Soldiers now has a few new forums, read more about it at: New Munitions Forums!

  • Microsoft MSN, Live, Hotmail, Outlook email users may not be receiving emails. We are working to resolve this issue. Please add support@steelsoldiers.com to your trusted contacts.


Pics of the Studebaker US6

nattieleather

Well-known member
1,884
134
63
Location
Cleveland, OH
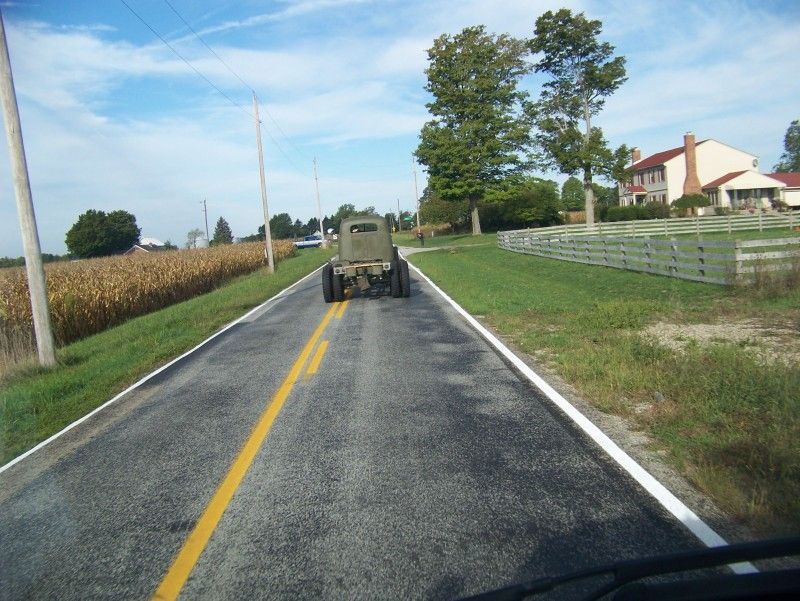
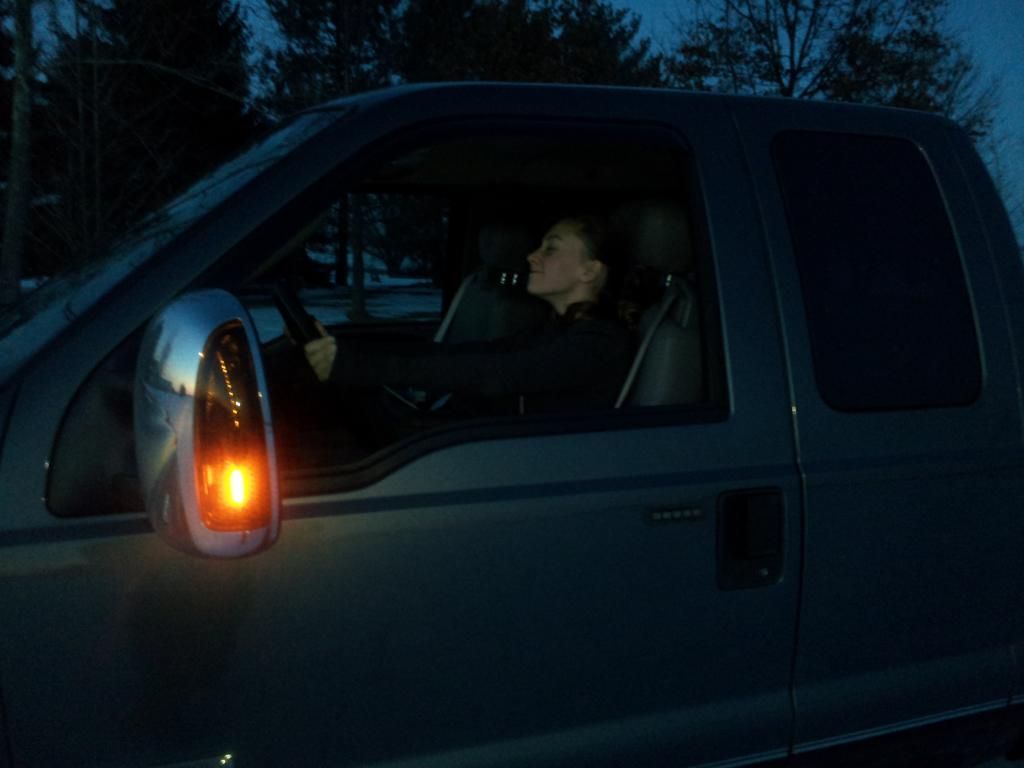
Even though the focus of the video made me a little dizzy I could see that big old grin on your face! You've got to be proud of yourself and what you've accomplished so far.
 

lowrdrbird

New member
57
0
0
Location
Ohio Dayton
Well here are the photos that have been asked for we now have all new rubber on the ground and all the way around


And for the guys that couldnt get enough of our new seat cushions here is a better shot


Here is another video of my buddy driving it around and having some fun
100 7790 - YouTube

Started with getting the seals put onto the doors


Then it went onto installing the doors.

Now before you get all mad at me I left the dent in the passenger because it was there when I got it. This truck is not a roll of the factory floor fresh truck. She will have the been there done that look.
I was at the Dayton MVPA show a couple of years ago and saw the Halftrack "Tinman" and how he did that looked so cool I wanted to do something like that. So this is how I am going to do it. Only thing Im not happy about is I nicked the door when moving it. But thats why she is still going back to get another coat of paint when complete.


So after having some fun with the doors I went over to my sandblaster today and caught them blasting my hood and fenders. Man these guys are great and are great to deal with I will recommend them any time. So if anyone in the Dayton area needs a good sandblaster just ask me.


Now here is the problem with the hood I installed the hinges and the hood does not want to go all the way down on the cab. take a look


here is a look at the hinges


Any ideas on how I can get this to work????

Ken
 

lowrdrbird

New member
57
0
0
Location
Ohio Dayton
Well today was fun she really got to stretch out her legs today made a trip of about 16 miles and then returned. We had no problems and she ran great both ways. This was the first time to an event still need to get more done but had many people like the truck here are some pics


Ken
 

BEANBELLY

New member
22
0
0
Location
eastern wa.
Thanks for all the pics. I pick up my studebaker us6 tommorrow. Ill send you some pics tomorrow . Rebuild wount be till deer season is over, work on it this winter. Thanks you inspired me. Beanbelly:d:d:d:d
 

BEANBELLY

New member
22
0
0
Location
eastern wa.
45 us6

Have a few pics of my studebaker in my album wasnt sure how to send them. Thought you might want to see my us6. How many are there in the states? Thanks beanbelly
 

gabby4244

New member
118
0
0
Location
New Hampshire
Ken, What kinda plans do you have for the bed ? I'm a little KID waiting delivery of a Chevy G506 without a rear bed !! That's one snaffoo, but yet a challenge I'm looking forward to . The other prob. is auto transport carriers have a max. height of 7', the truck measures 7'4". This too I will over come !!!!!!!!!!!!aua;-)
 

lowrdrbird

New member
57
0
0
Location
Ohio Dayton
One way to overcome the height issue would be to deflate the tires that will drop you down enough.

The hood hinges were on upside down and the pin on the grill guard had been bent. Once that was fixed she shuts fine and no problems.

I am working now with a tranny leak and small transfer case leak. Darn should have put new seals in it when it was apart. OH well.....

Ken
 

gabby4244

New member
118
0
0
Location
New Hampshire
I kinda thought of that, but wasn't sure if that would make up the 4" and how the truck would roll up the car carrier. Not to mention getting it off the truck !! So maybe it worth a call to the carrier !! Thanks !:grd:
 

lowrdrbird

New member
57
0
0
Location
Ohio Dayton
We right now are working on the bed. I have found a wood bed that i didnt realize until after we started taking it apart and getting new wood was for a 5-10 ton truck. So instead of it being 80x144 it is an 88x138 but it still looks like we can get it to fit on the truck. I am still in the process of finding a correct wood bed as this was the bed that would have gone on this truck since its an early 1942.

I am having a problem right now locating a rubber u channel that goes around the cab windshield opening not the one that goes around the windshield itself but the one that is attached to the cab. If anyone has any ideas where I can find some then my cab would be done.
Ken
 

lowrdrbird

New member
57
0
0
Location
Ohio Dayton
Well gang here are some more updates from my buddy who is working on the bed so I will let him tell you in his words

"Well, it has been a very productive day working on the bed... I finally have all the pieces back and are now ready to put the toolbox section back together... the 2 side panels are nailed back in place using a little longer nails... there are 3 per panel to start with... next was the back piece that the toolbox door latches too... then, I put the front back panel in... after taking measurements, I cut the first toolbox floor out of 3/4 plywood... the first one was too small so I cut a second one that was perfect... the measurement was 26 3/4 X 28 1/4 X 3/4... I then used 12: 1 1/4 X 1/4 carriage bolts to fasten the floor back in... the final piece's to put in are the 2 small piece's of wood that the door closes onto on... at first I put these on put, wasn't able to put the floor in, so I had to take them back off... now it will be time to put the beams back on :) "


"Well, it has been a very productive month... I brought the new beams home on the 1st of January and laid them out in order... I test fitted some of the beams to make sure the holes lined up then I brought all the beams in my living room to keep them warm so they can be painted.. I decided to start at the toolbox and work to the cab... The first 3 beams were hand painted and kept at room temp for about 3 days before I brought them out to the garage to be bolted back on the main beams... I picked up a whole bunch of new carriage bolts, split washers, and square nuts to put it all back together... after the beams I finished were installed, I got the remaining last beam to figure out were the tail light brackets were mounted... once that was done, I put the brackets up and traced the out line of the bracket and the holes to get ready for drilling... once done, I tested the fit and installed the screws the attach from the bottom in... Now they are attached... enjoy :)"


Will post more later
Ken
 

lowrdrbird

New member
57
0
0
Location
Ohio Dayton
Well I had some fun tonight found out a few issues
Here are the pics


Found out that she cant make it thru 2 foot deep snow.....


Yeah wish I had a pioneer kit to dig her out ......

So I went with the next best thing


My 13 year old Daughter with my F350 pulled me out
Guess I need to get the bed on her to weight the rear down. For my daughters first time driving my truck she did very well... Pulled me out like she knew what she was doing. I am so proud of her now I just need to have her try to drive Phantom....

Here is a night shot of Phantom in the snow


Ken
 

Amer-team

Well-known member
1,706
28
48
Location
Centralia/WA
Here is another pic of Larry's truck.100_2699.jpg
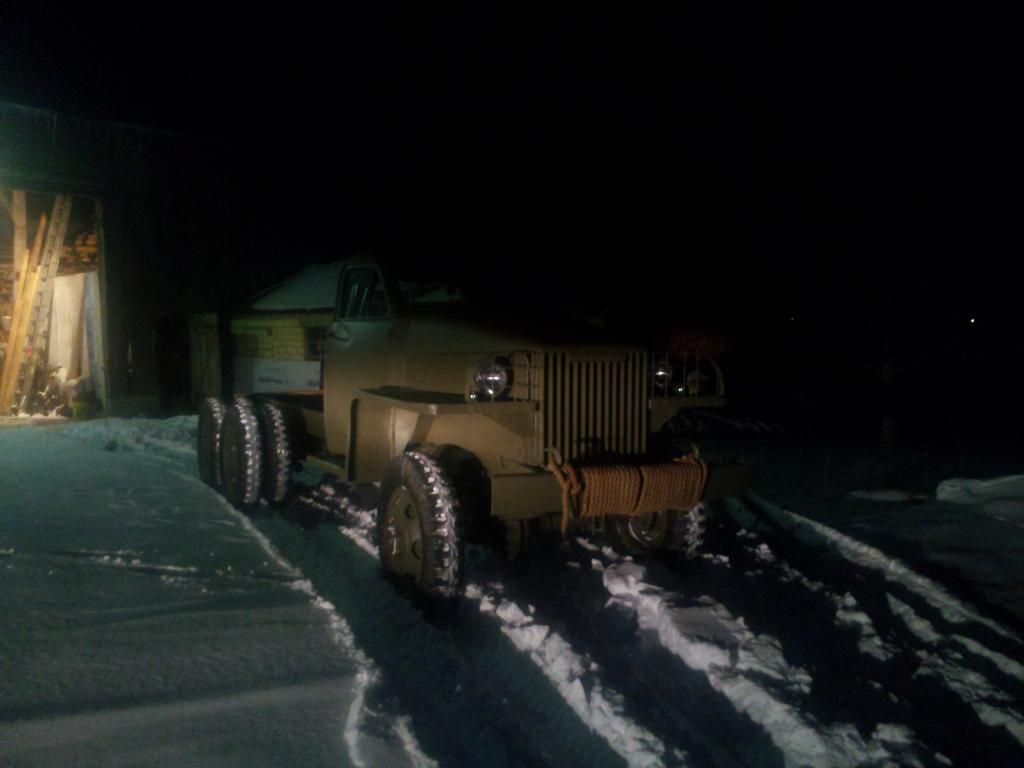
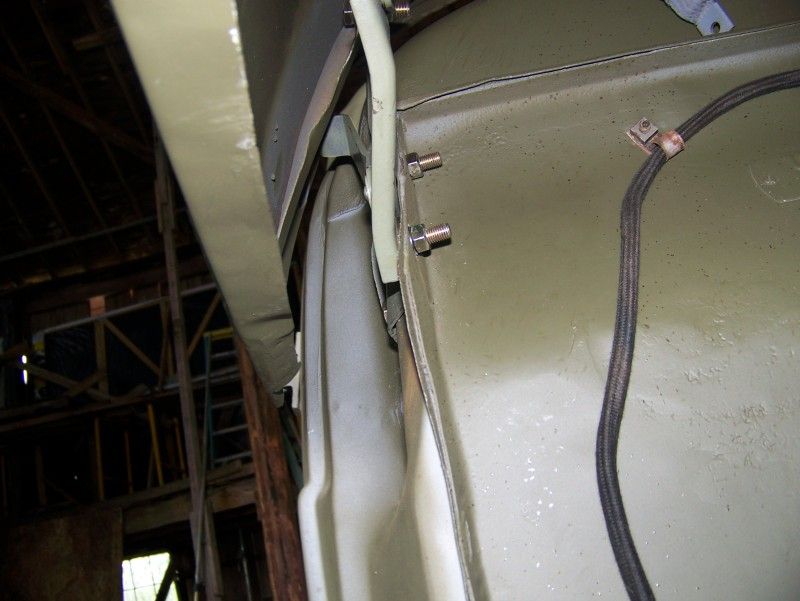
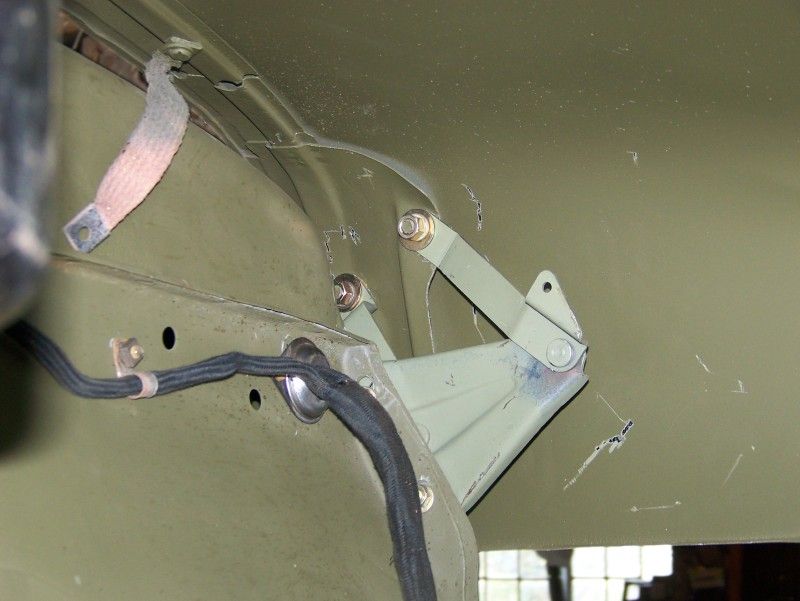
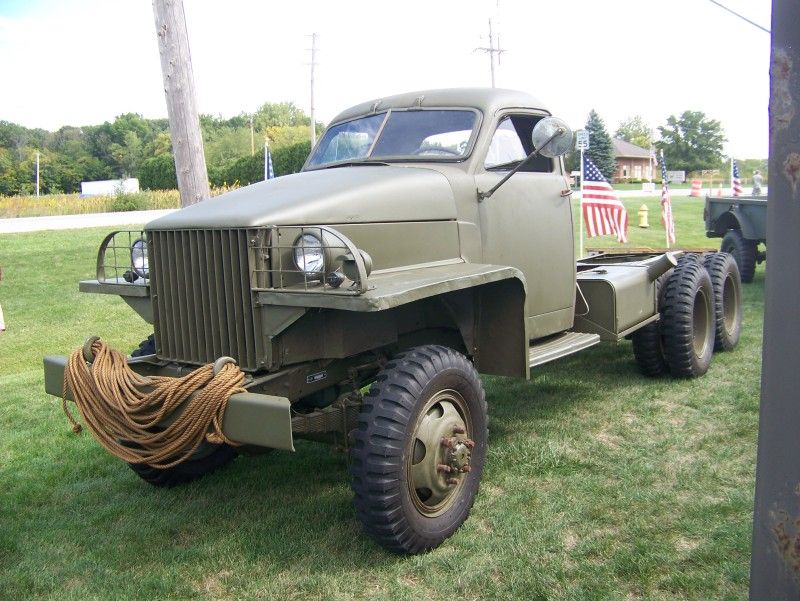
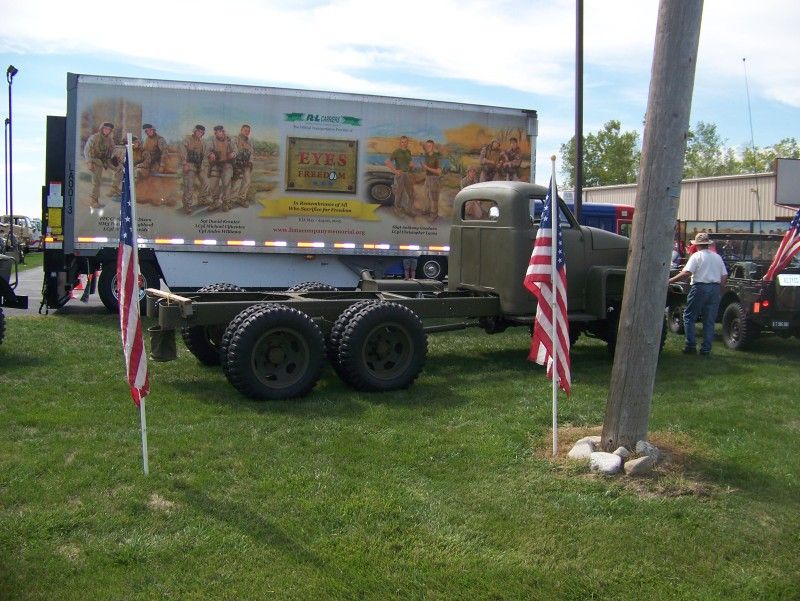
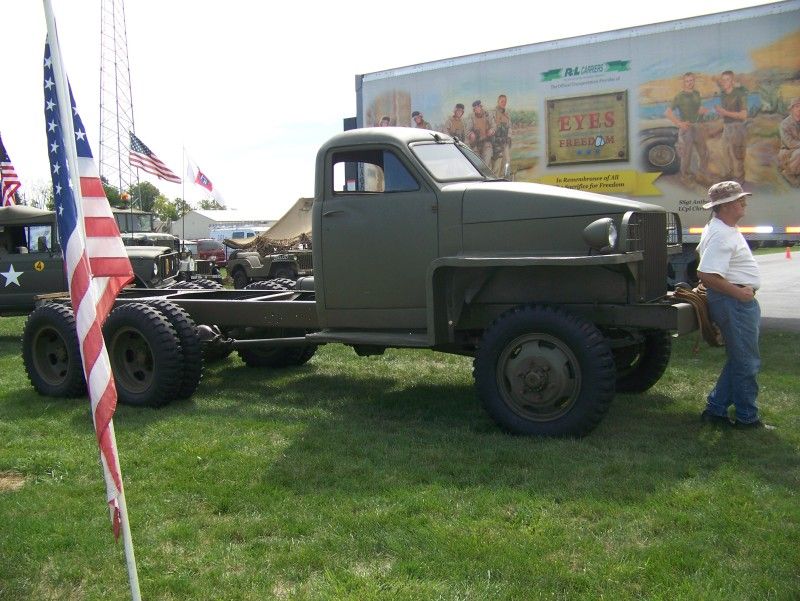
This was at Aaron W's. Napavine Steel soldier event last summer. Larry's truck was a short logger or log loader truck when he got it. He got rid of the loader and found a bed and here it is. You are so fortunate to have found a new wiring harness. About 3 or 4 years ago we were headed to Ft. Stevens for the summer campout, I pulled over in Astoria to wait as I lost sight of Larry and the Stude. In a couple minutes here he came and pulled over in the parking lot. He opened the door and out rolls this white haze. He said he had a little fire under the dash so he gave it a squirt with the extinguisher and it went out. The truck was still running, so we hightailed it for the Fort. The fire had taken care of whatever original wire covering that he had. I took a roll of electrical tape and taped off all the wires that I could see. The truck started and he has been running it that way ever since. They are a tough rig.

Keep up the good work on your restoration.
 

sickmoparfreak

New member
26
0
1
Location
Gaffney SC
Love it. I saw one on ebay in OK maybe 6 mths ago......I just couldnt handle freight. This truck is sexier than red socks on a rooster...... I'm envious to say the least!
 

nattieleather

Well-known member
1,884
134
63
Location
Cleveland, OH
We right now are working on the bed. I have found a wood bed that i didnt realize until after we started taking it apart and getting new wood was for a 5-10 ton truck. So instead of it being 80x144 it is an 88x138 but it still looks like we can get it to fit on the truck. I am still in the process of finding a correct wood bed as this was the bed that would have gone on this truck since its an early 1942.
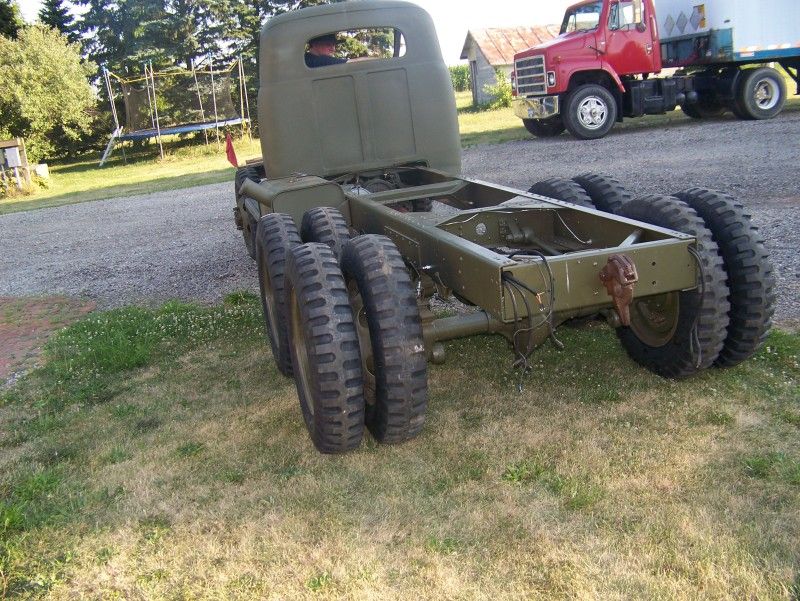
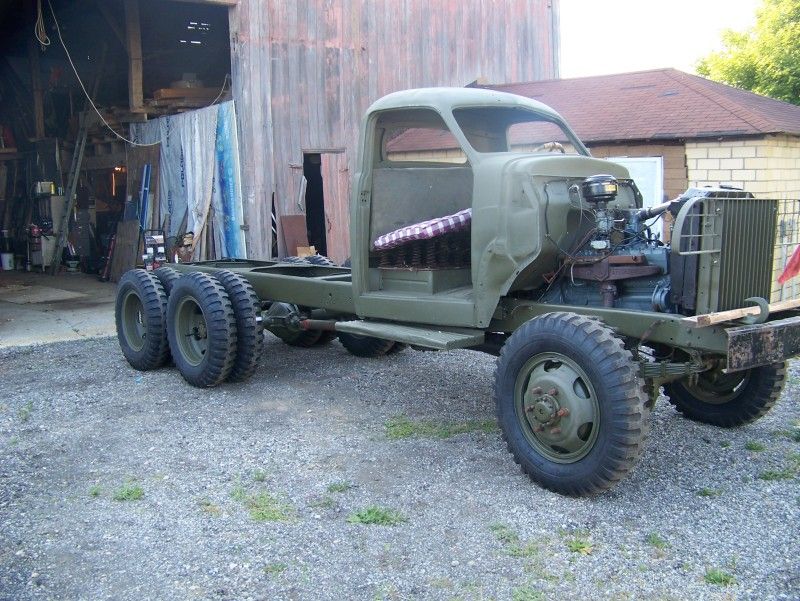
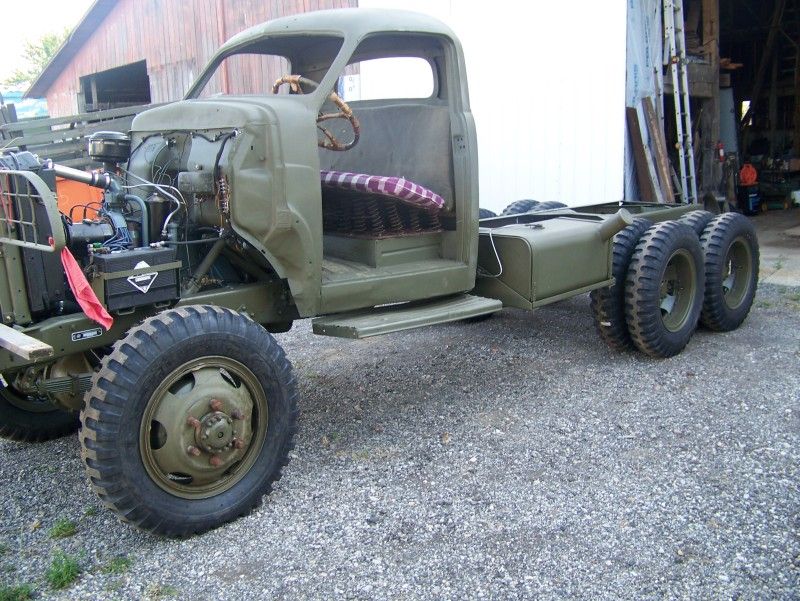
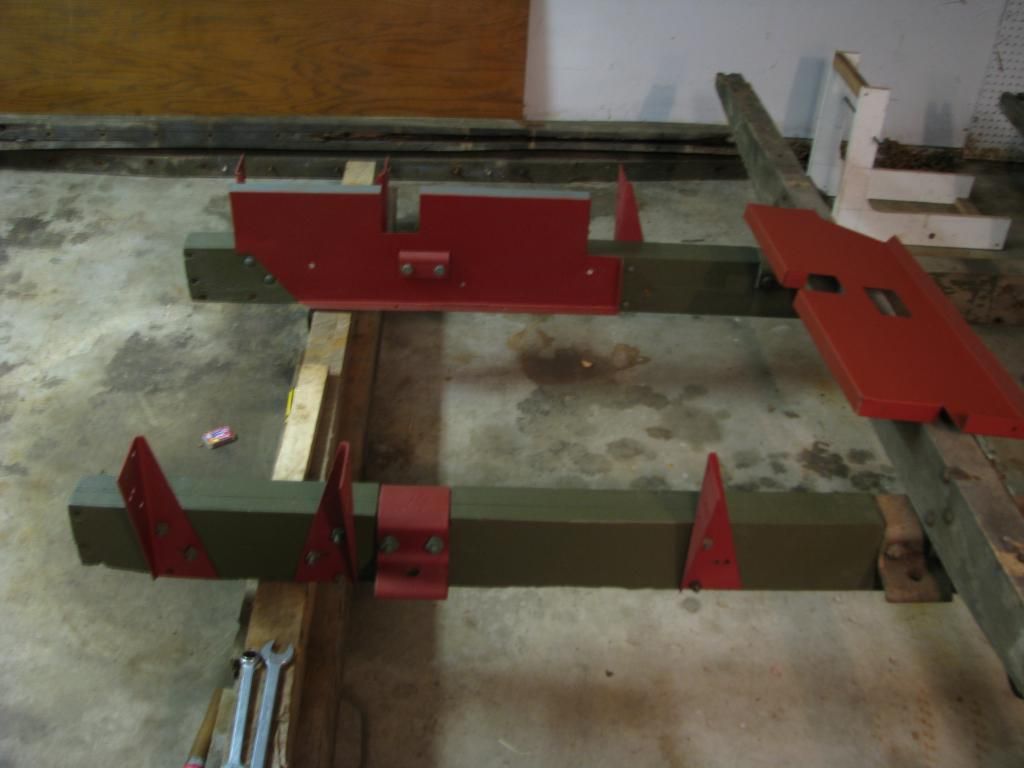
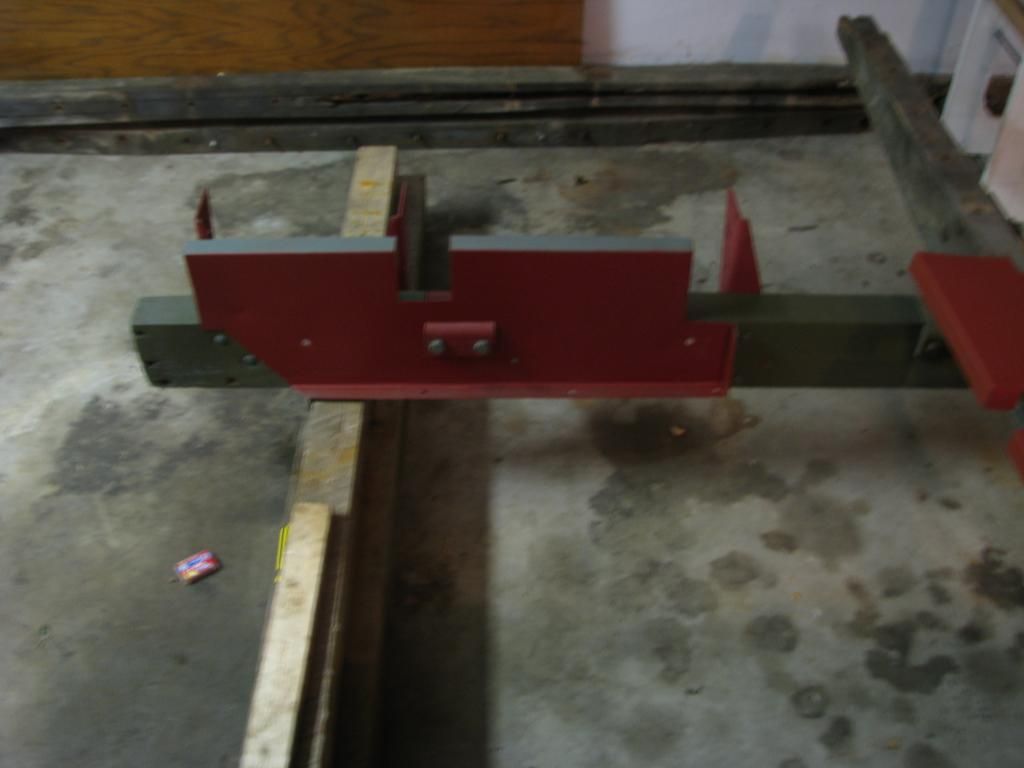
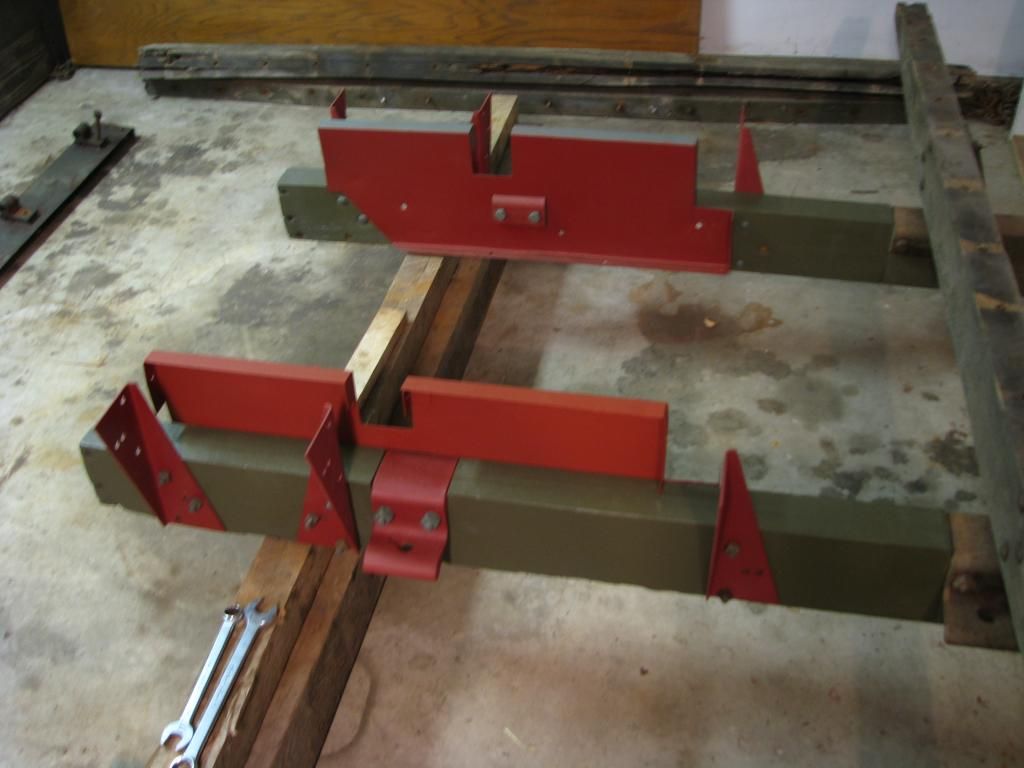
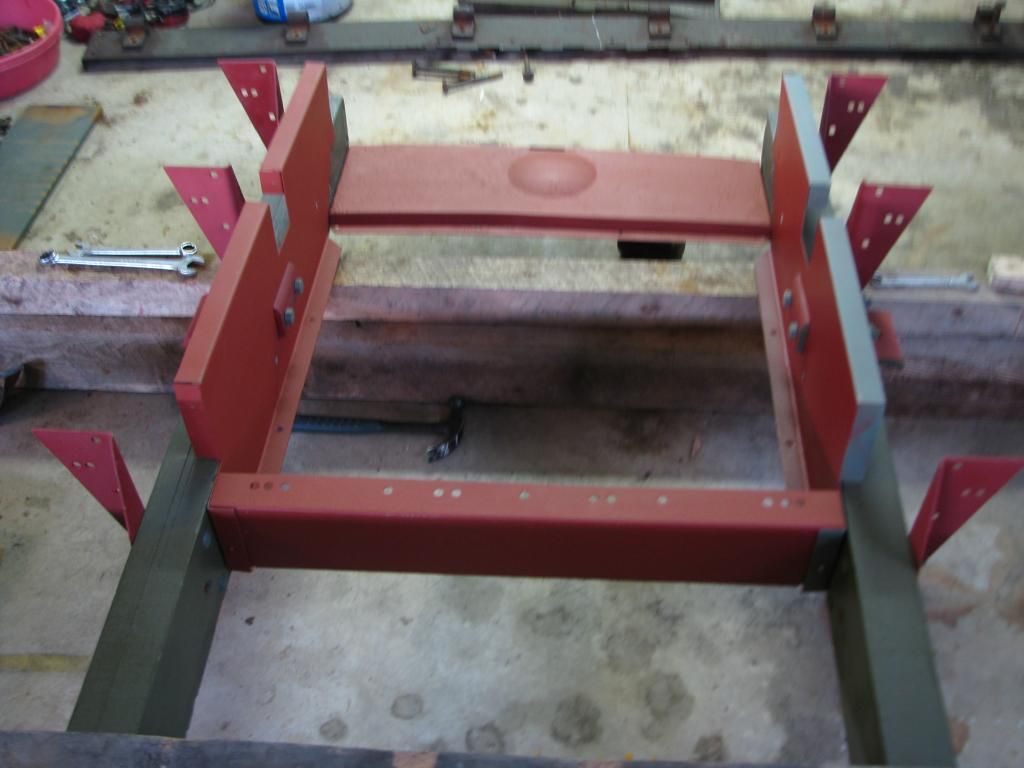
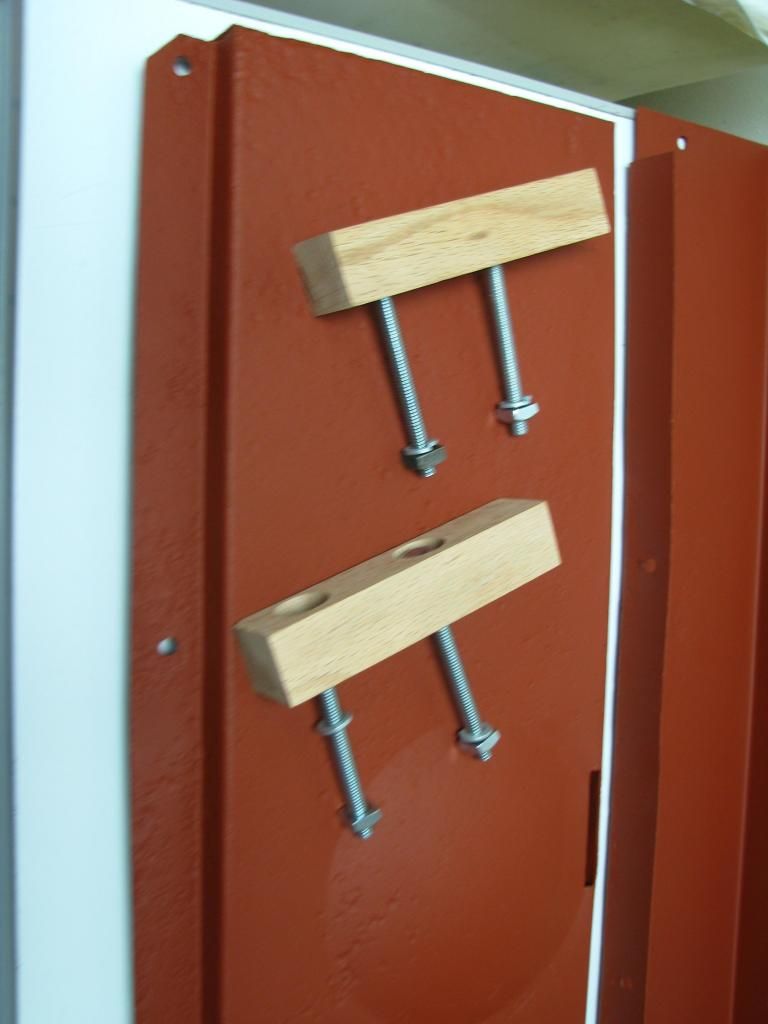
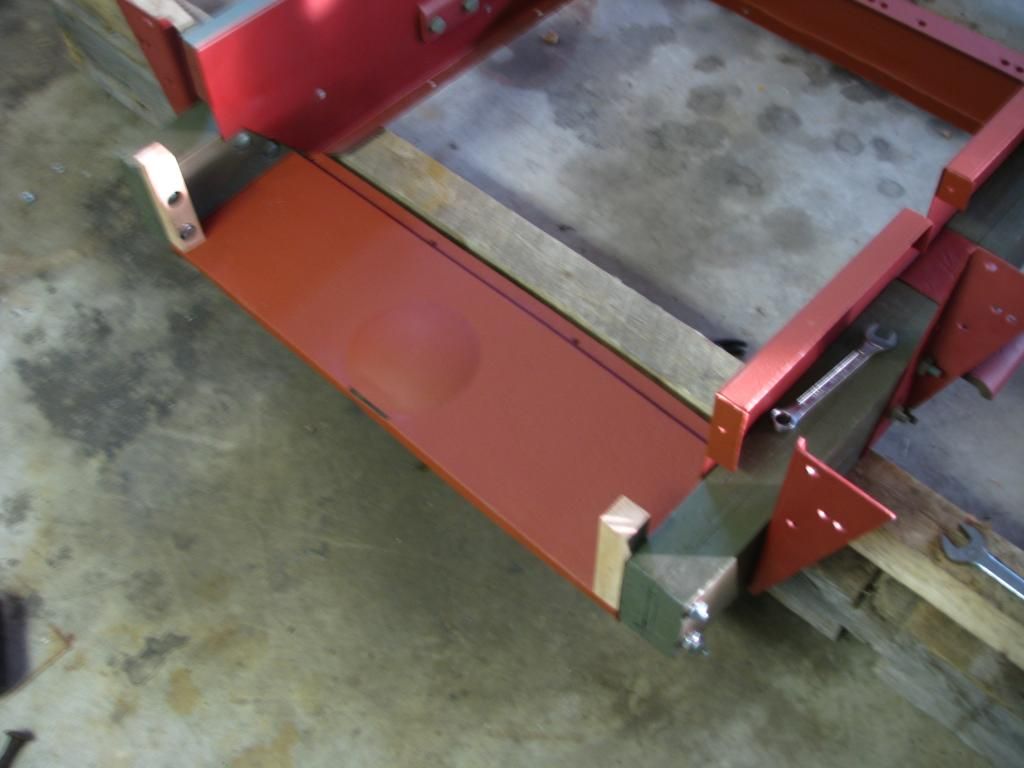
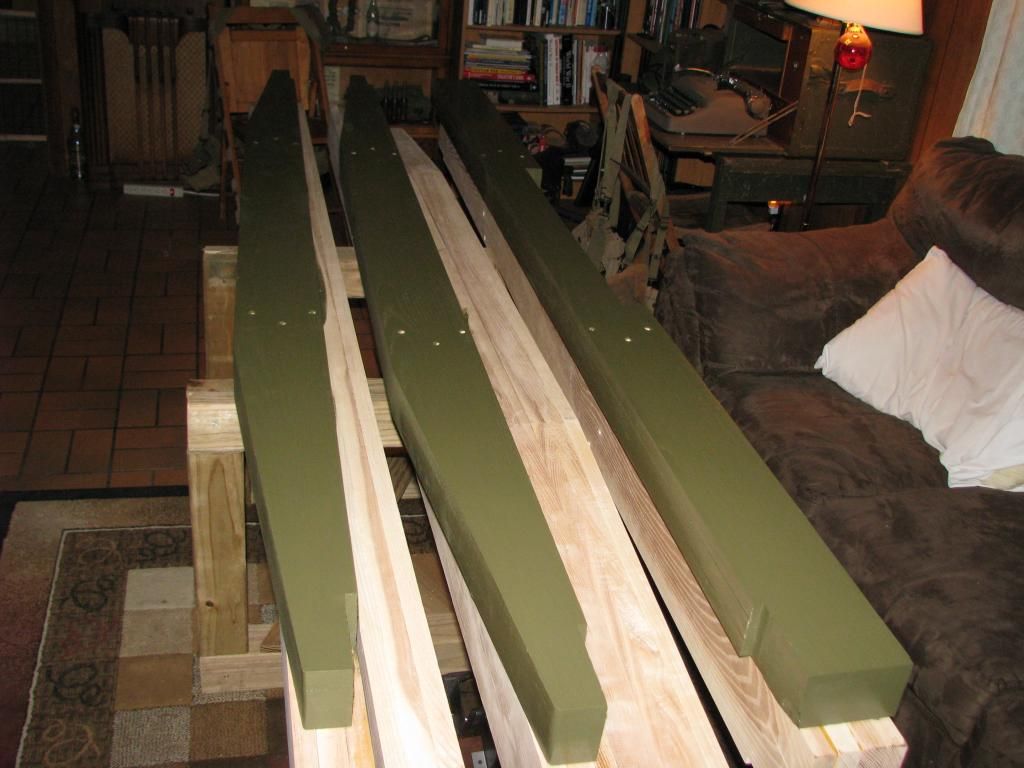
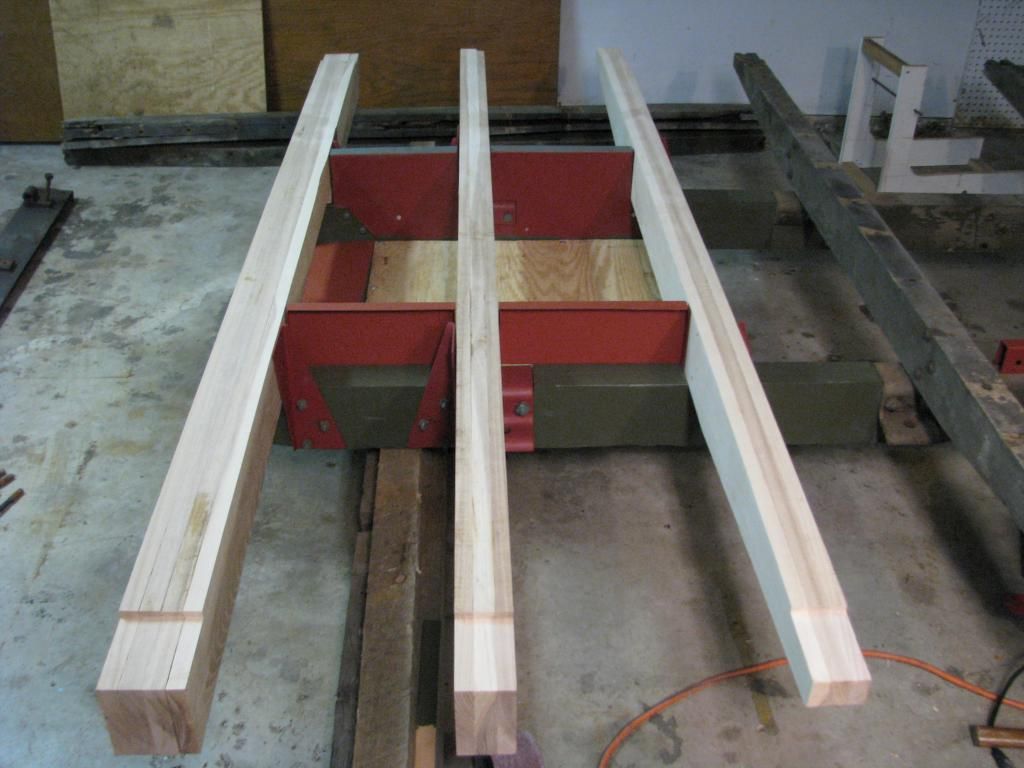
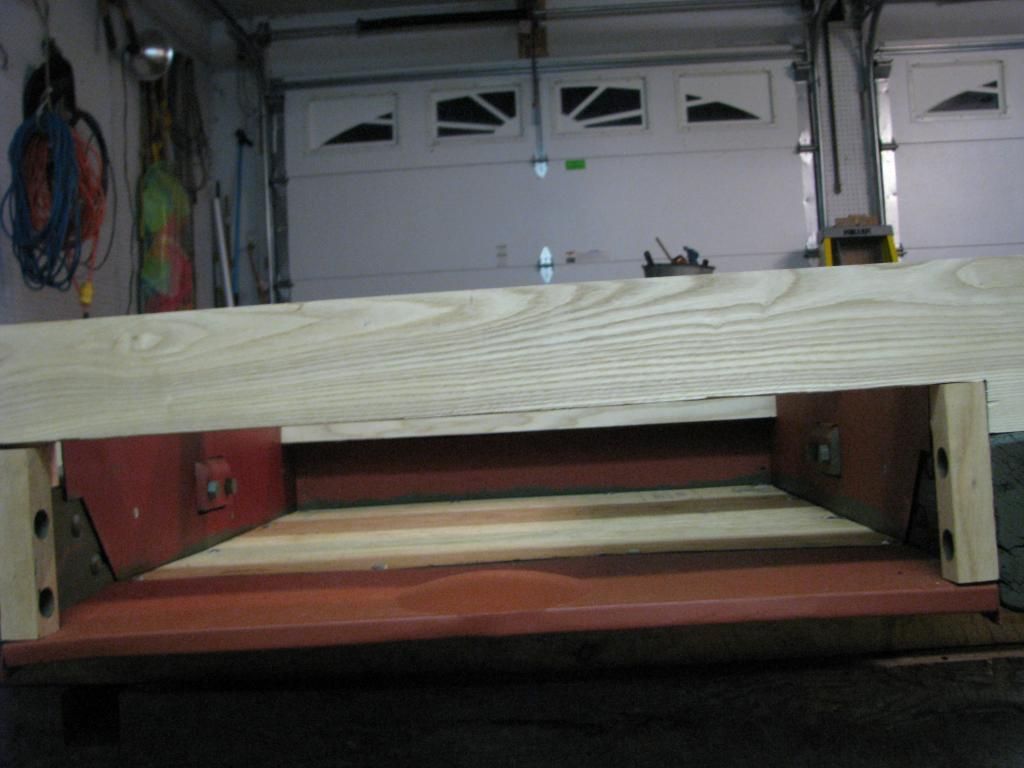
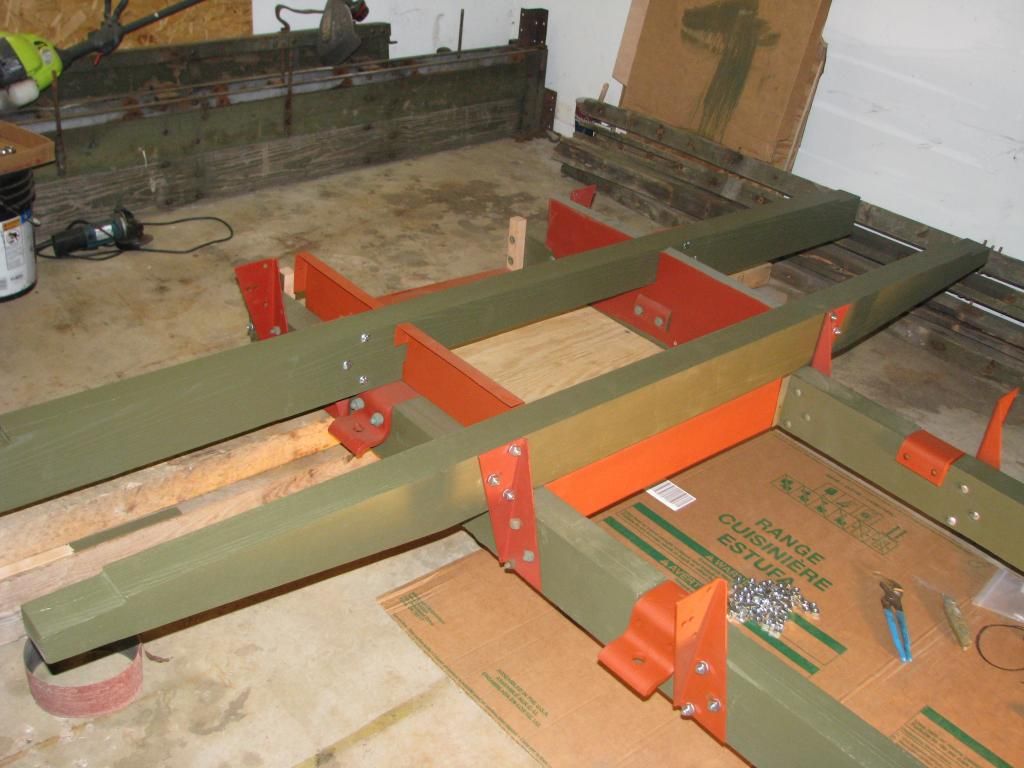
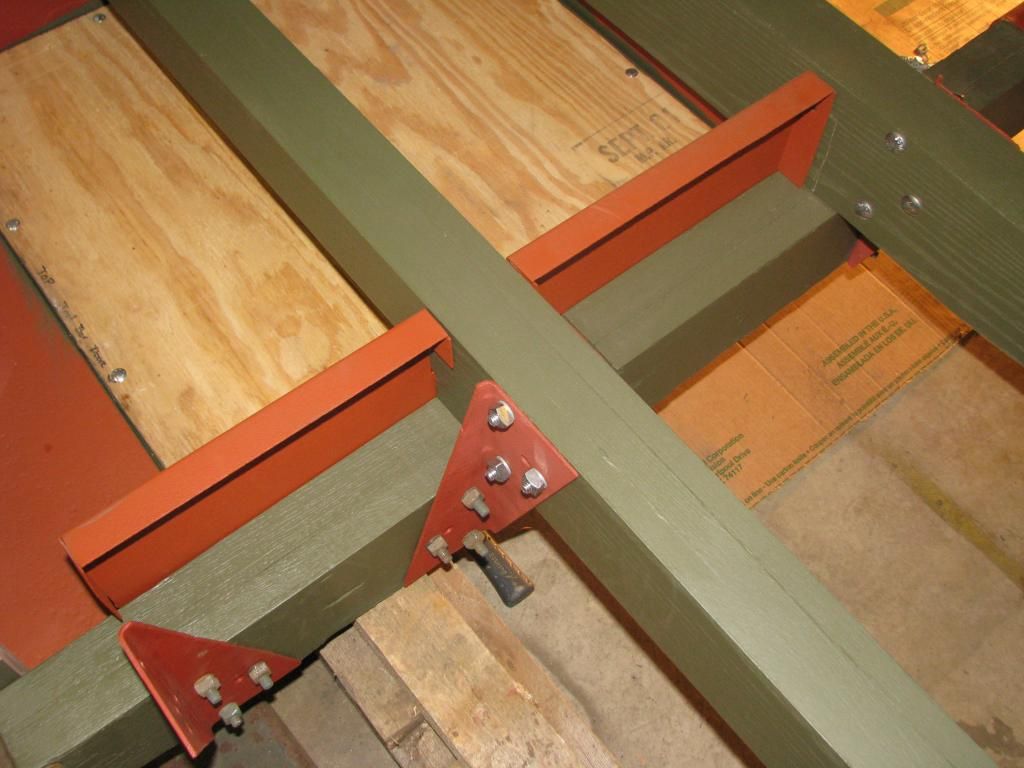
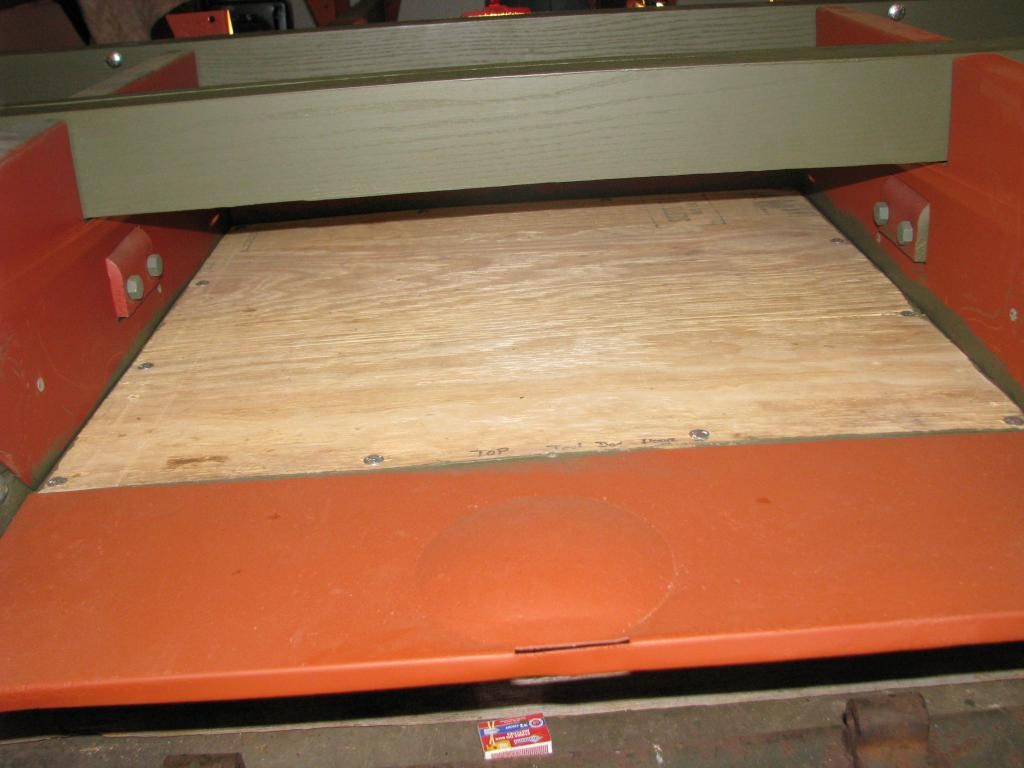
Ken looking at the pics of your buddy doing the bed work couldn't you since it is wood adjust the size to 80x144 instead of the other size? A little longer one way a little shorter the other way.... Just a thought. BTW it is looking great!
 
Top
AdBlock Detected

We get it, advertisements are annoying!

Sure, ad-blocking software does a great job at blocking ads, but it also blocks useful features of our website like our supporting vendors. Their ads help keep Steel Soldiers going. Please consider disabling your ad blockers for the site. Thanks!

I've Disabled AdBlock
No Thanks