77 AMG
Active member
- 403
- 62
- 28
- Location
- Owingsville, KY
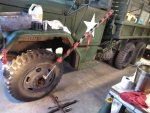
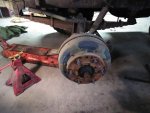
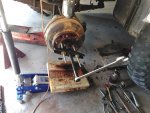
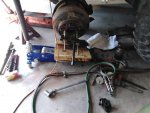
Another *fun* project that I get to do... Anybody know if the "twist the knob to adjust" parking brake handle is a direct swap for the older *whale tail* style? I like the thought of being able to simply adjust the cable without having to crawl under the truck.