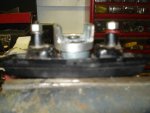
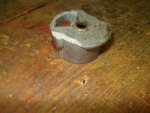
So My tailgate window was not rolling up or down without me pushing on the window to help. I replaced all the parts on the crank including the problematic clutch. My new clutch lasted a total of 9 days! Then both tabs broke off. Piece of @*&%
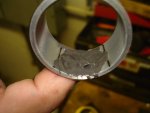
Well the old clutch was still in tacked. Turnout not to be my problem. So before I reinstalled it I wanted to make it stronger / reinforce the tabs to stop this from happening again.
This tutorial is my fix. May not be the best but it appears to have worked for me. I guess time will tell.
First tools and materials needed:
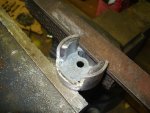
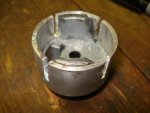
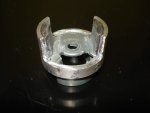
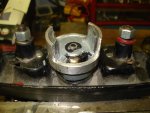
Clutch (new / good one or broken one with tabs you can reattach)
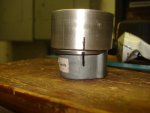
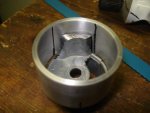
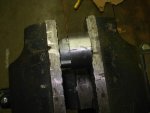
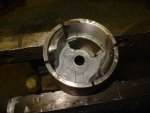
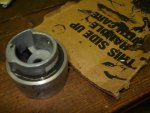
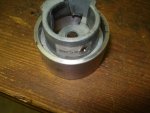
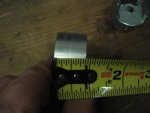
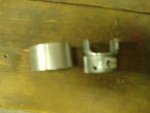
Piece of pipe APPROX 1” long with an inside opening of APPROX 1 7/16" or 1 1/2". The outside diameter is APPROX 1 5/8". The clutch should fit inside as snug as possible. I lucked out and stopped by a local machine shop and got a piece of scrap aluminum pipe for free. You can use a dremel tool to open it up a little if needed. Snug is the key though.
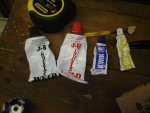
JB Weld (I used quik weld, I’m not very patient)
Bench grinder
Hand file
Sawzall
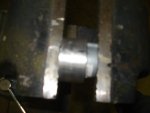
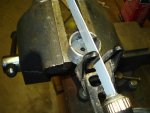
Vise is helpful
Sharpie, maker, or pencil
Clean rag or two. (JB Weld is messy)
(these are the tools that I used but I’m sure you could figure out another way if needed)
Once you have these together you can read further. Just picking, please read on and let me know what you think.
Well the old clutch was still in tacked. Turnout not to be my problem. So before I reinstalled it I wanted to make it stronger / reinforce the tabs to stop this from happening again.
This tutorial is my fix. May not be the best but it appears to have worked for me. I guess time will tell.
First tools and materials needed:
Clutch (new / good one or broken one with tabs you can reattach)
Piece of pipe APPROX 1” long with an inside opening of APPROX 1 7/16" or 1 1/2". The outside diameter is APPROX 1 5/8". The clutch should fit inside as snug as possible. I lucked out and stopped by a local machine shop and got a piece of scrap aluminum pipe for free. You can use a dremel tool to open it up a little if needed. Snug is the key though.
JB Weld (I used quik weld, I’m not very patient)
Bench grinder
Hand file
Sawzall
Vise is helpful
Sharpie, maker, or pencil
Clean rag or two. (JB Weld is messy)
(these are the tools that I used but I’m sure you could figure out another way if needed)
Once you have these together you can read further. Just picking, please read on and let me know what you think.
Attachments
-
 50.6 KB Views: 53
 -
 34 KB Views: 55
 -
 35.5 KB Views: 57
 -
 20.9 KB Views: 59
 -
 61.3 KB Views: 58
Last edited: