Well, I have been a real MV slacker since the Ga. Rally and really haven't done much of anything. I still want to get back to my Bobber here and make is special in some kind of way before I sell it. I wish I had room for it, but with a M37, and maybe two soon, and about 6 trailers plus a tractor and six cars along with a 16 foot flatbed trailer, it is just a matter of time before the neighbors complain. In any case, I have been ordering a lot of parts. Seems like most come in two-three days, but there is always another who takes his good ole time to get them out and it might be weeks for that one critical part.
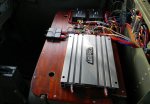
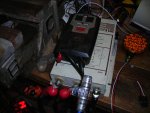
Today I looked at my Vanner Equalizer. I have been adding parts and wires and fuses to it over the last couple of months and not done a whole lot. I do still want to give the capability of having all three primary voltages, +12VDC, +24VDC, and 120VAC so a user can plug in just about any low level device without harm to the batteries. But, more significantly...
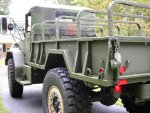
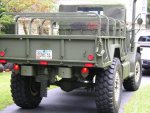
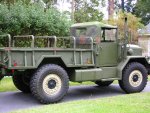
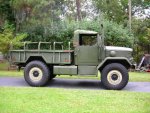
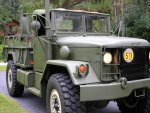
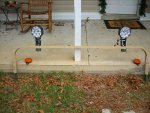
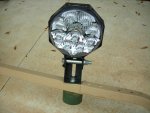
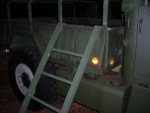
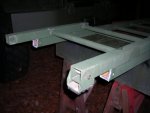
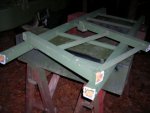
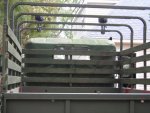
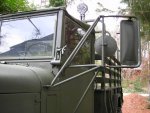
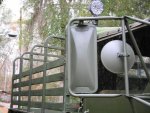
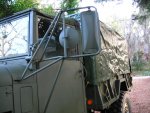
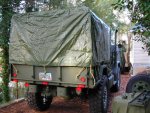
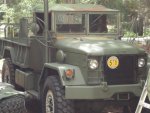
I received my bracket hardware for my LED lights. I wanted to take a couple of my 24vdc LED lights and use them for flood on the back of the deuce. I decided to just have a spare aluminum rather than wood, top bow, drilled out and brackets and lights mounted on it. Picture shown. I can then remove it at will and put on a cover for covering goods in the back, or mount this top bow with special lighting upon demand. It is top bow number six, and I have the other five already painted in green mounted on the truck. Now that I have it physically mounted, where it will swivel left, right, up, or down, with a minimal adjustment, I'm ready for dismantling it again and applying paint. I'm doing the bobber in Rapco Forest Green.
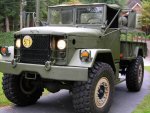
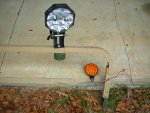
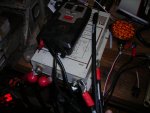
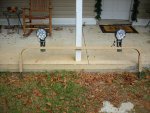
I also received these 24vdc yellow led lights, but haven't decided if I am going to sell them and recoup some of my money, or mount them for ??? I did hook them up to a new 6TL battery at 12v to see if they would light up and made the mistake of laying them down, face up, right in my eyes. I was seeing blue spots for five minutes afterward, and seeing them again now while on this laptop, so I'm going to go take a break and find something else to do on the OD machines. Thanks to JuanPrado for assisting in helping me find something to mount the LED headlights on. These brackets off ebay worked out great!
edit: By the way, that big round green washer like slug on the bottom of the lights is a counterweight I added. It's heavy and the right sized hole, and it was not being used, so,... I used it. Seemed to work out well.


 46.7 KB Views: 72
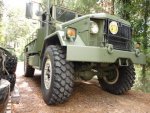 71.5 KB Views: 76
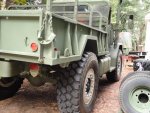 61.4 KB Views: 77
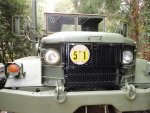 64 KB Views: 64
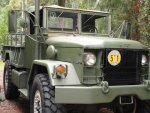 59.6 KB Views: 74
 35.4 KB Views: 71