OP emmado22: I'm not trying to hijack the thread, but would like to share the progress of the kit assembly. If you would prefer that I don't, please PM me or state here, and I will delete my posts.
Best,
-Ken
DISCLAIMER: I AM NOT ADVERTISING NOR PROMOTING FOR SANTAN FABWORKS, I don't receive any compensation for discussing this product, and if the way I am posting violates the rules, moderators please delete ALL THE POSTS. All I'm trying to do is discuss one option for MV armament, for display only. I researched replicas for hours, and this was what I considered my best option. If I could have gotten an M2 Airsoft, I would have.
* * * * * * * * * * * * * * * * * * * * * * * *

The kit as received (without the printed instructions, which I produced). Purchased in May 2020, price was under $1,000.

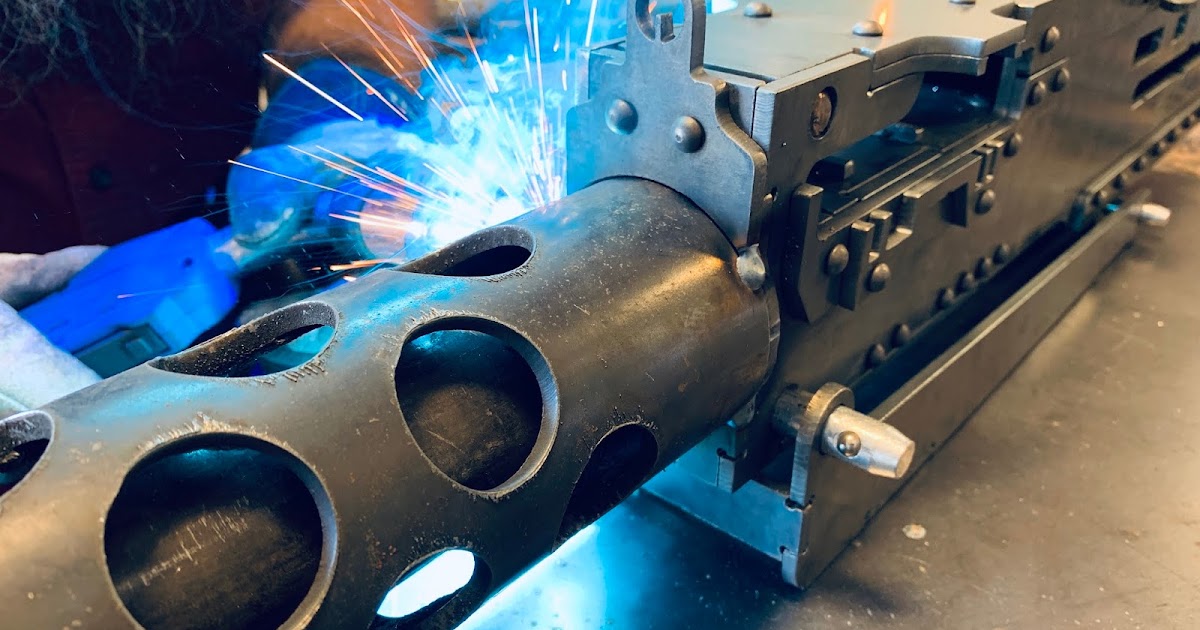
Outside of left side of receiver. I used a 5 1/2" grinder flap disc to break/smooth all the edges.

Inside: note welded rivets

First thirty steps (or so) completed. My 17-year-old daughter calls this "Legos for adults"


Around Step 66. The instructions require either a cradle with pins, or Santan's holding fixture (jig).


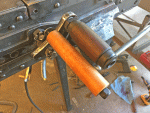
Original M2 charging handle. I had to weld-up the plate and drill and tap for 7/16" fine thread;
also a split lock washer was used as a spacer because the inside bore of the "skeleton" plate
was not big enough to pass the handle hub.

Charging handle as provided in the kit. It's longer, smaller diameter, and not ovalled. It looks
great from a distance (read: by civilians curbside at a parade), but I desired greater authentic
appearance.


 www.santanfab.com