• Steel Soldiers now has a few new forums, read more about it at: New Munitions Forums!

  • Microsoft MSN, Live, Hotmail, Outlook email users may not be receiving emails. We are working to resolve this issue. Please add support@steelsoldiers.com to your trusted contacts.


1986 CUCV M1009 Decade after being wrecked.

cucvrus

Well-known member
11,274
9,601
113
Location
Jonestown Pennsylvania
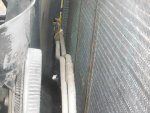
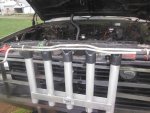
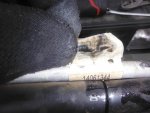
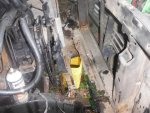
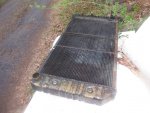
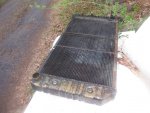
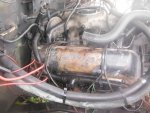
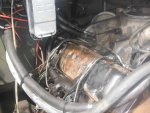
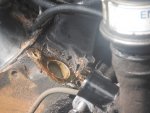
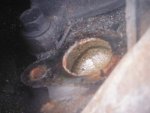
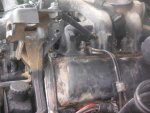
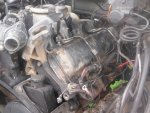
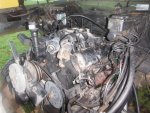
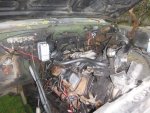
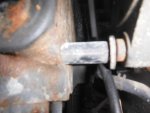
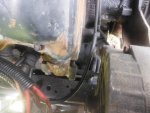
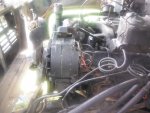
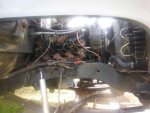
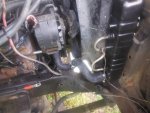
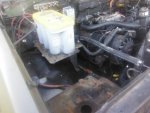
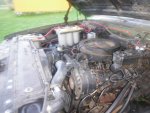
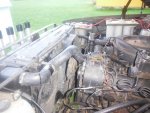
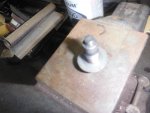
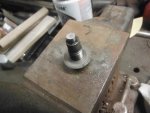
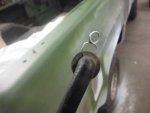
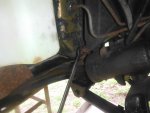
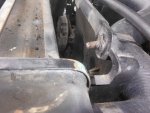
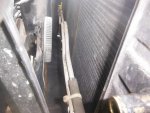
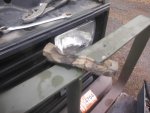
The more I look the more I find. I removed the radiator today. I am optimistic about this radiator. It appears it has been replaced. The aluminum oil cooler lines have both been replaced. The bracket is missing that holds the cooler line in place on the fan shroud so someone opted to use wire ties.DSCF6030.jpg Easy to drain the coolant on this unit. No inner skirts to deal with. DSCF6031.jpg Nice threaded bolt that was threaded into nothing. It got tight in the shroud. DSCF6032.jpgDSCF6033.jpgDSCF6034.jpgDSCF6035.jpgAluminum cooler lines have been replaced with Genuine GM. That in itself is a plus. DSCF6036.jpgDSCF6037.jpgDSCF6038.jpgDSCF6039.jpgThe isolator support pads were not doing anything anymore. The hoses were oil soaked and seized to the engine. Like usual. All in all the core support on the M1009 is still descent. The radiator has hope also. it appears it was leaking near the top hose mount. I will send it out to the radiator shop tomorrow and get it checked out. The best price I found on replacement plastic aluminum radiators is $310. I would rather be able to have this one gone over for 1/2 that price. After some cleaning and coating I want to get into the reassembly process. Have a Great Day. It was a decent day threatening rain the whole time I was working outside in the driveway. I like working outside when ever possible. It is so much easier to see and makes the job go much quicker. I found a 1/2 dozen other issues. I need to work blind folded.
 

cucvrus

Well-known member
11,274
9,601
113
Location
Jonestown Pennsylvania
https://www.sae.org/publications/technical-papers/content/2001-01-2717/

Just when you think you can just change a fuse with lighting issues. They come up with the virtual fuse.

I was in a brief class on the new fuse systems. I opted out to take the course. I did how ever receive good news from the radiator shop. The radiator I sent out for repair is complete and the cost was $75. That sure beats the pants off of the $300+ replacement radiator. The man said it was leaking at the lower tank and where the heater hose attaches. The bottom tank had no isolator and the heater hose was over tightened from my observation. I will get that back in the unit over the 3 day weekend. JOY. Have a Great Day.
 
Last edited:

cucvrus

Well-known member
11,274
9,601
113
Location
Jonestown Pennsylvania
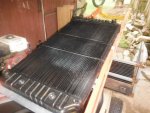
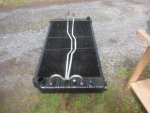
DSCF6039.jpgBefore the radiator shop. DSCF6040.jpg After the radiator shop. Outside appearance has changed a bit and inside is clean as new. If you radiator is in need of attention. Now is the time to do it before the brutal summer heat lets you setting along the road somewhere. I still see CUCV's that have the OEM original factory radiator hoses on them. Exterior they appear fine. Inside they are cracked like alligator hide. Another thing is if you never changed the water manifold cross over gaskets. Now is the time to do so while the system is drained. Good Luck. Have a Great Day. I hope for some progress today. I will report back later.
 
Last edited:

cucvrus

Well-known member
11,274
9,601
113
Location
Jonestown Pennsylvania
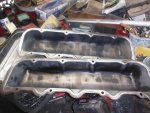
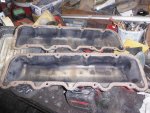
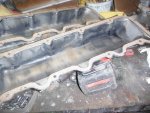
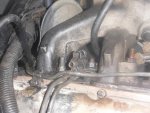
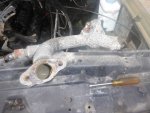
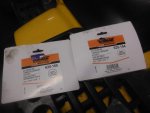
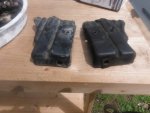
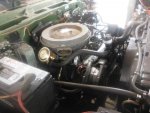
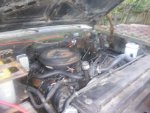
DSCF6041.jpgDSCF6042.jpgDSCF6043.jpgNew valve cover gaskets. I used a thin bead of Permatex The Right Stuff to adhere the gaskets to the covers. I can tell these valve covers were off before because the nozzle nuts have orange Permatex on them. When ever they were off they did a poor job of resealing them. DSCF6044.jpgDSCF6045.jpgEverything put back as it should be. Maybe not perfect but everything is bolted fast and correct. DSCF6046.jpg3 # 6 hose clamps on the fuel filter were all sprung and stripped like normal. DSCF6047.jpgMoving right along. DSCF6048.jpgNot much left of the coolant manifold gasketsDSCF6049.jpgDSCF6050.jpgDSCF6051.jpg Correct part number for the coolant manifold cross over gaskets. To do the engine you need 4. I opted to do the front 2. The back 2 can be a real bear with the intake manifold in place.
 

cucvrus

Well-known member
11,274
9,601
113
Location
Jonestown Pennsylvania
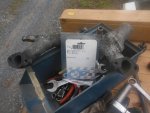
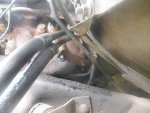
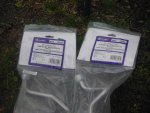
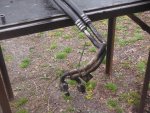
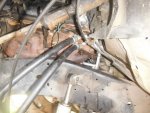
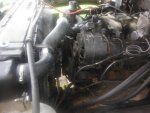
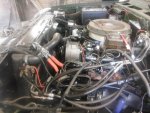
DSCF6053.jpgDSCF6052.jpgWith the right and left valve cover gaskets changed it was time to change the oil cooler lines. DSCF6054.jpgI had a great advantage with the left inner fender and wheel removed. I removed the bracket and all on the cooler lines. I called NAPA and told them t deliver me a pair of oil cooler lines. These lines I will give an A + DSCF6055.jpgDSCF6056.jpgI removed them as a pair and bolted the bracket to the lines loosely and installed them all finger tight. Once everything was started I tightened them all up. About 45 minutes and done. DSCF6059.jpgDSCF6060.jpgDSCF6057.jpgChecking out my progress for the day. A storm is eminent. The winds are picking up. Time to skedaddle. As I was cleaning up my packaging I cut the plastic off and found these part numbers also. DORMAN. Like I said A + on fit and ease of installation. Better than the AC Delco's I have been installing. All were made in China. DSCF6061.jpgAnd then it came. DSCF6062.jpgDay over. It was fun while it lasted. Next get the alternators back on.
 

cucvrus

Well-known member
11,274
9,601
113
Location
Jonestown Pennsylvania
https://youtu.be/mmtQwtcaqLM

The weather report shows cloudy and a small percentage of precipitation. I am up to the challenge. I want this M1009 off my repair list. I have fought enough broken, stripped bolts and poor assembly. Not to mention lift kits and other non standard BS. It was a fun ride but as good things must come to an end. The end on this trip is only temporary. I could go on and on for a while. That seems to be the case with any 30+ year old vehicle. Hqave a Great Day and a Happy Easter. remember the meaning of the Easter day. I will report back later. Let the day begin.
 

rtk

Well-known member
Steel Soldiers Supporter
1,181
418
83
Location
Lockport N.Y.
Yup , same here , rain and cold . Have a great Easter day for you and the family .Stay safe and be well . Bob k
 

cucvrus

Well-known member
11,274
9,601
113
Location
Jonestown Pennsylvania
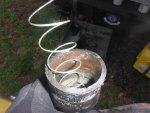
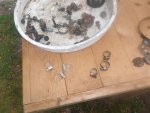
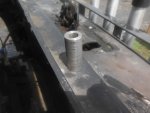
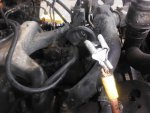
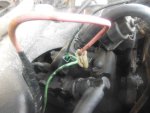
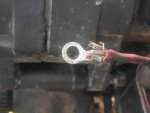
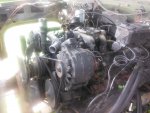
DSCF6025.jpgLast week during the initial teardown this is what I found as the Gen 2 spacer. Seems like a lot of them went missing. I had a machine shop make me a few back in the day. I still had one left. I was thinking of using a Harbor Freight 3/8"drive x 1/2" deep socket and grinding it down. Then I found it. DSCF6065.jpgDSCF6066.jpgDSCF6024.jpgAlso last week this was the main power wire to the injection pumpDSCF6067.jpgI cut a section from an old engine harness and spliced it in. Much better. DSCF6068.jpgThen I found this on Gen 1. Very nice work. DSCF6069.jpgEverything back on the engine. DSCF6070.jpgDSCF6071.jpgI installed new Prothane radiator isolators. DSCF6072.jpg The J nut was missing from one of the radiator top mounts. 1/4" x 20 nut and back in business.
 

cucvrus

Well-known member
11,274
9,601
113
Location
Jonestown Pennsylvania
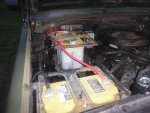
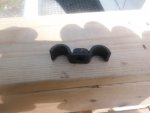
DSCF6073.jpgThat radiator looks like a brand new one. DSCF6074.jpgJust when I was rolling along I found more half fast work. Fixed and moved on. I clipped all 3 and re spliced them with heat shrink connectors. DSCF6075.jpgThis is the missing link. Seems many of the CUCV's are missing this piece also. I guess some guys just throw the parts away when they are working on them. DSCF6076.jpgLeft inner fender all in and all new bolts present and accounted for. DSCF6077.jpgeverything looks good on the left side. The shift linkage had a piece of twisted wire holding the linkage on the column. DSCF6078.jpgI wire tied that main 24Volt radio wire. DSCF6079.jpgNo need for that just hooked up going back to nothing. DSCF5963.jpgI also had this wonderful fender to work with. DSCF6081.jpgI used a piece of 12 gauge galvaneal and some self tapping bolts. I don't think that will go anywhere for a while. DSCF6080.jpgI am NOT a huge fan of these batteries. I would like them more if they just made them in a standard group 31 shape. I mean why be so goofy shaped. I threw a lot of these away from liftgate trucks. But moving right along. Today was a great day. It rained twice and at 1215 it poured and the sun came out. I need to get a few lengths of 1/4" x 20 all thread to finish the battery hold downs. Happy Easter. enjoy your family. The Grand Children are here and we are having fun.
 

cucvrus

Well-known member
11,274
9,601
113
Location
Jonestown Pennsylvania
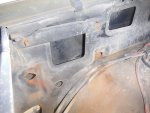
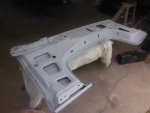
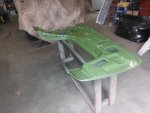
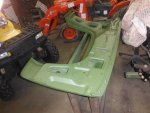
DSCF6084.jpgDSCF6082.jpgDSCF6083.jpgYesterday as I was out working on a customers M1009 I decided it was time to get working on mine. After the egg hunt and lunch I went down to the barn and started working on my left fender./ I had it painted and undercoated twice before. Something was wrong with the unlaying paint. It kept peeling and having loose edges. I had the inside of the fender sand blasted and then sanded it and primed it. I want to get it painted so I can get rolling on my M1009 build. I am falling behind. I did glow and start it. No problems all systems are go. I need to get that left fender and hood on this truck. Keep moving forward.
 

cucvrus

Well-known member
11,274
9,601
113
Location
Jonestown Pennsylvania
Just finished 75 hours at my full time job. Now it's home to play in the yard with a CUCV project. I still have a few things to do with my current repair. I hope to wrap that one up this weekend. I have another one setting there that needs work. That is another time. I will post pictures of todays progress. Have a Great Day.
 

cucvrus

Well-known member
11,274
9,601
113
Location
Jonestown Pennsylvania
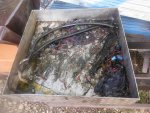
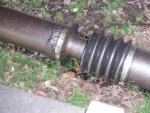
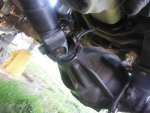
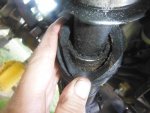
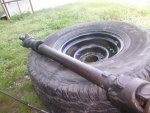
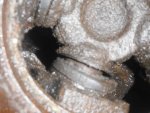
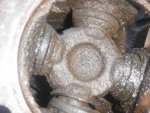
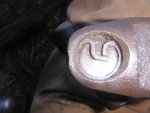
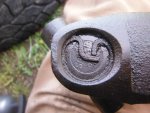
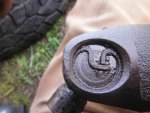
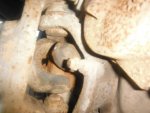
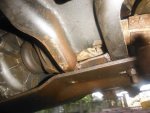
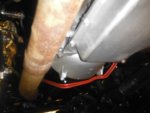
DSCF6088.jpgDrain pan after working on my current project. Nice mess. DSCF5990.jpgBack when I started I noted the torn slip joint boot. DSCF6089.jpgDSCF6090.jpgThe slip joint was locked up and I could not get the front part of the drive shaft off to change the front seal. I removed the entire drive shaft. Good thing I did. DSCF6094.jpgDSCF6092.jpgDSCF6093.jpgRear U joint worn out and rusty. DSCF6095.jpgDSCF6096.jpgDSCF6097.jpgFront U joint seized and cup spins in yoke. Time for a replacement drive shaft.
 

cucvrus

Well-known member
11,274
9,601
113
Location
Jonestown Pennsylvania
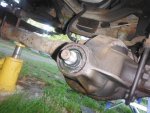
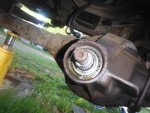
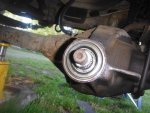
DSCF6098.jpgVery obvious why the pinion seal is leaking. DSCF6099.jpgPop the old one out. DSCF6100.jpgDSCF6101.jpgIn with a new one. I marked the pinion and the nut and counted the turns in the socket. I put it back together the same amount of turns and the line lined up. That easy.
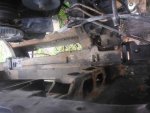
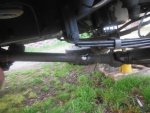
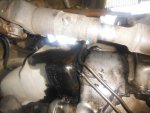
DSCF6102.jpgUsed front drive shaft. Less money than the repairs on the original one. DSCF6104.jpgBad outer axle joints. I have to quit this is a snow ball project. DSCF6105.jpgWhat is the deal with the crossmember? DSCF6106.jpgThe transmission lines are tweaked a bit. DSCF6107.jpgDSCF6108.jpgDSCF6109.jpgDSCF6110.jpgI have completed everything I started. I could keep going but want to give the owner a break on finding more issues. Looks better than it did when it came here. Thank you for looking. Have a Great Day. I have another project to get started on. Actually several. That is Life.
 

cucvrus

Well-known member
11,274
9,601
113
Location
Jonestown Pennsylvania
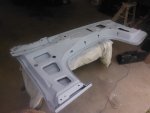
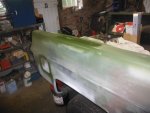
DSCF6084.jpgAfter 2 weeks of working on other projects and getting ahead on lawn work I was back at the left M1009 fender. Sure I could have mounted it last year but something was amiss. It had peeling paint on the inside and ZI tried to stop it and thought IO could live with it. I sprayed undercoating on a few areas and it peeled also. That was it I had it sand blasted and primed it. I sanded it last night and painted the inside today. That was the look I was hoping for. No need to cut corners at this point. It is either right or wrong. Looks right to me now. Genuine GM sheet metal. DSCF6136.jpgLooks good now. I also had a little repair work on the right upper side rail. That mystery damage. I think I done it when I was winching the body from the ceiling. DSCF6137.jpg All fixed no problem. It was not hazy hot and humid today. DSCF5647 (2).jpgI looked where the mark was. I must confess. I probably done the damage unknowingly. Have Great Day. I just bought several sets of inner fenders. I have a few customers that want them changed. I will be spraying them soon. I need a new inner for this project. I still have a few Genuine GM inner fenders that I saved for these top notch projects. Thank you for looking. Have a Great Day and enjoy the weekend. I will post progress as it happens.
 

cucvrus

Well-known member
11,274
9,601
113
Location
Jonestown Pennsylvania
DSCF6138.jpgDSCF6139.jpgDSCF6140.jpgDSCF6141.jpgToday was NOT a very nice day in south central Pennsylvania. I had some inside work to do and wanted to get that done. So I took advantage of the foul weather to stay in. Then I finished the inside work and it was time to sit and watch TV. No that don't get the fun stuff done. I would be sleeping in 15 minutes. out to the barn and my M1009 project. I mentioned before that after the entire overhaul of this M1009 I had 2 leak spots. Small spots but nonetheless leaking. It seen it was the nylon sealing washers on the transmission and engine drain plug. That was easy. I knew the fluids were full and I had to do it quick. I dug around and found 1 extra drain plug and then went at it. Less than 10 minutes both were changed. Fluid loss was at a minimum. I checked both fluid levels and could not see that anything was missing or low. Total cost was $2.51 for the drain plug seals. DSCF6142.jpgThis was an after shot of the engine pan. nice and dry. DSCF6143.jpgTrans plug has a drop hanging there. I tried the tighten method and it formed a drop in a week. DSCF6144.jpg Nice and clean now and I am happy. DSCF6145.jpgYes instant happiness. I had a lot of trouble with this inside paint adhering to the surface. Inside of the fender only. Something was on that metal and messed me up a few times. Now I must get it on the truck. I may hang it today yet and get everything lined up once I have a hood ready to put on it. I have a nice red hood or a blue hood. The original hood is scrap. More progress later. Have a Great Day and Cinco De Mayo.
 

cucvrus

Well-known member
11,274
9,601
113
Location
Jonestown Pennsylvania
Why NOT. No sitting around before the end of the day.

DSCF6146.jpgDSCF6147.jpgDSCF6148.jpgI wanted this shift rod for a customer and went to take it off. This is what held it on. Interesting. I guess it would work. it must have. Truck M1009 has been sitting here 19 years. Never noticed it. Easy on easy off. :grin: Oh yes. Left fender just hanging on with 2 bolts. I made my goal today.
 

cucvrus

Well-known member
11,274
9,601
113
Location
Jonestown Pennsylvania
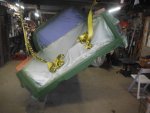
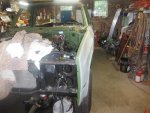
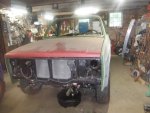
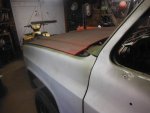
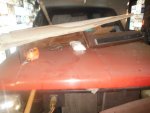
DSCF6153.jpgDSCF6154.jpgI did manage to get the left fender and the entire body realigned on my current M1009 project. I used 2 HD ratchet straps to pull the body in alignment with the front end. Being that the body was off hanging from the ceiling and this is a different M1009 frame I expected a few adjustment. Everything is bolted fast and now and adjusted. I must remove the RED hood and sand it and get the underside cleaned and sanded. I was going to just undercoat the underside and then I thought NO. That is half fast work. I am going to sand it and paint it after all the fussing I did with the fender inside. This hood is about perfect. It was 1986 municipal yellow from new and the K30 truck was inside most of its life. I used it 20 years as a salt spreader/plow truck and the rear frame rotted off of it. I was able to cannibalize a lot of good parts and nuts and bolts off of it. Little Red is still safe in the center bay. DSCF6155.jpgStill wearing the RED bonnet. Have a Great Day. Next up is 5 stock M1009 wheels to be sanded and painted. I am leaning towards the Goodyear Duratrac in the stock size 31 X 10.5 X 15. I have the same tires on my new truck and ZI always liked the Goodyear tires. DSCF5647.jpgThis was in November 2018. just Hanging around.
 

cucvrus

Well-known member
11,274
9,601
113
Location
Jonestown Pennsylvania
Now that the rains have ceased I may get back to work on my project. Yesterday I was at the scrap yard unloading scrap steel and I seen OD green stuff piled up. Lots of parts. Not much I can do but I walked over to the pile and they were pushing back with the loader I seen a brand new gear reduction starter support bracket laying on the ground. I quickly grabbed that up. Not much scrap value. I did see a few other CUCV parts in the pile but they were unreachable. Mainly used OD green fenders and a door. Both were in rough shape but not rusty. I suspect they may have been new. I am still amazed at the amount of new parts that are discarded. I was at the local GM dealer and they were cleaning up things in the parts department. They had fenders and doors that were getting scrapped. They said minor dents and dings from parts orders. GM does not want them back. I don't need any Buick or late model GM truck doors. They stack them up neatly in a roll off container. Have a Great Day. I hope to be wheeling later today.
 
Top
AdBlock Detected

We get it, advertisements are annoying!

Sure, ad-blocking software does a great job at blocking ads, but it also blocks useful features of our website like our supporting vendors. Their ads help keep Steel Soldiers going. Please consider disabling your ad blockers for the site. Thanks!

I've Disabled AdBlock
No Thanks