hummer4x4guy
Member
- 771
- 4
- 18
- Location
- Lansing, Mi
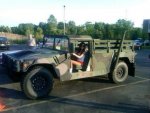
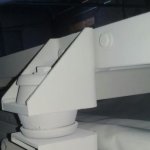
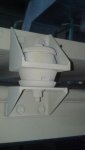
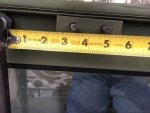
Nothing much to show now but the parts...
Hope to have it installed this week with free time after work.
Hope to have it installed this week with free time after work.
Attachments
-
 52.2 KB Views: 60
 -
 56 KB Views: 57