ICEMAN7273
New member
- 12
- 0
- 0
- Location
- Noma Ca
Its A Long Post of Progress of the last 21 months of my Military jeep Build. I have done everything myself except the sand blasting. Hope you enjoy the build progress. I copied and pasted this from another thread i started since day 1. ^party0031
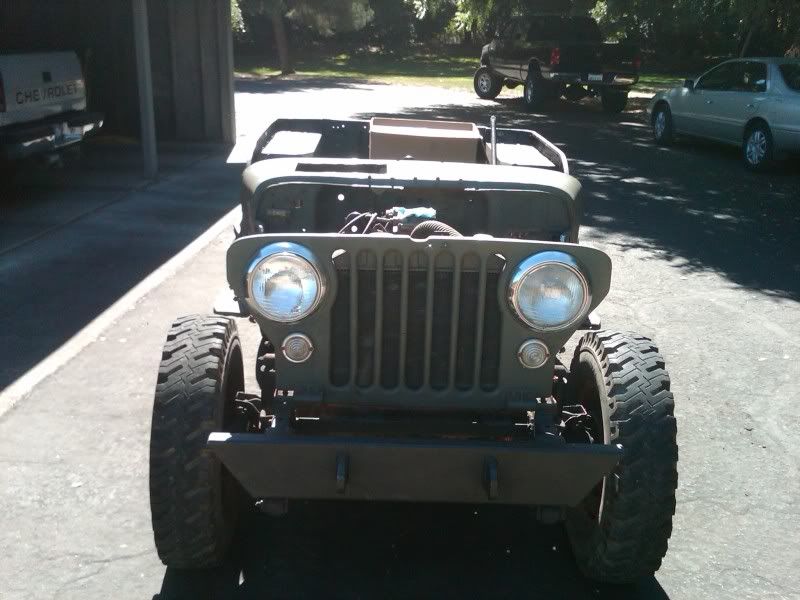
These Pictures are from the Last 3 weeks of frame up restore on the M38...Though I would play catch up and post some stuff
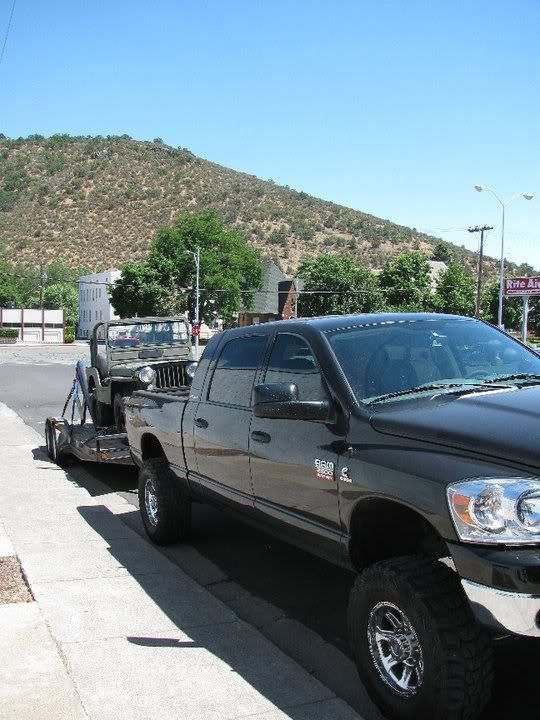
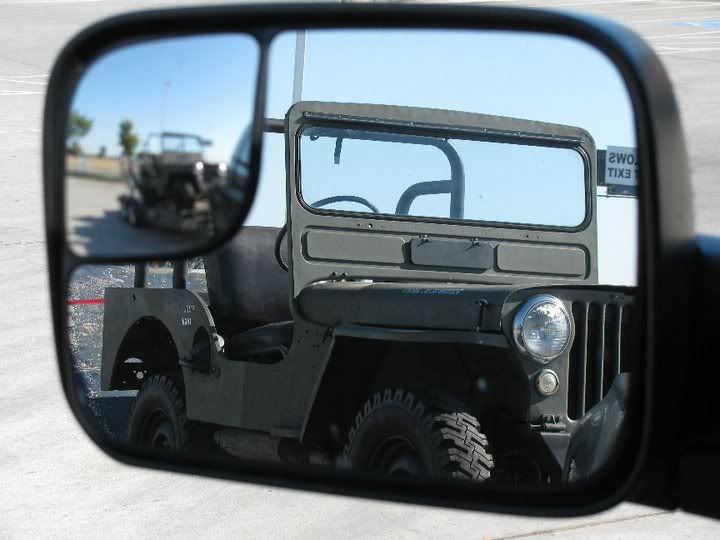
Picking up Jeep in Coquille OR.(Redding was 108 degrees coming home)
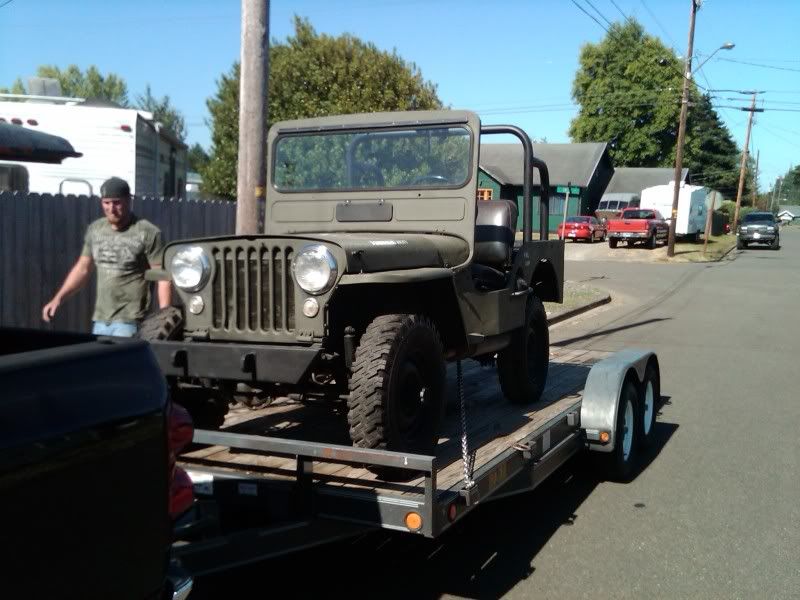
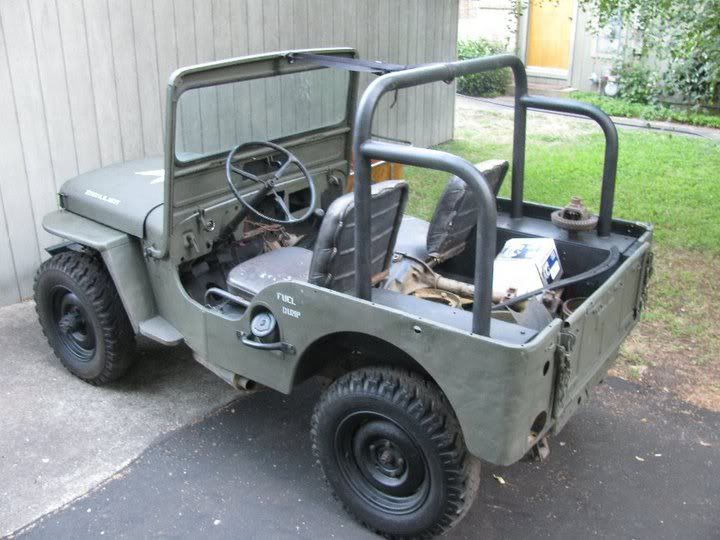
Day i Dropped off at parents house
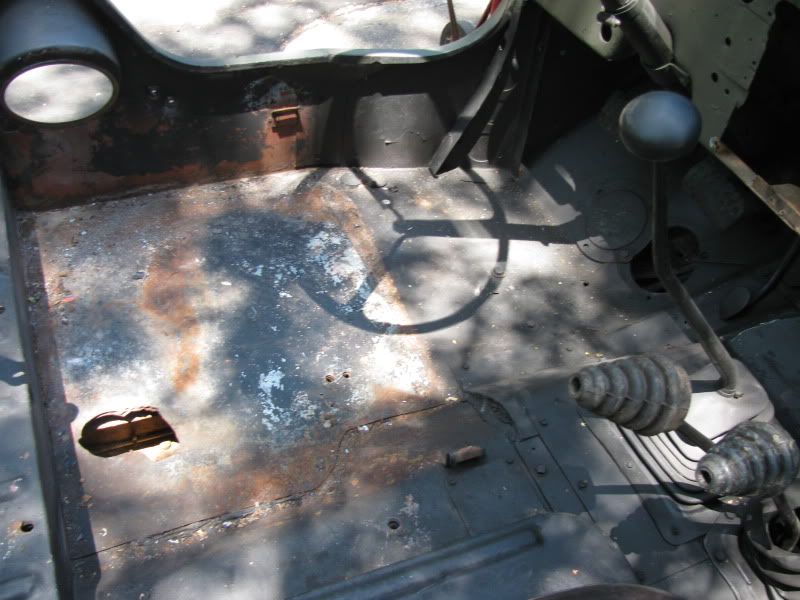
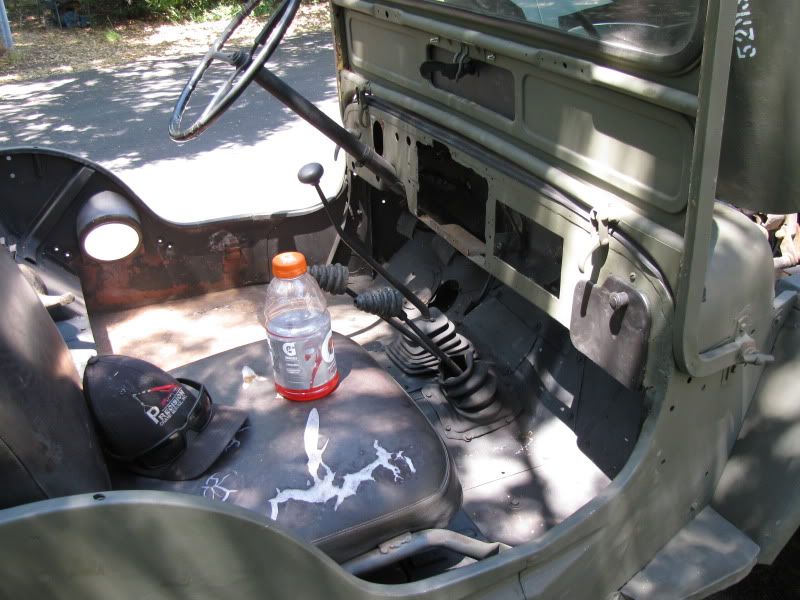
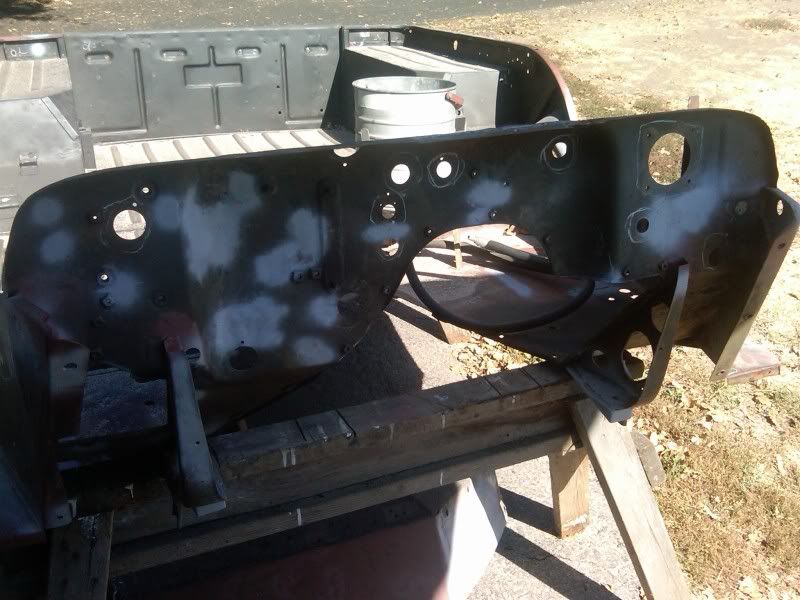
The Exhaust, Gas Tank and Wiring all got Stripped out (Found the first minor Rust Spots)
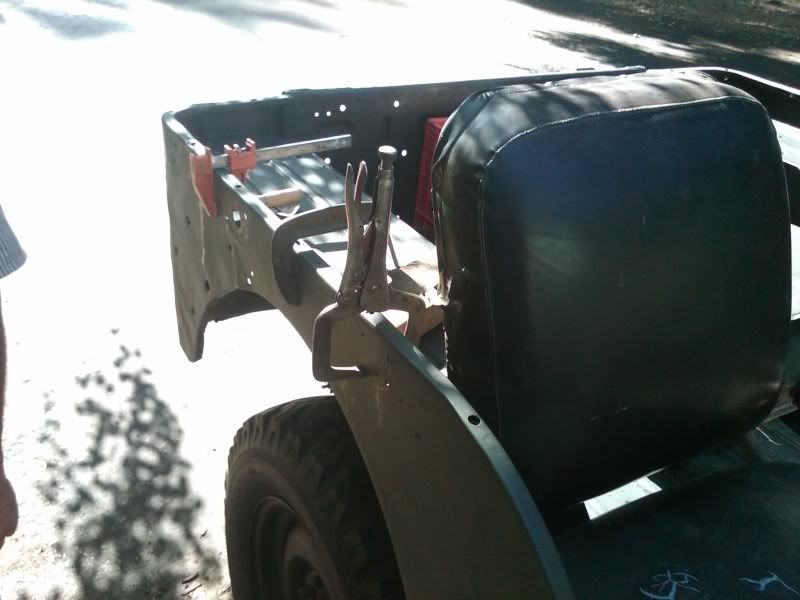
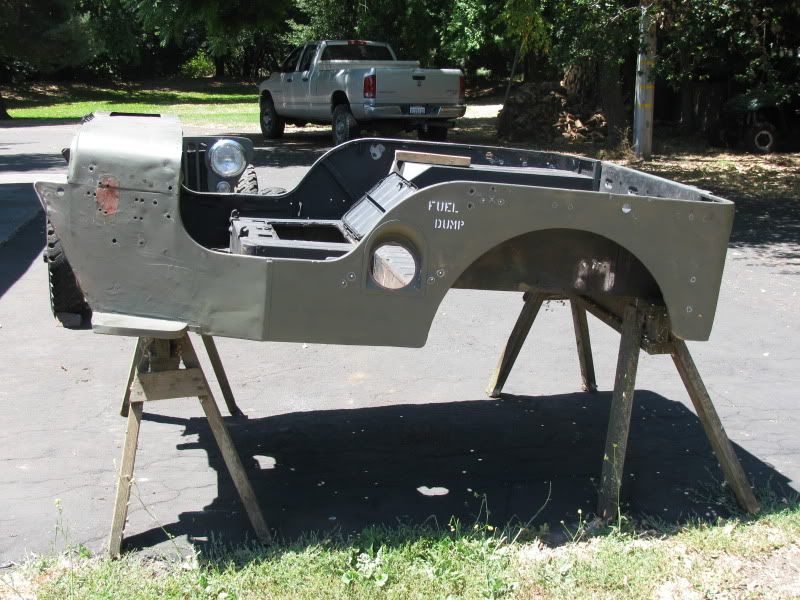
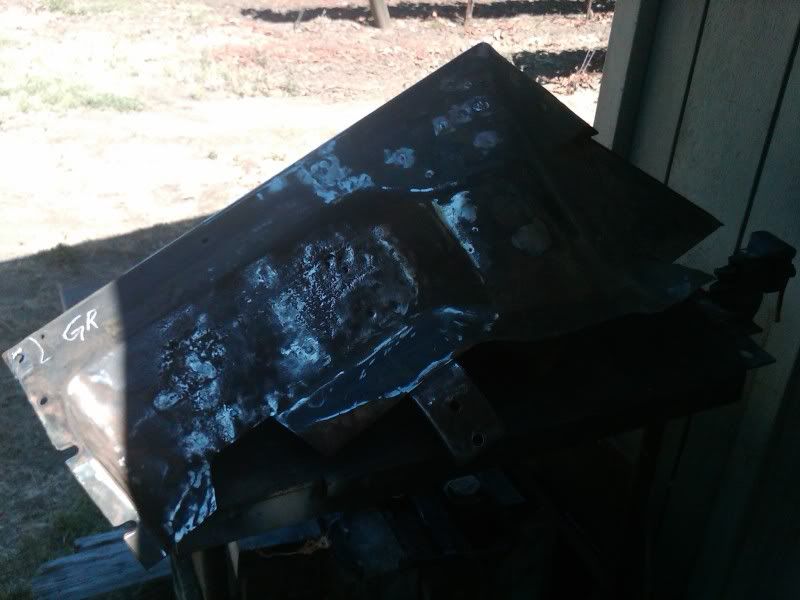
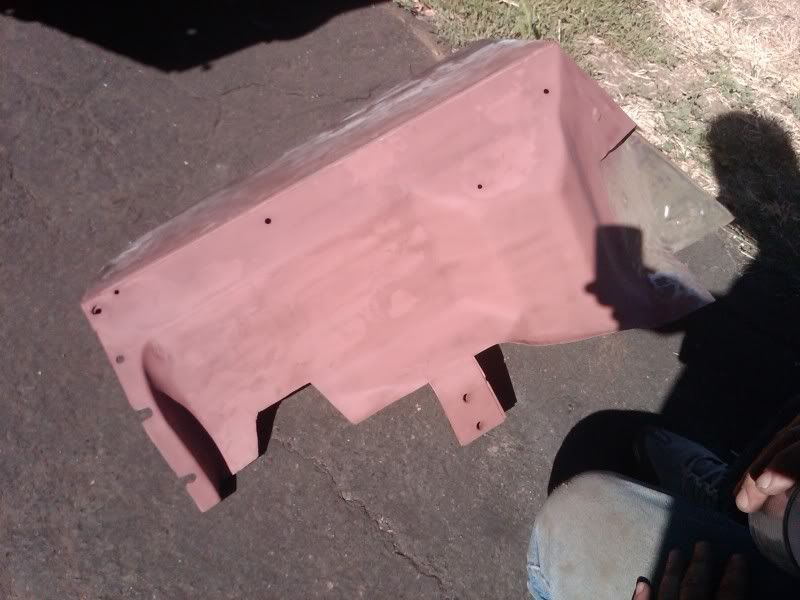
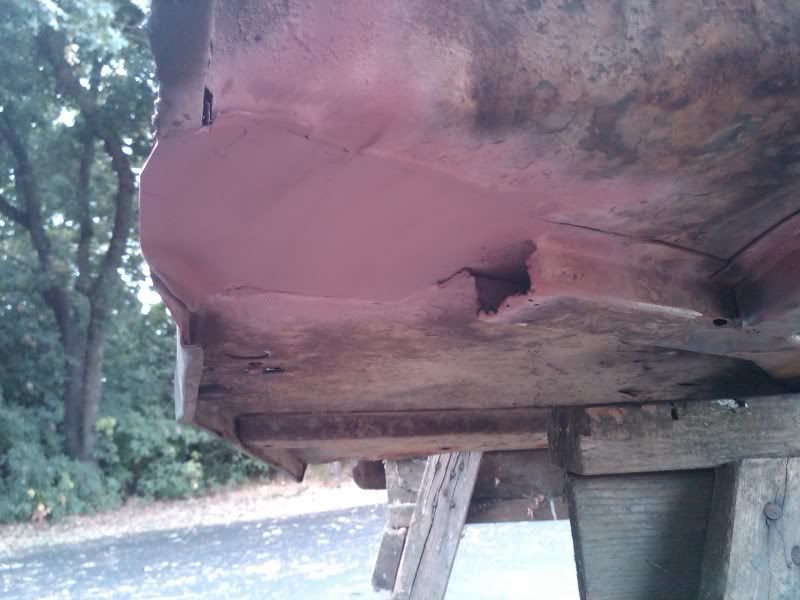
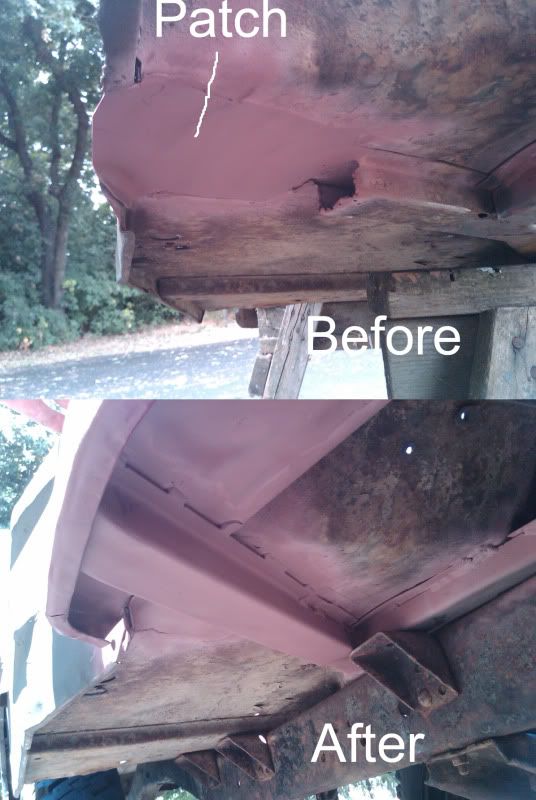
Rear Panel Repair
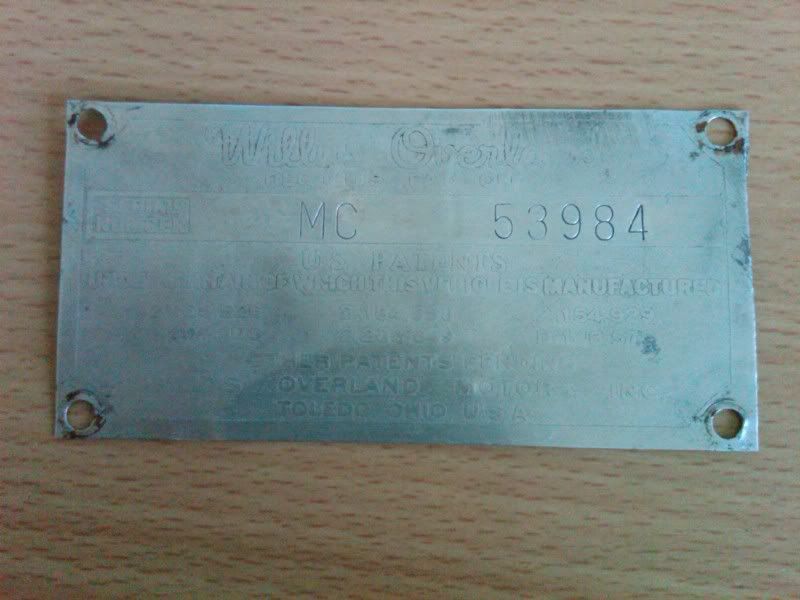
Found Original Spec. Plate on Tub. Had to strip 4 coats of paint to see what it said.. Jeep number is 53,984 of 61,423 Ever Built. Delivered to the war dept. Feb 52
Removed Tub from frame, Made up drawings of new sheet metal Body Frame Mounts, Found Original OD Green paint on frame and body.
Made sheet metal tabs for broken and rusted fender and fender mounts, Made new sections of of floor panel braces out of 16 gauge sheet metal. Cut out Passenger side step.
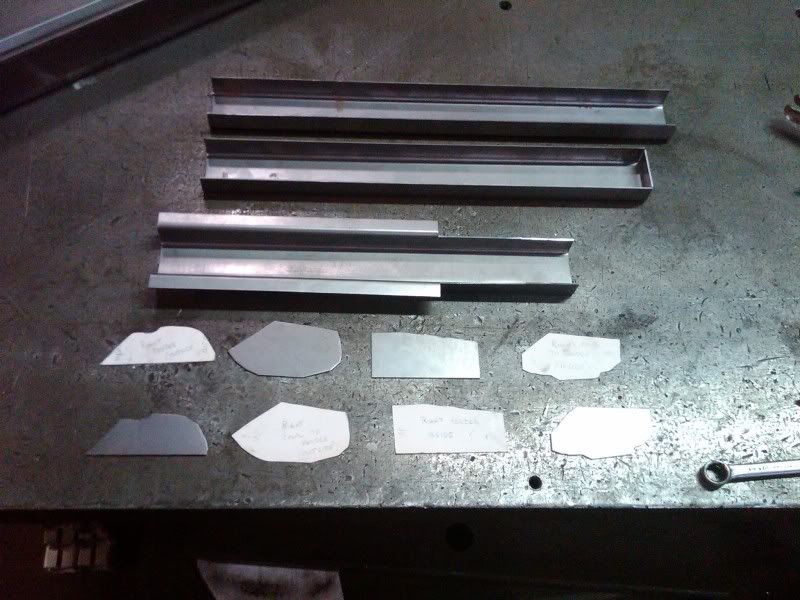
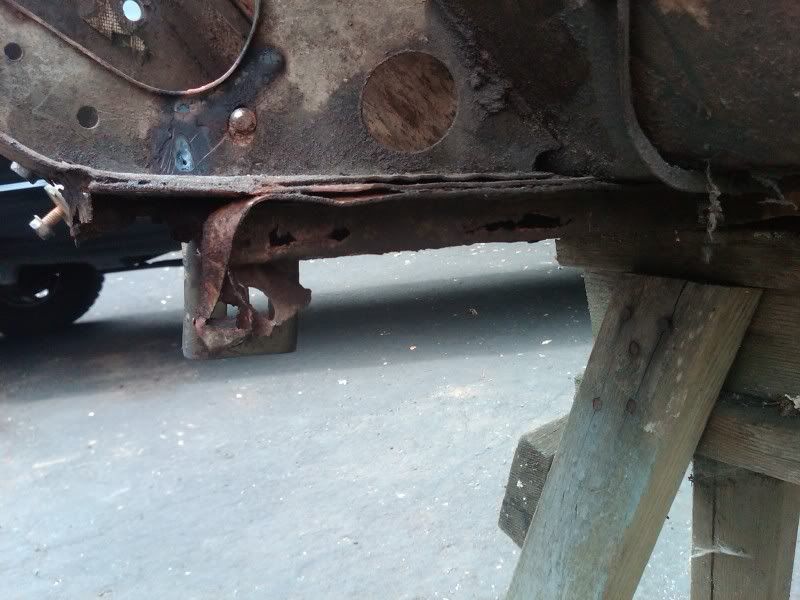

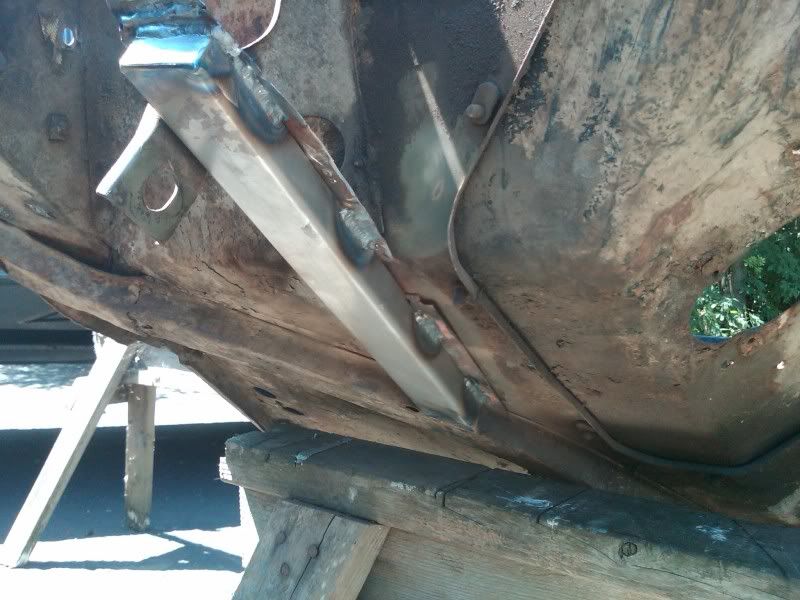
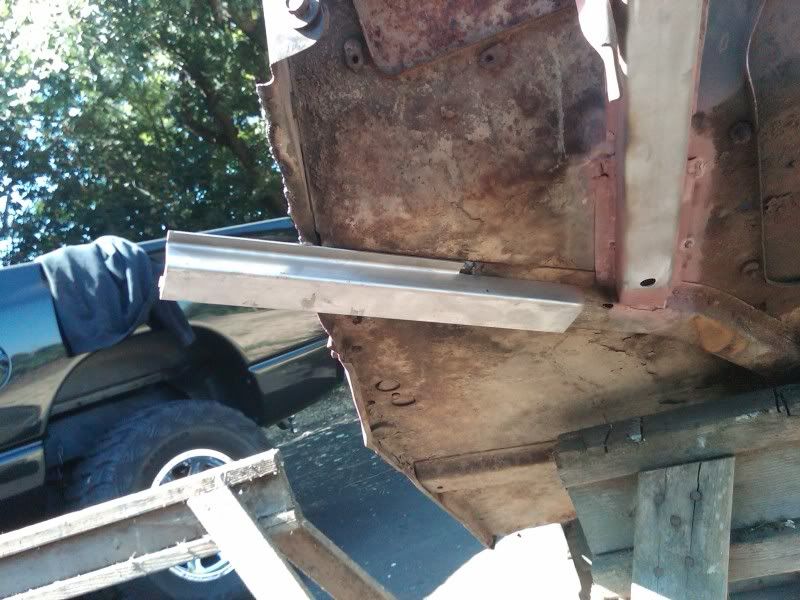
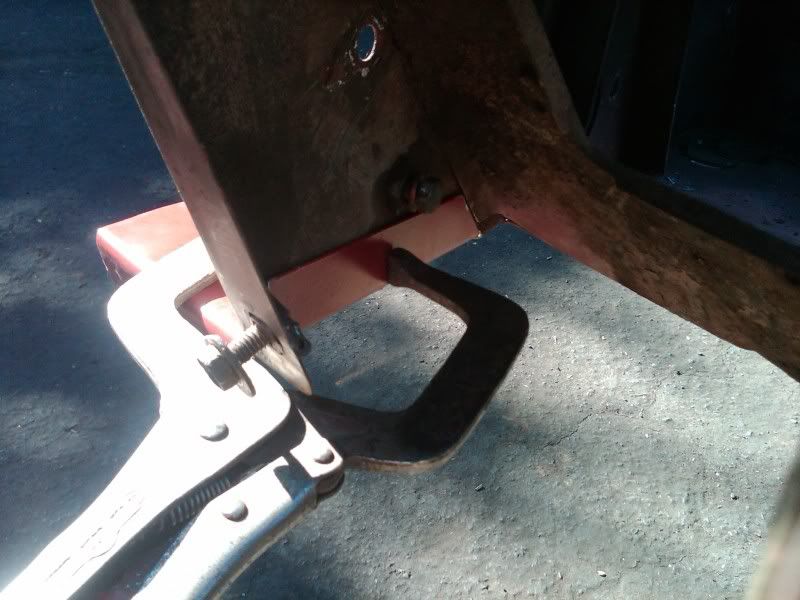
made this channel to slip over part of the original frame. Before i weld in in place i need the new step and fix a patch of rust
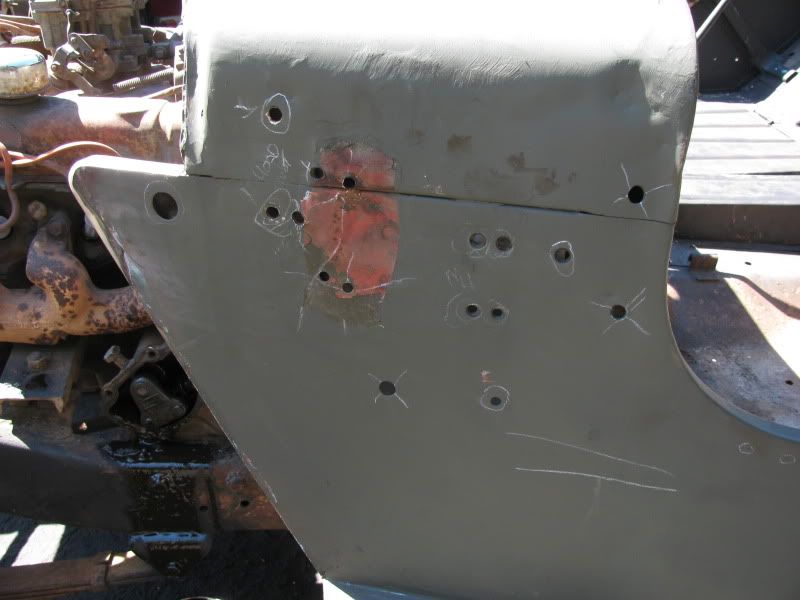
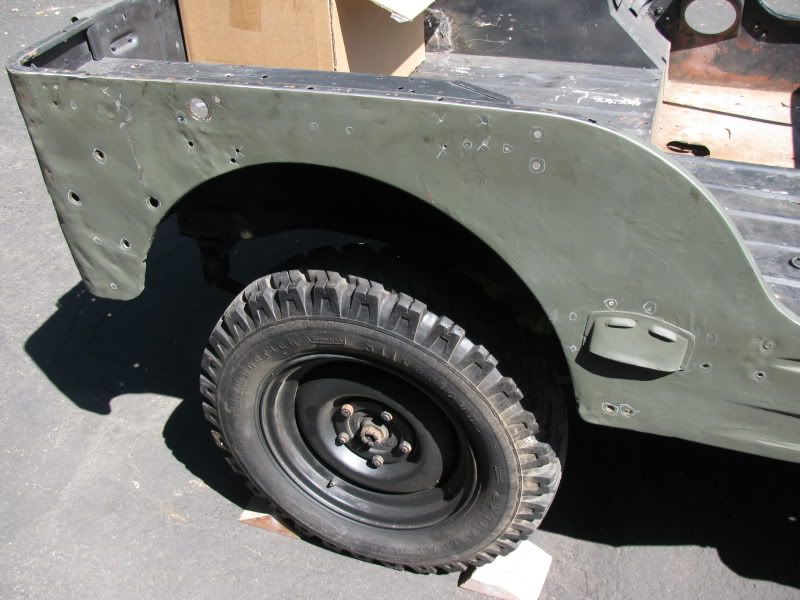
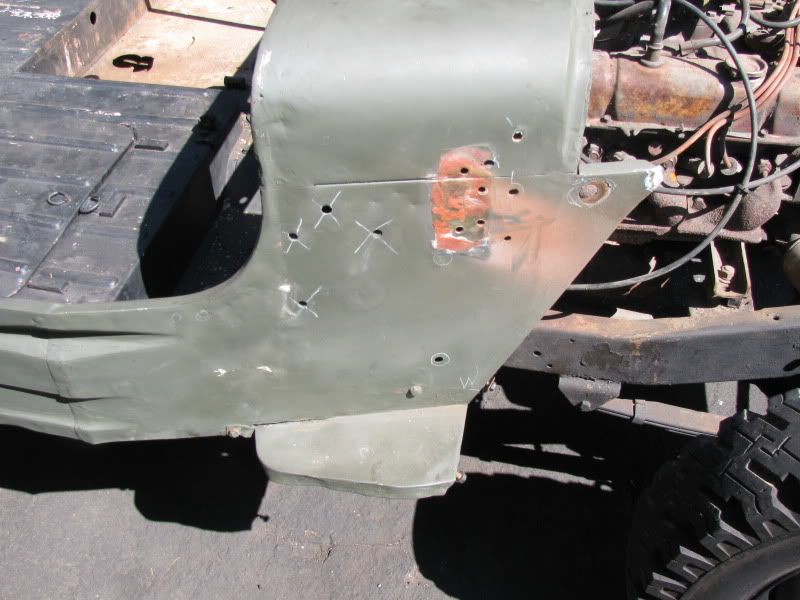
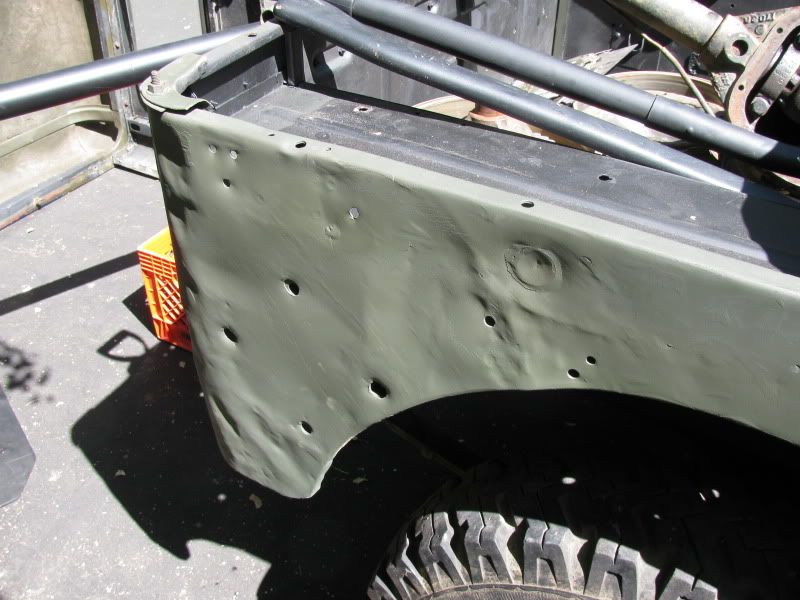
My Dad is doing the Passenger Fender Work, A lot of cracked supports and missing sheet metal. He welded up holes throughout the years and is rebuilding the fender. (Leaving Factory holes)
This was the fender 1 week later
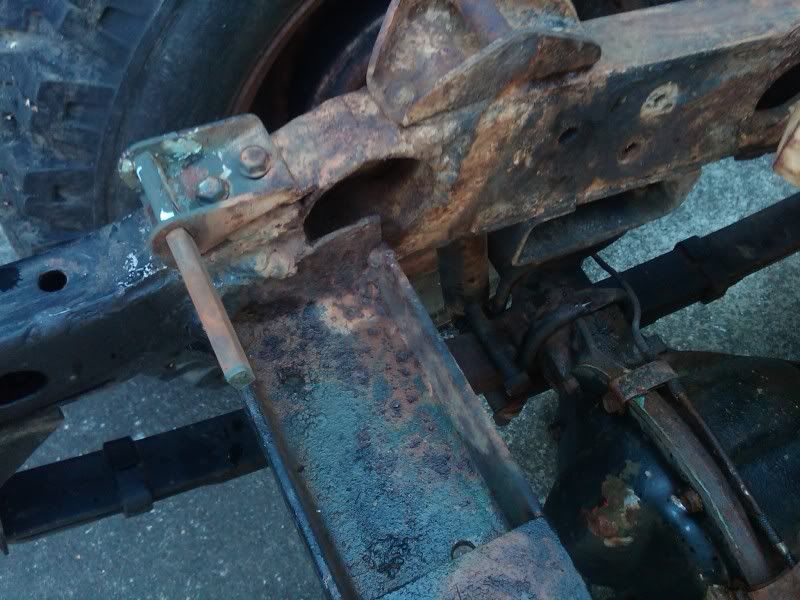
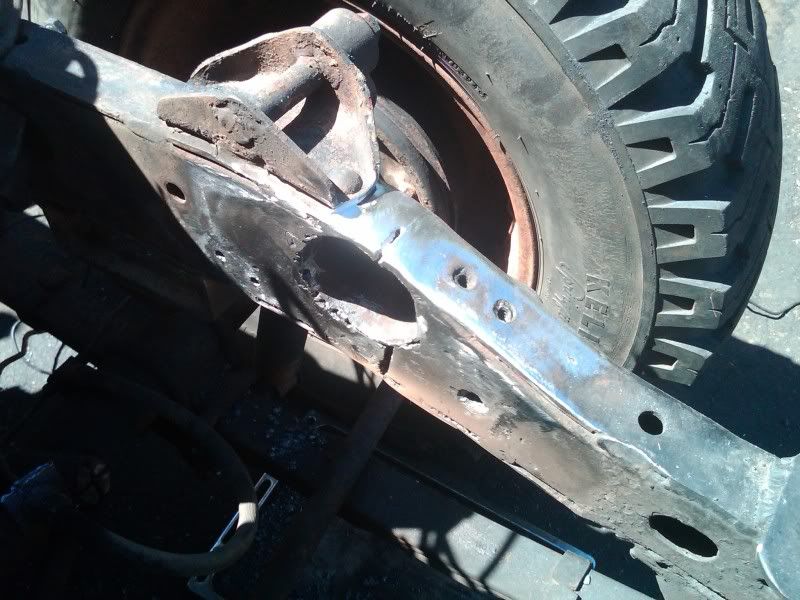
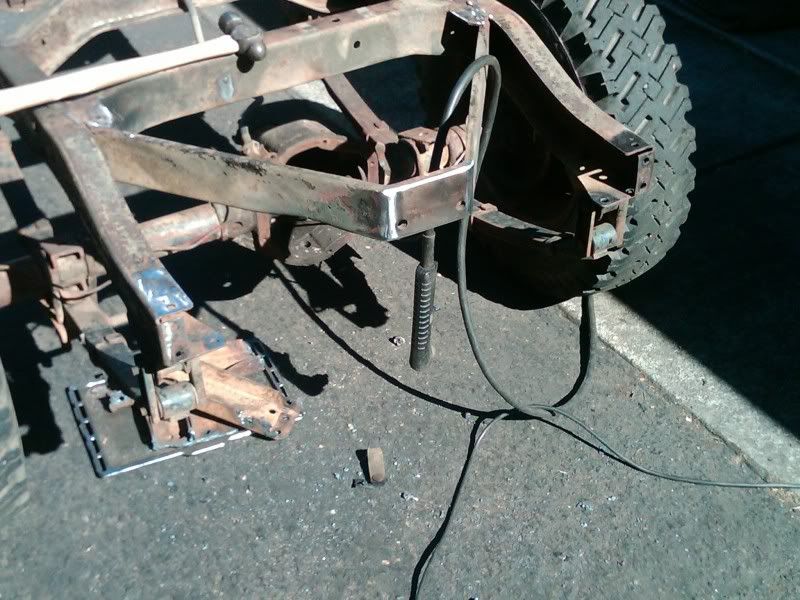
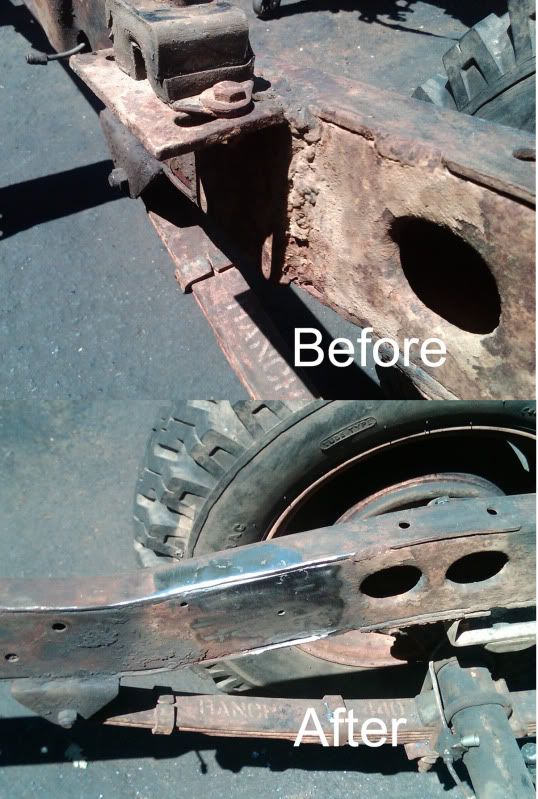
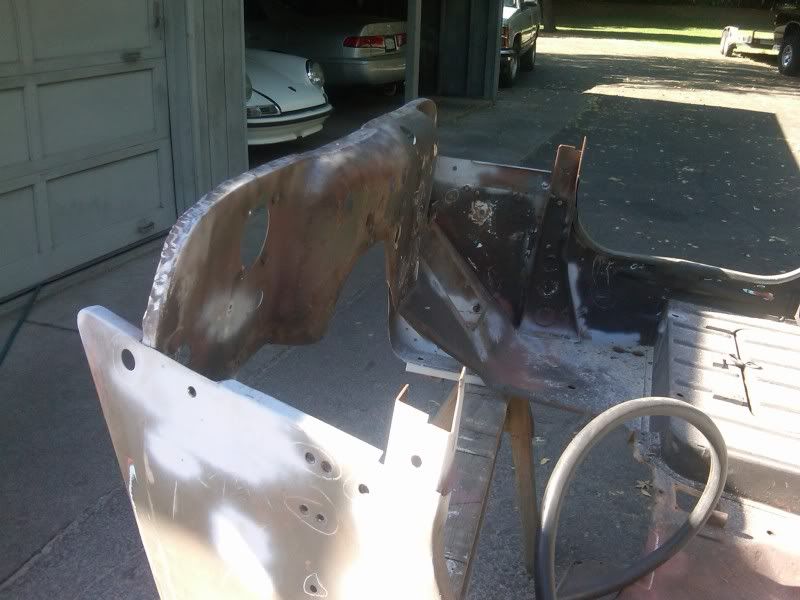
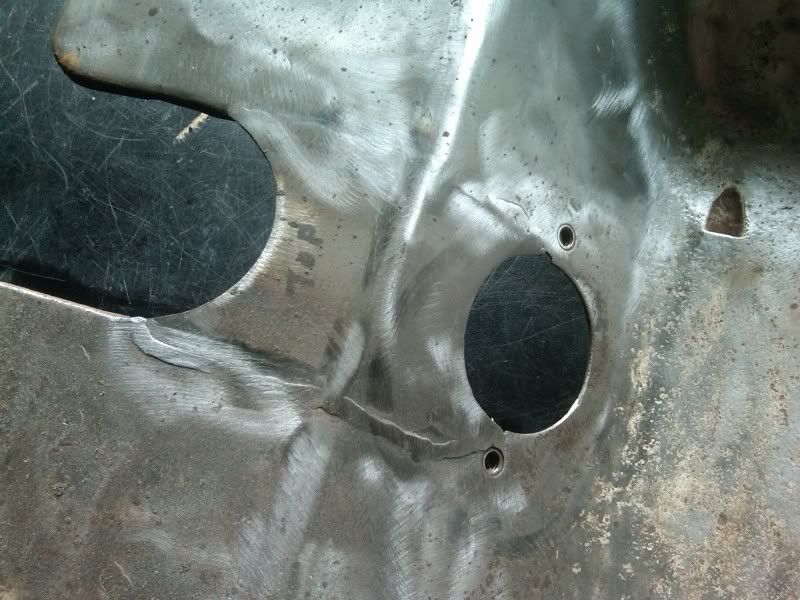
Changing the oakie Bubba Mod steering that came in the jeep. Someone fab a channel to support the steering and radiator. The Radiator was in the wrong location by 4". cut out all the old welds and channel. Fixed the top of the frame. The hole in the frame is where the original bell crank support was installed, why it was removed is beyond me?
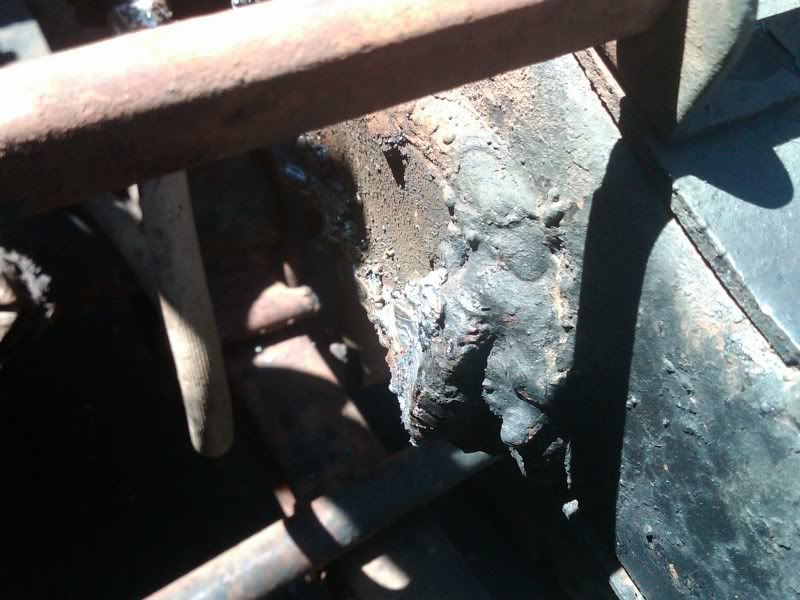
After plasma out the crappy channel and welds
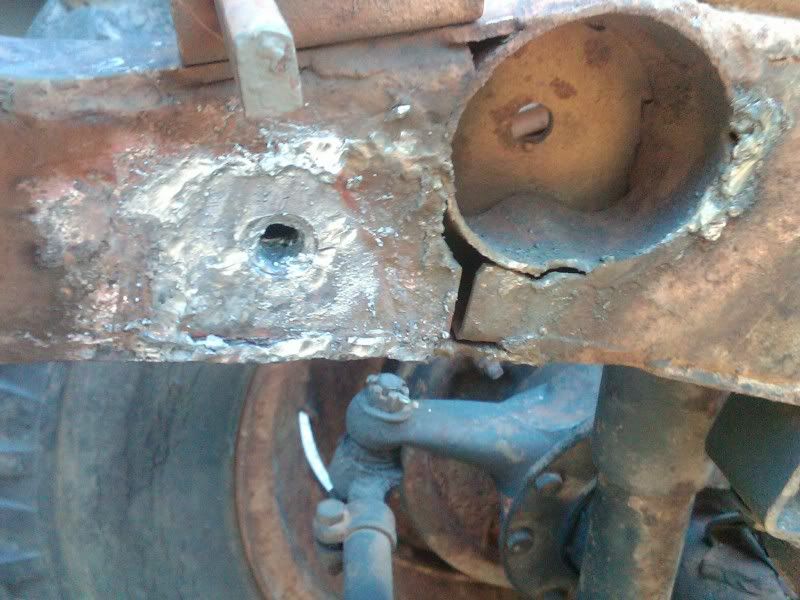
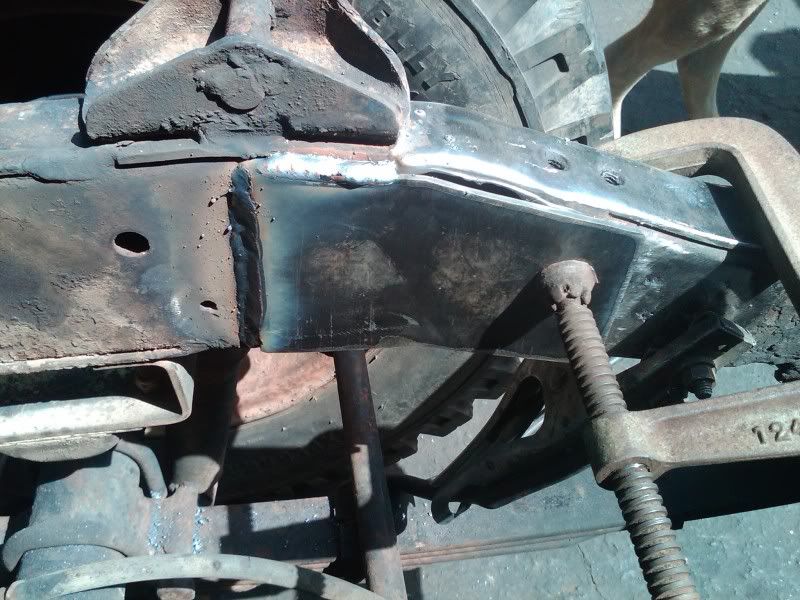
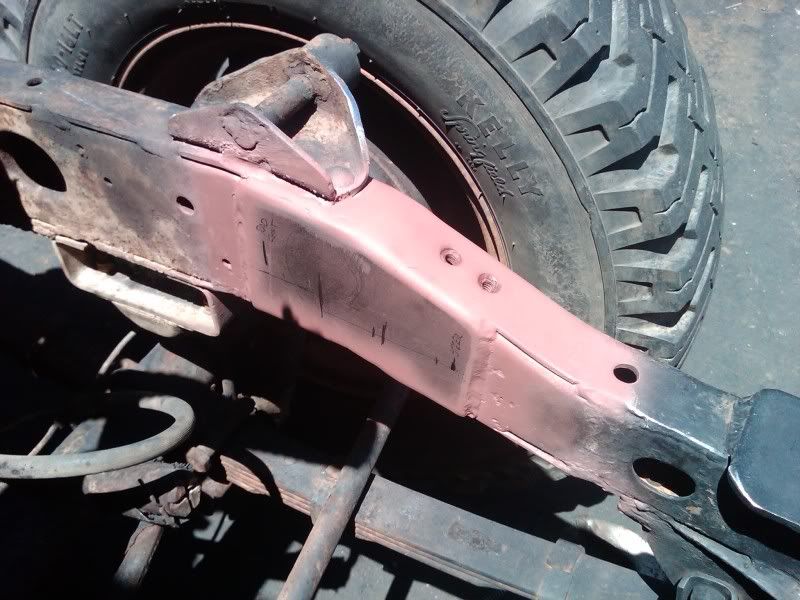
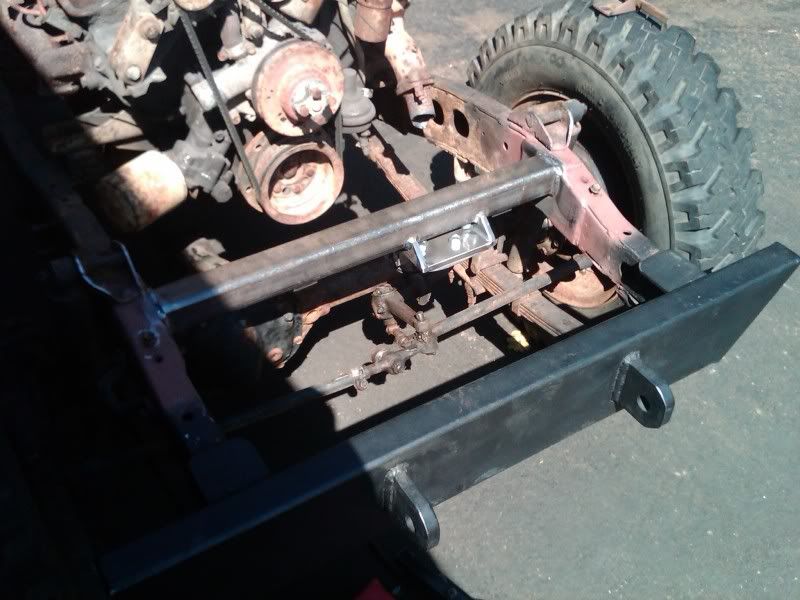
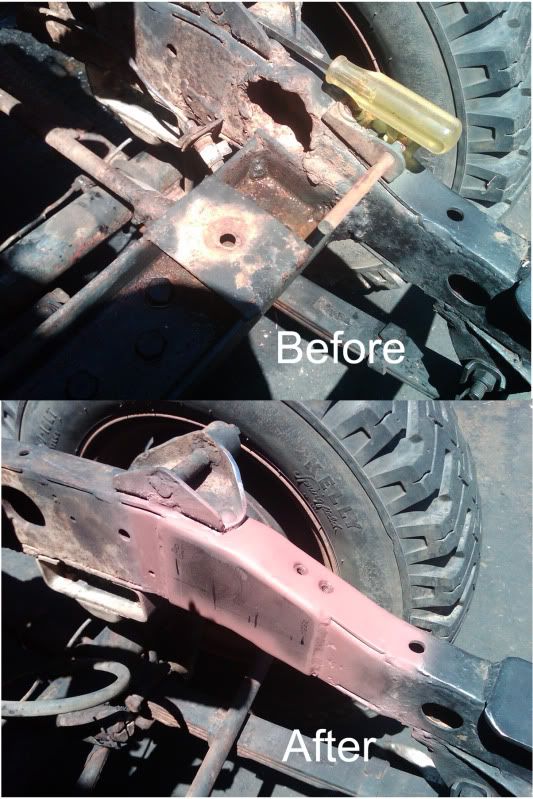
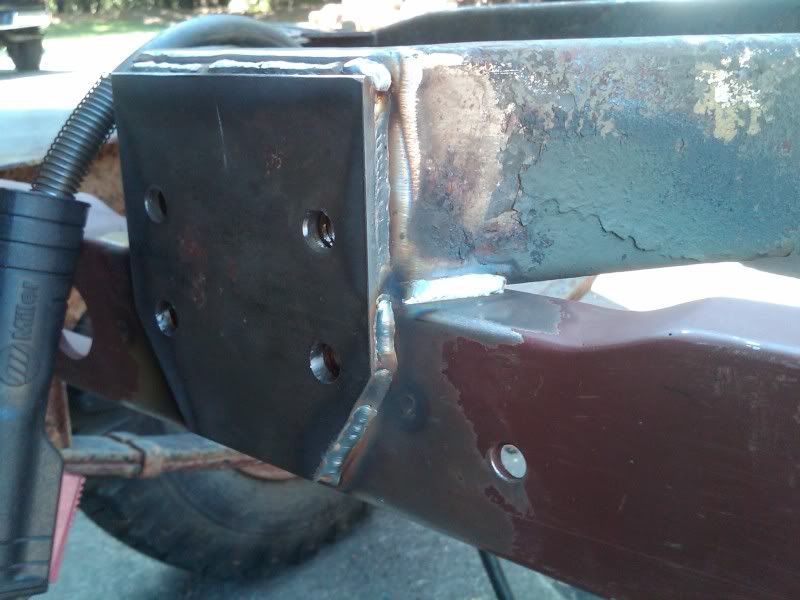
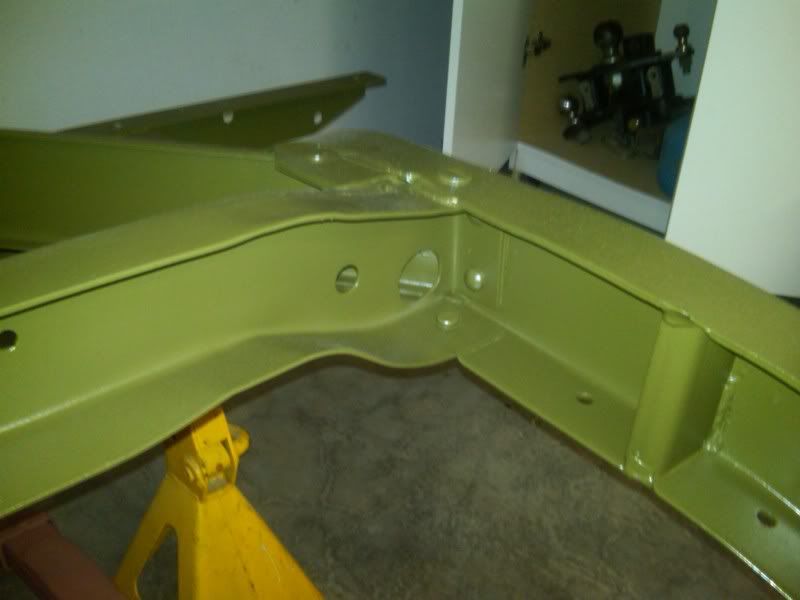
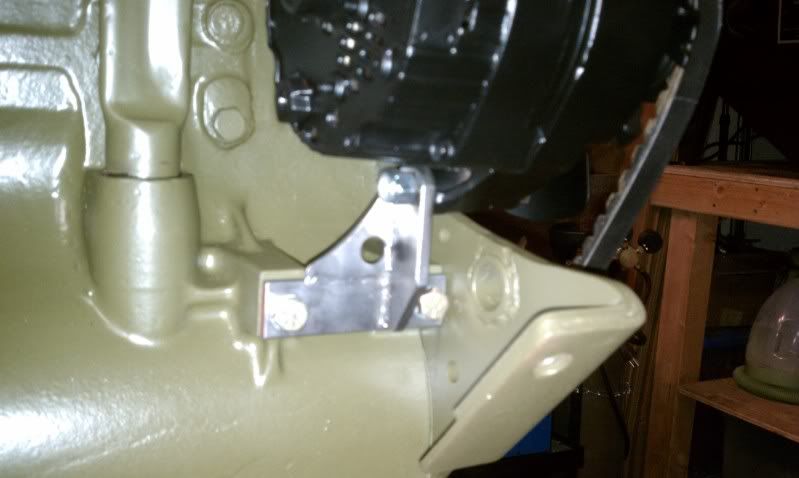
I cut the support plates out with the plasma, And jigged up to the frame. I welded in the plates. Ground down the plates to look flush with the frame. I Designed the new steering/Radiator support since the bell crank support tube was missing when I bought it. Everything should be close to factory locations.
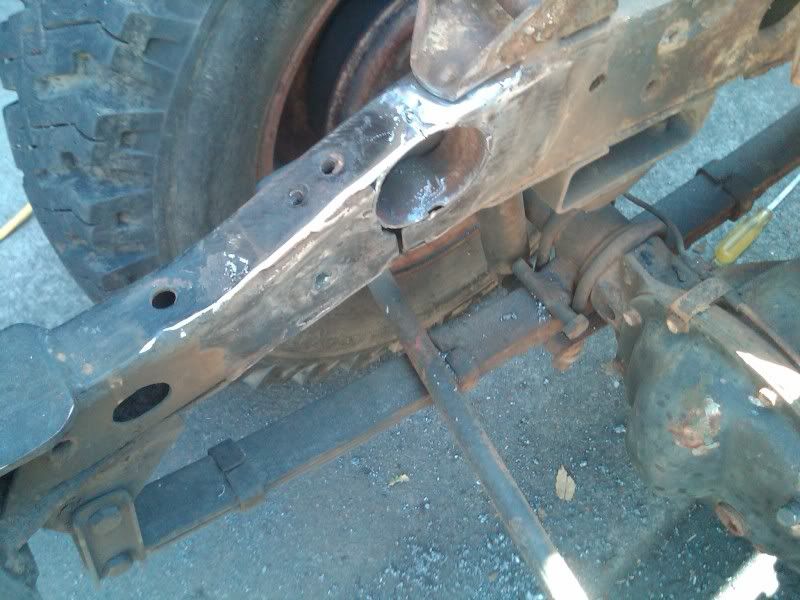
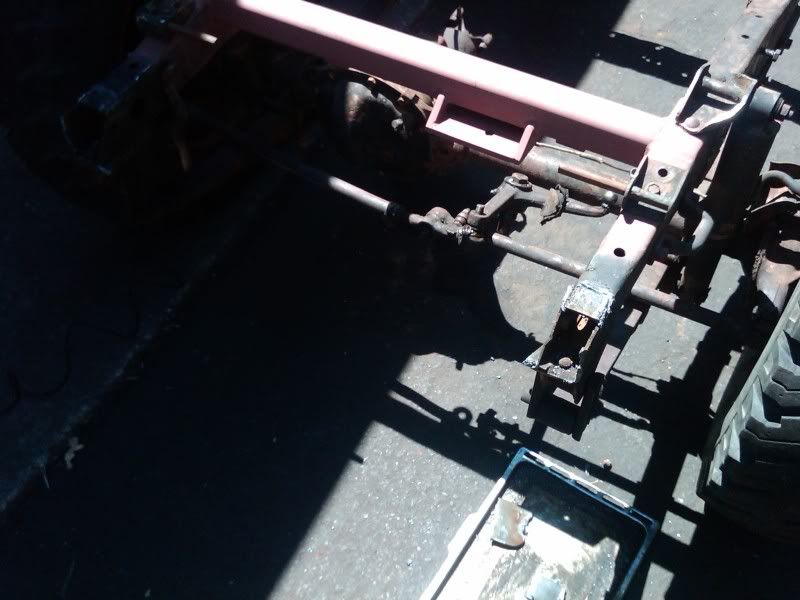
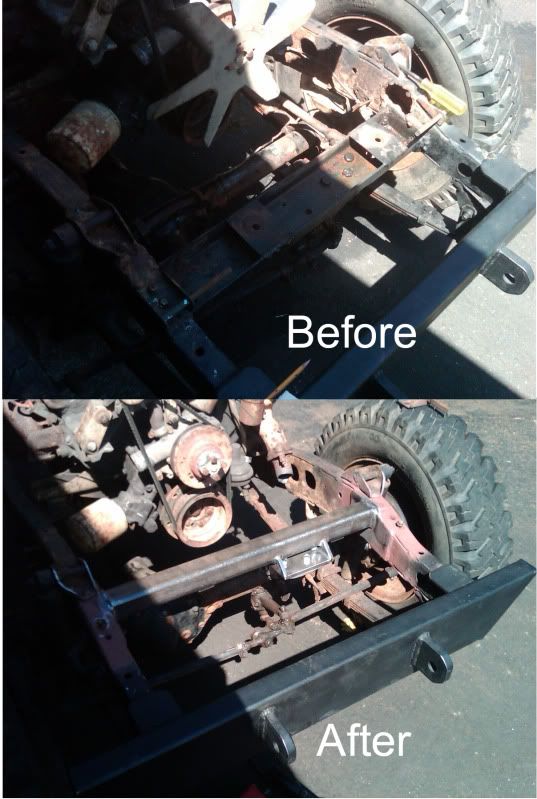
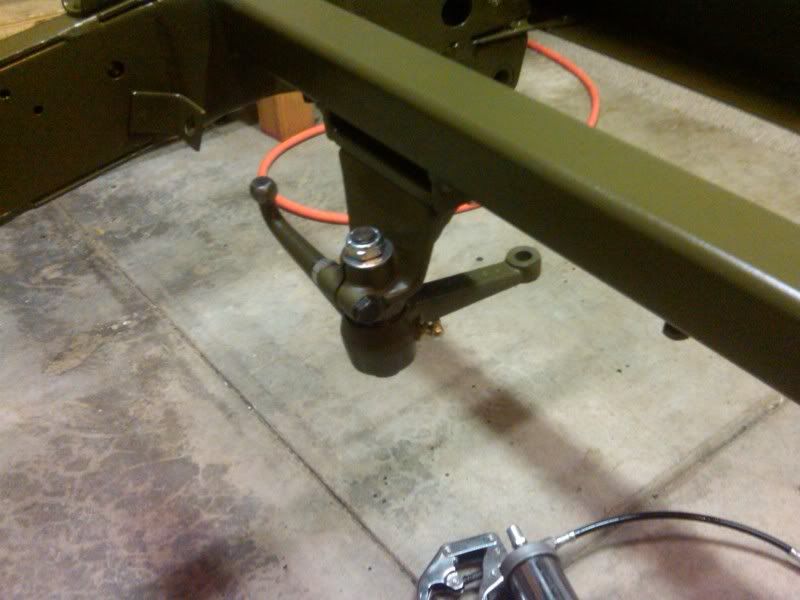
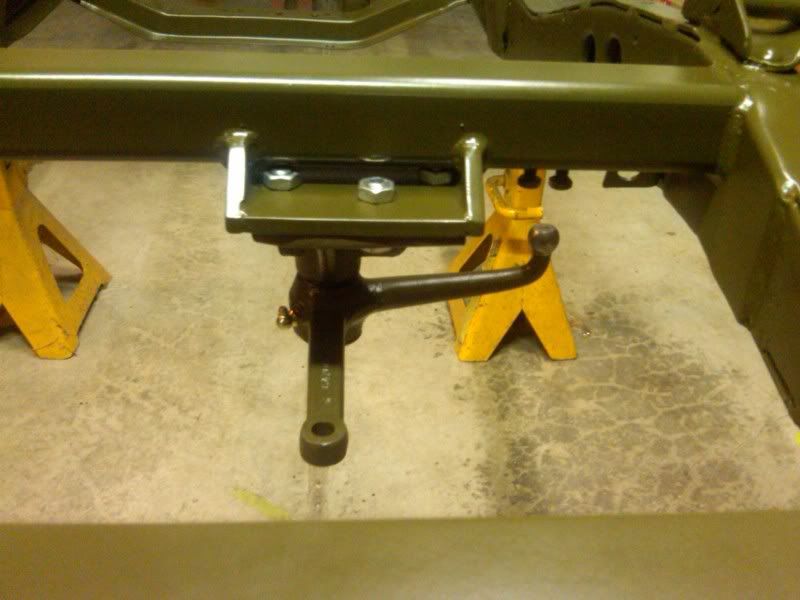
I finished building and welding the new Bell crank and radiator support bracket today, Came out good and should put everything close to stock location.
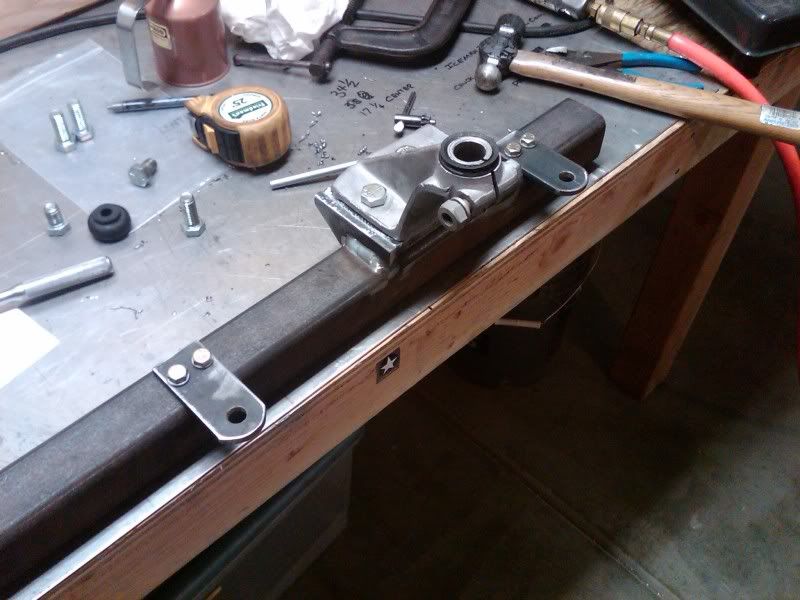
Here is the new support welded in place
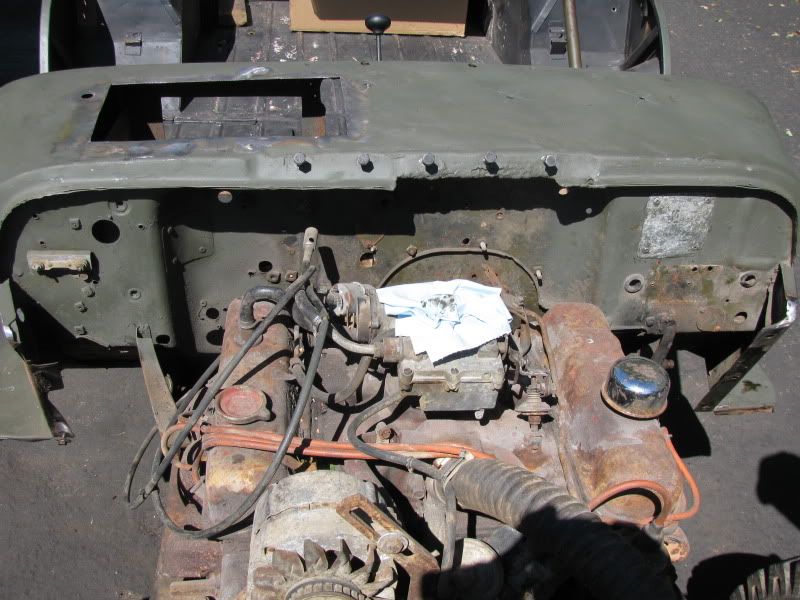
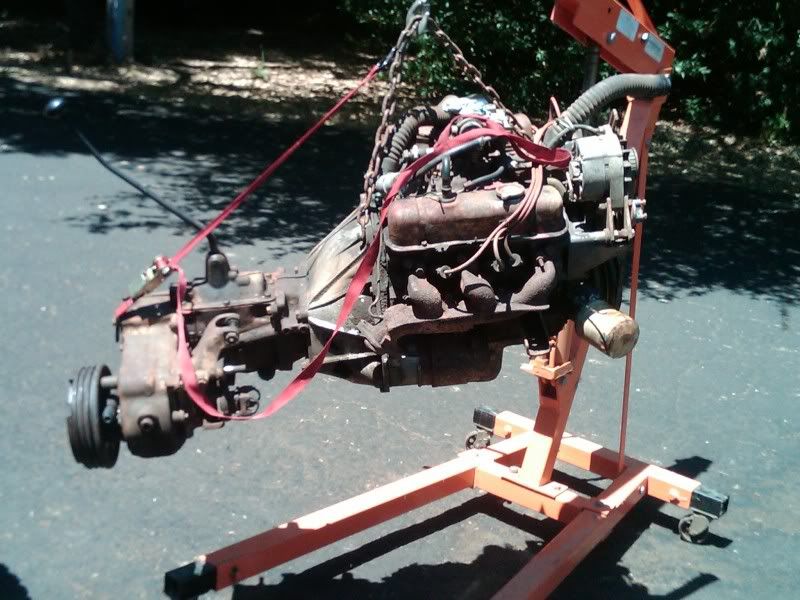
Pulled the engine and trans
Another horrible weld job, makes me sick. These mounts was use for the Buick V6 Conversion (Going back to 4 cyl.)

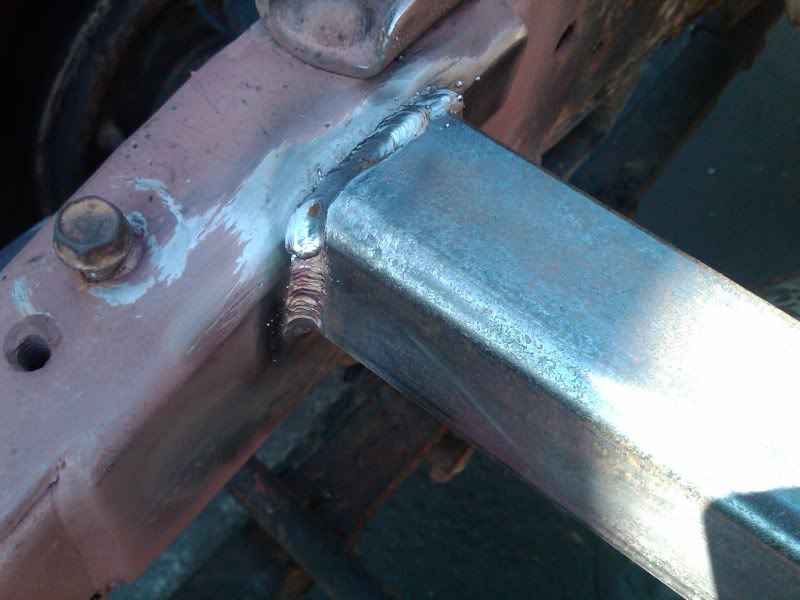
after cutting the oakie mounts off i found the whole frame was cracked from the bad welds, re welded and smoothed out
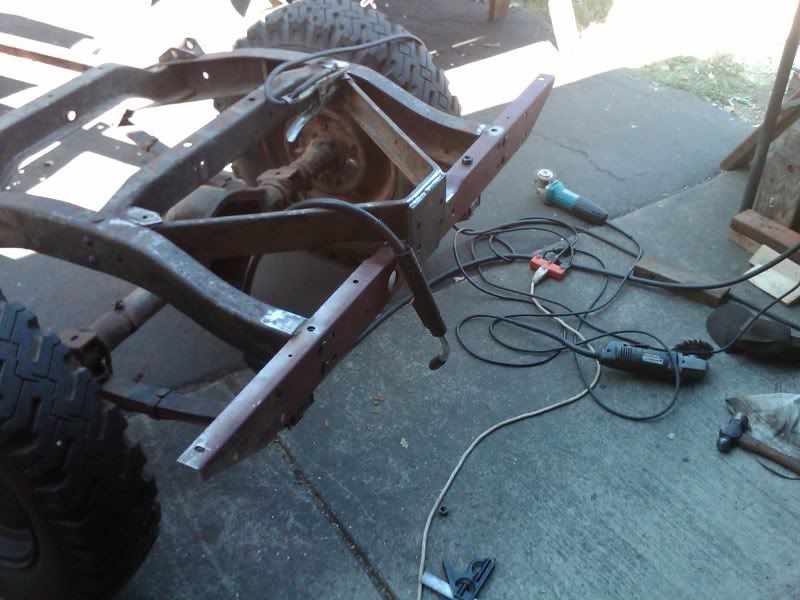
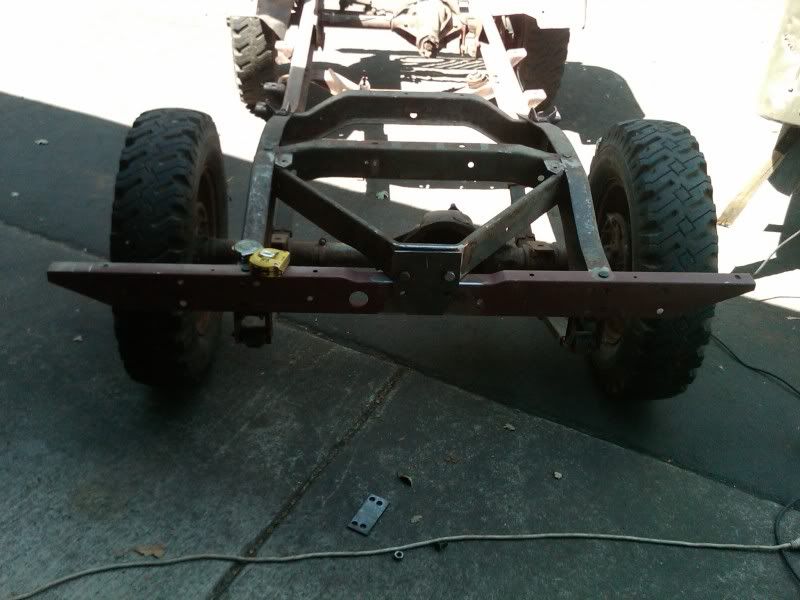
All prepped and ready for new rear bumper to be fitted and rivet on (Old bumper was missing both ends)
Cut the bumper off, was more of a rock crawler style (ordered NOS stock m38 bumper)
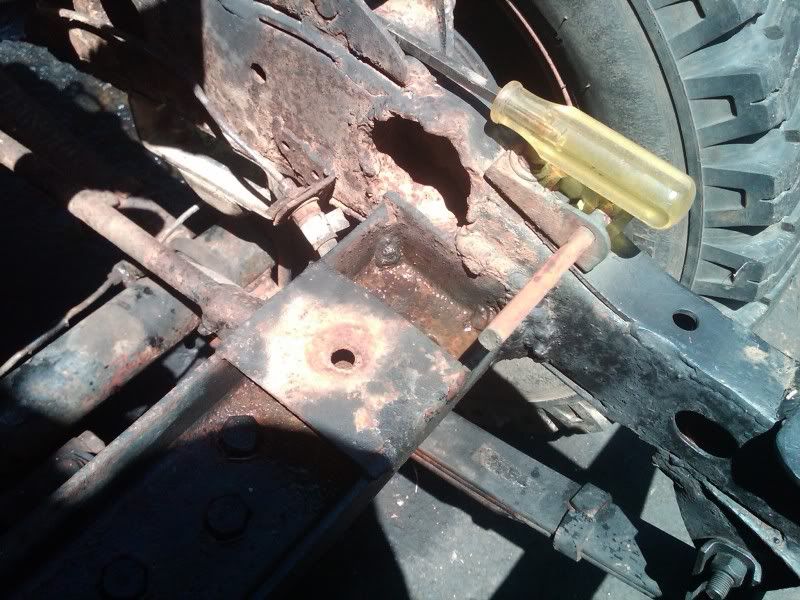
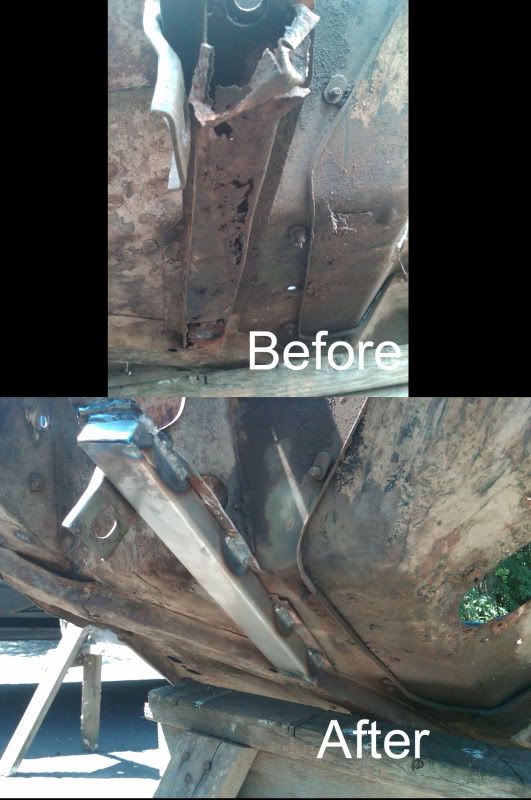
Found a rust spot on cowl support, put in a patch piece before the step and channel can be fitted

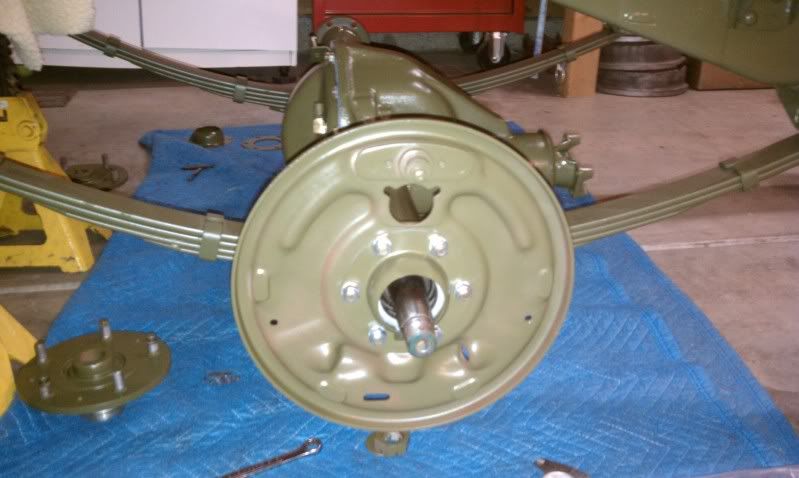
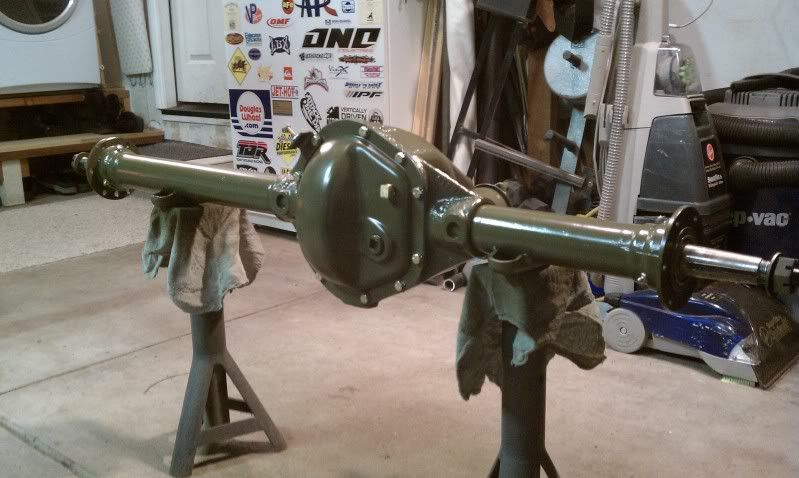
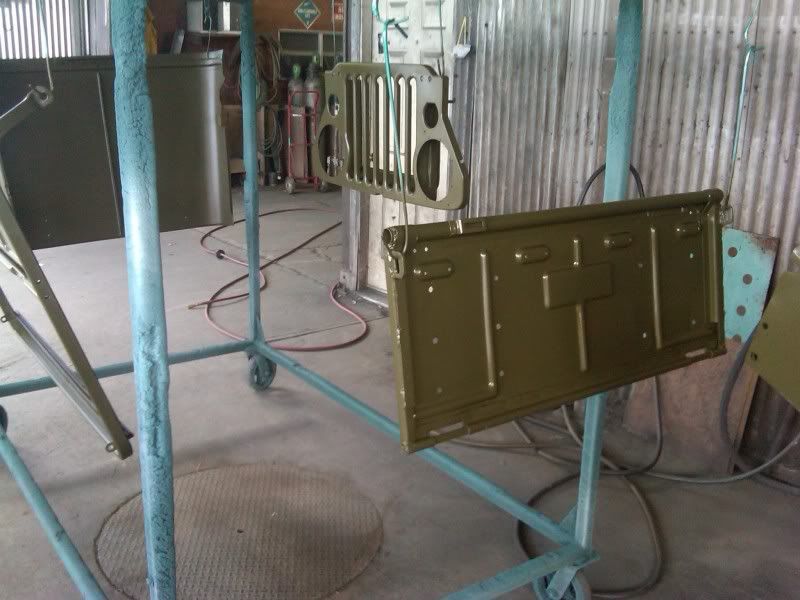
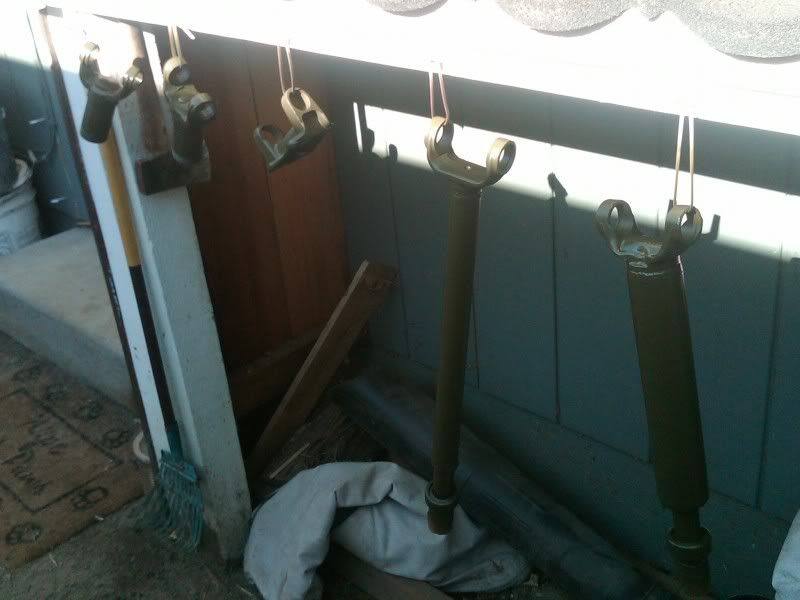
Tested the OD Semi Gloss Green on front and rear Drivelines (Love the Color) It's a perfect match to the original green that the jeep got from willys
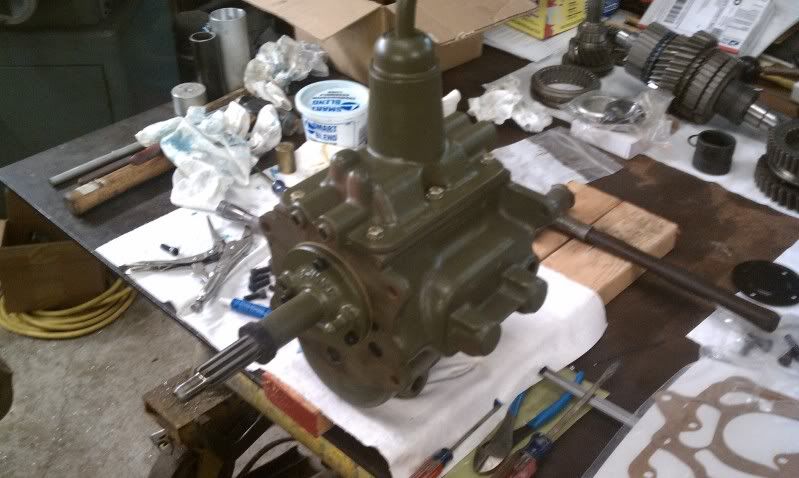
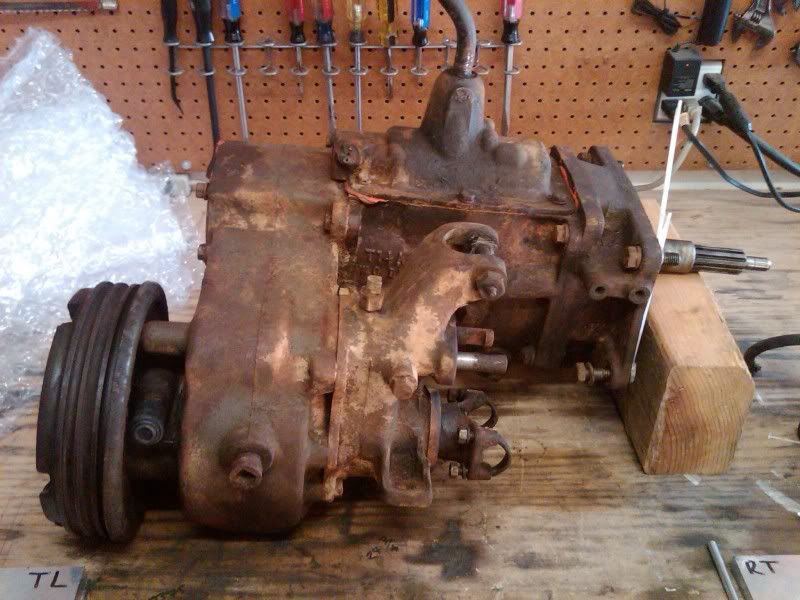
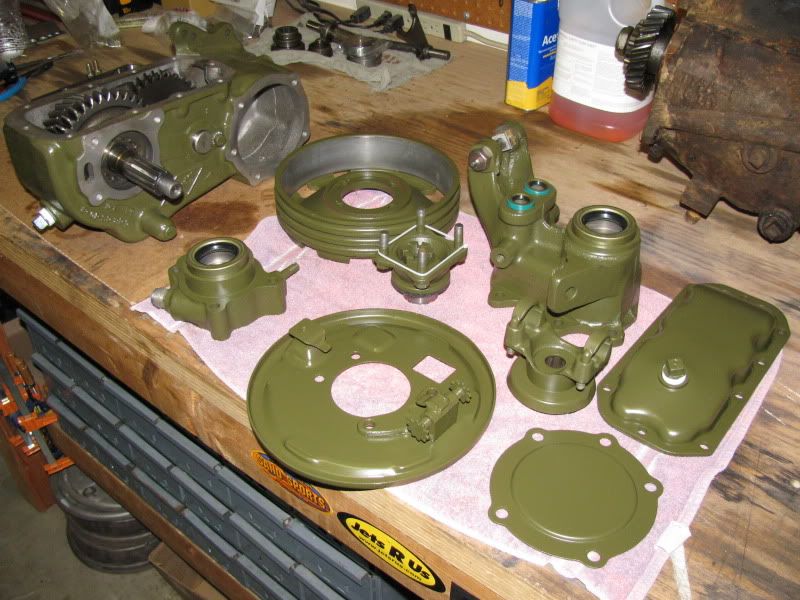
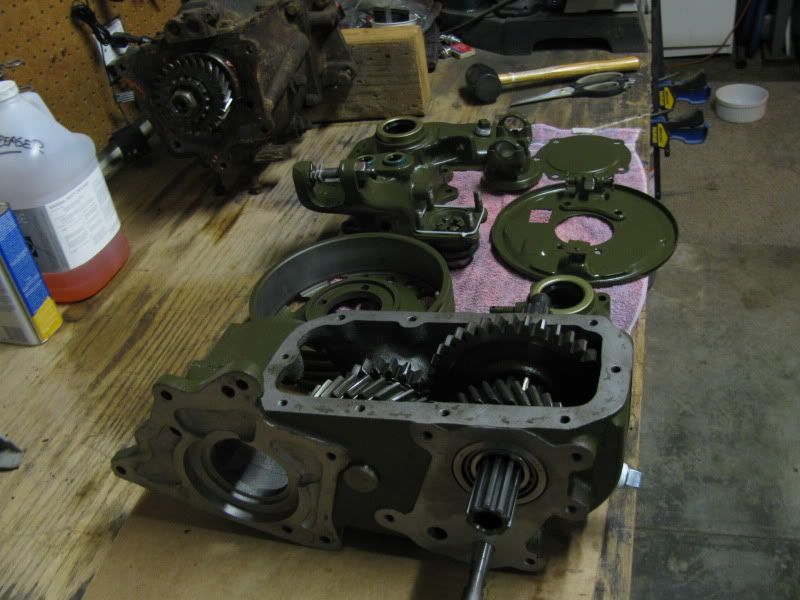
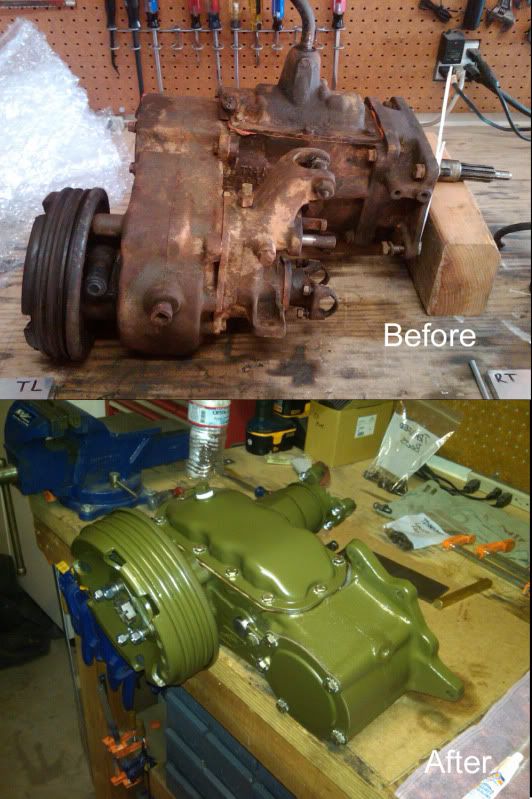
Started to tear into the trans and transfer, going for full overhaul, seals and new OD Green paint
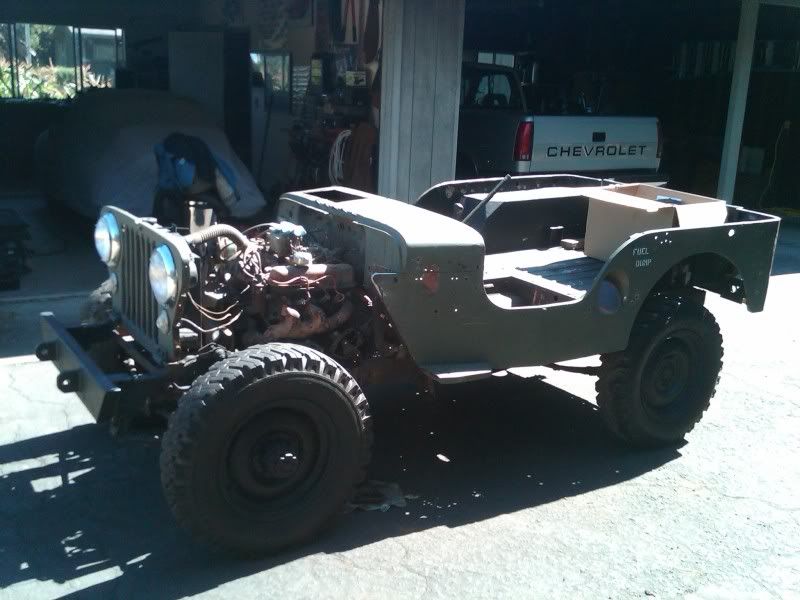
Some more pictures of the slow progress of the jeep.... Found and Picking up the original L-head engine Sunday for the jeep
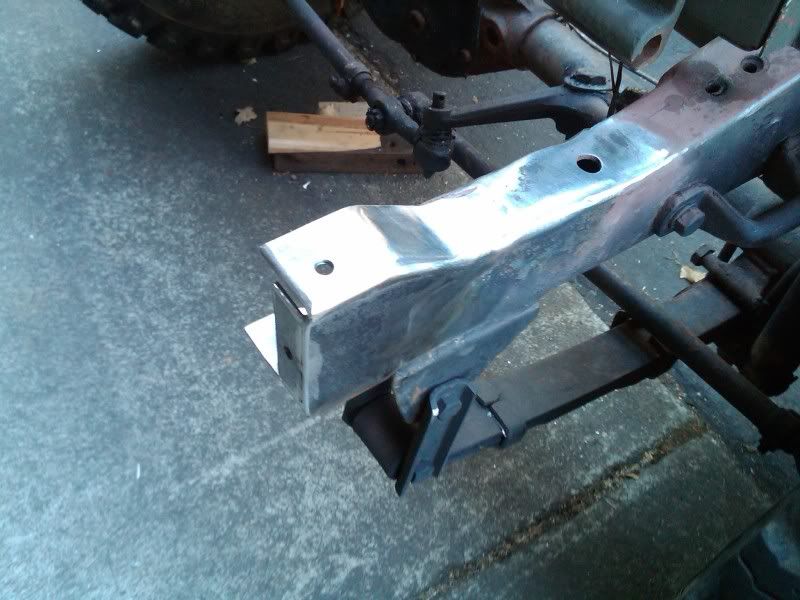
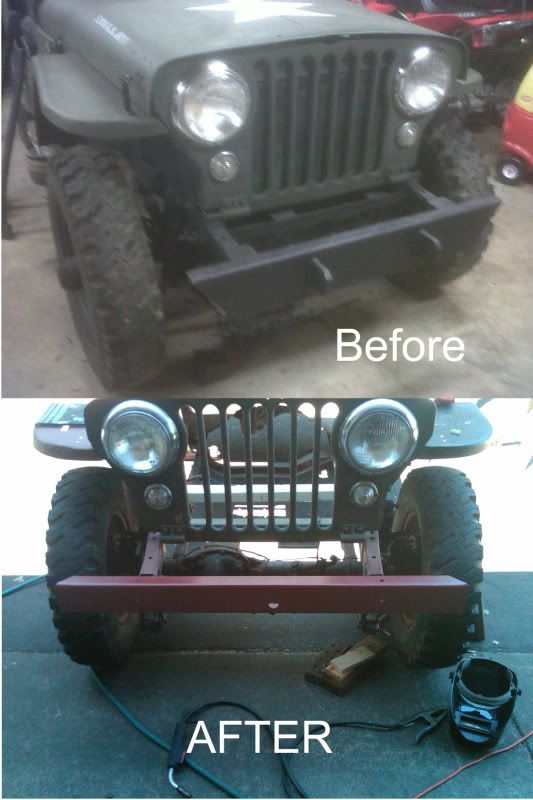
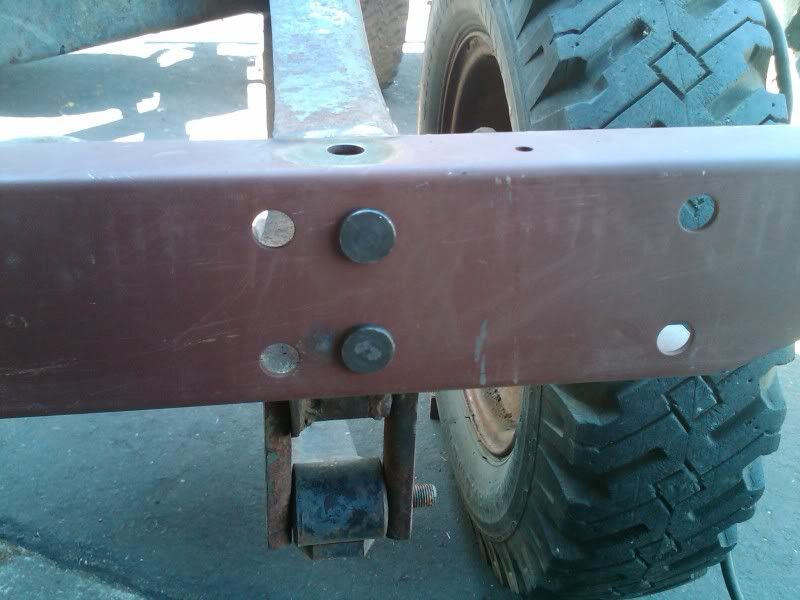
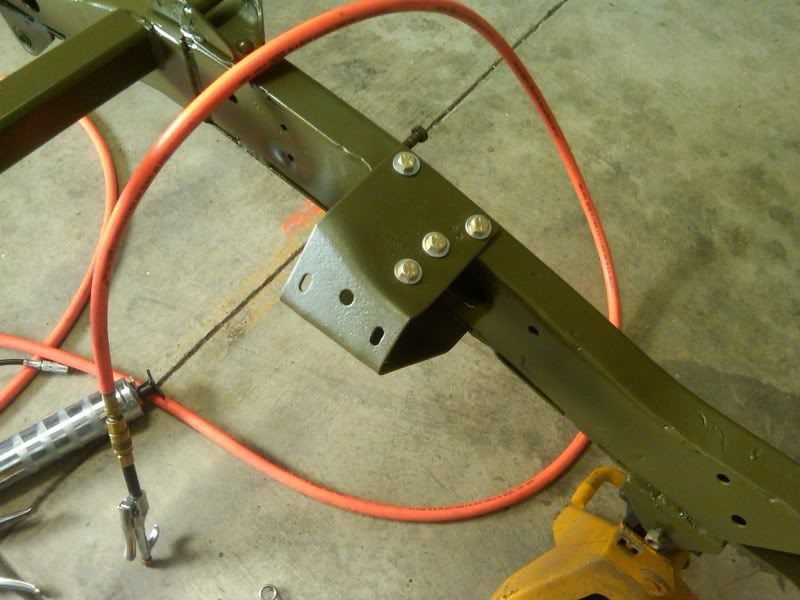
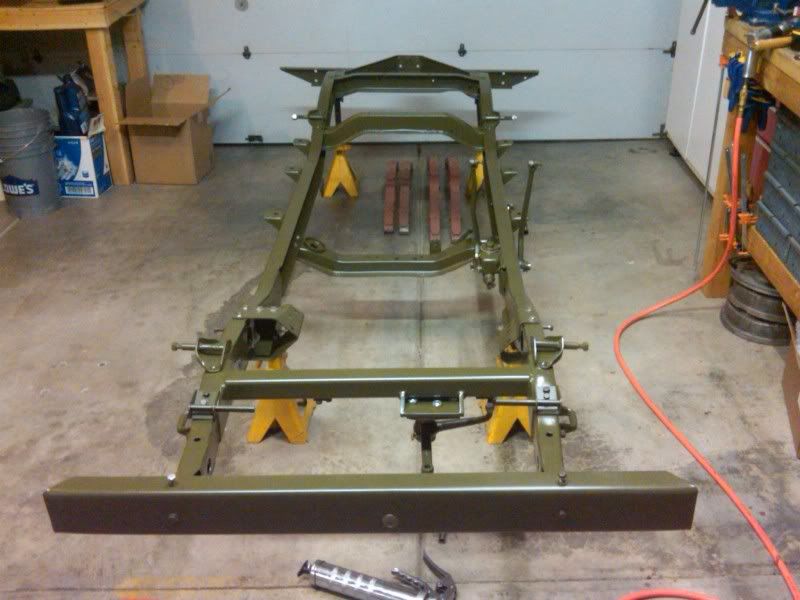
The frame was cutoff for the home build bumper, I had to make a new front frame to fit the new Repo oem Bumper.
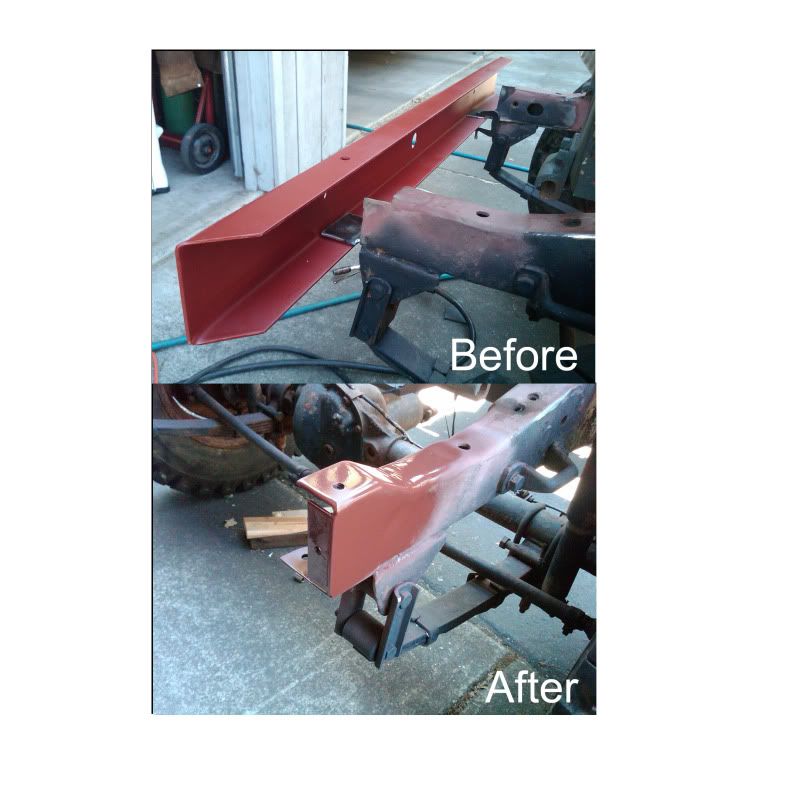
Before/After
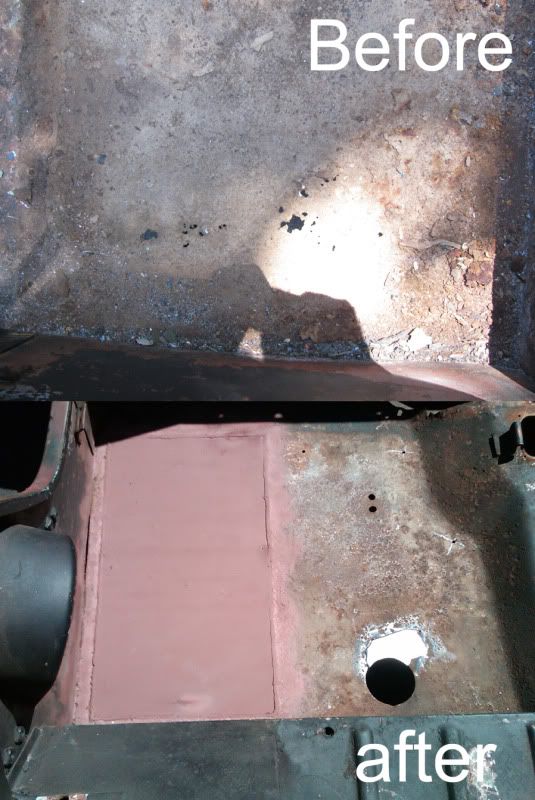
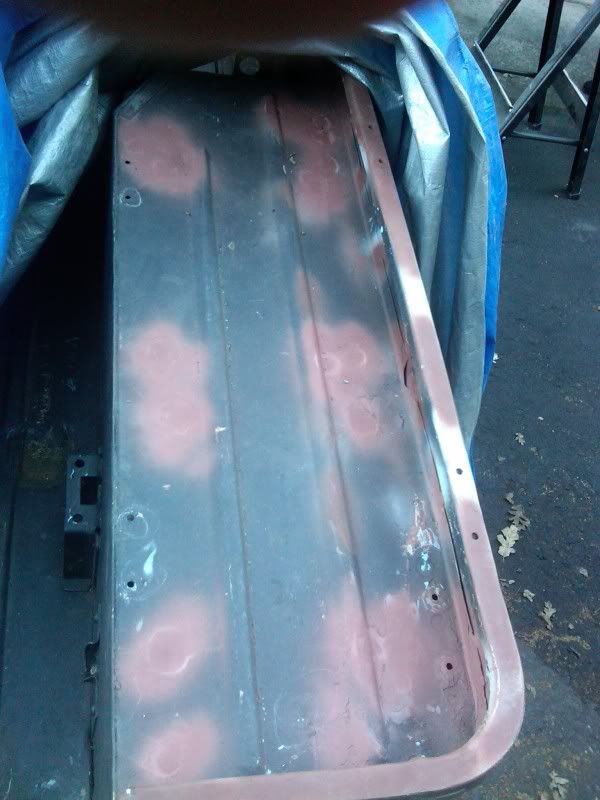
Cut the rust out of the driver side floor, Replaced with new sheet metal
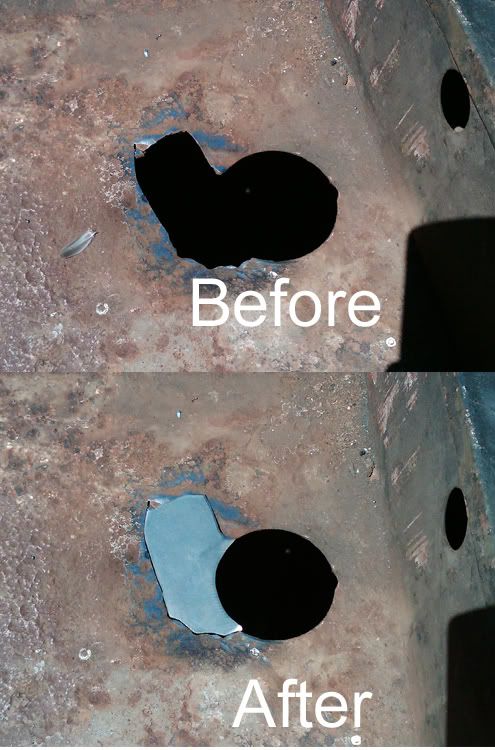
Made a Patch piece for the fuel pickup hole
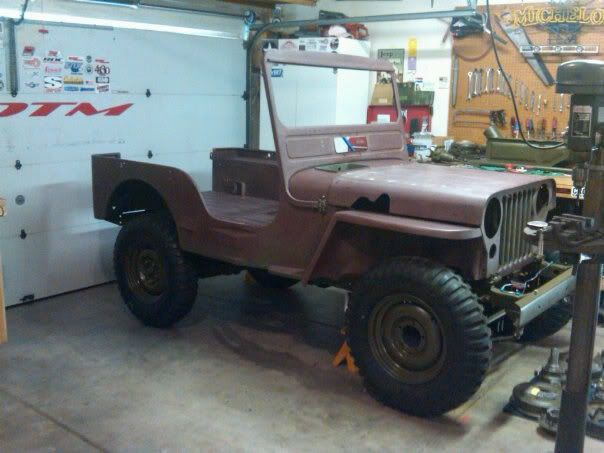
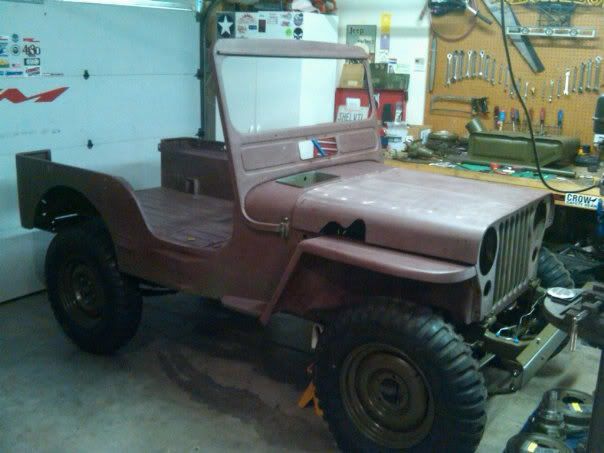
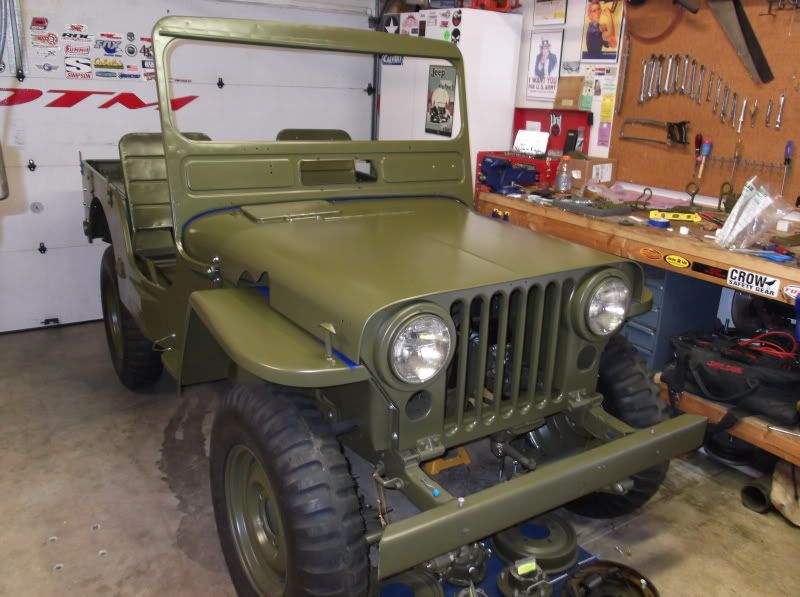
Here is a few before and after pictures of the major improvements so far

Some more updates on the jeep.....
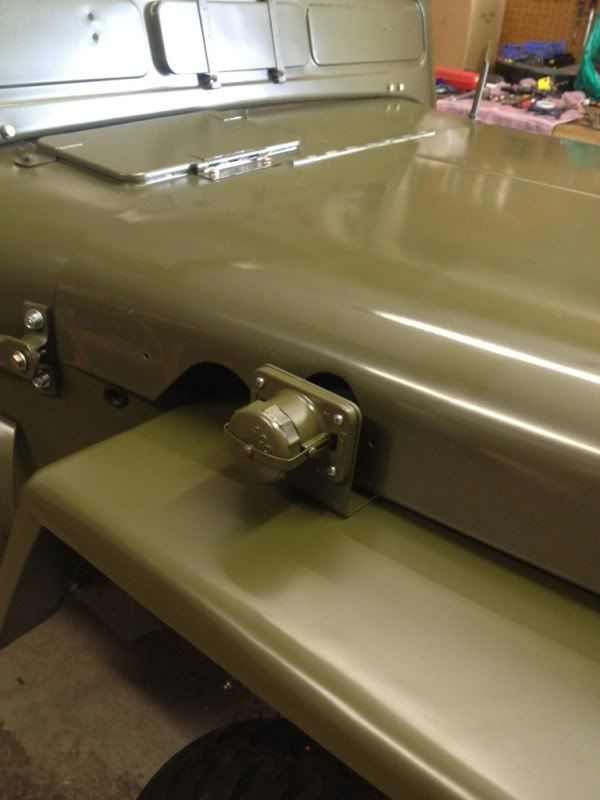
Back Bumper was broken off when i got jeep, got a new bumper/pingle plate and rear support along with rivets.
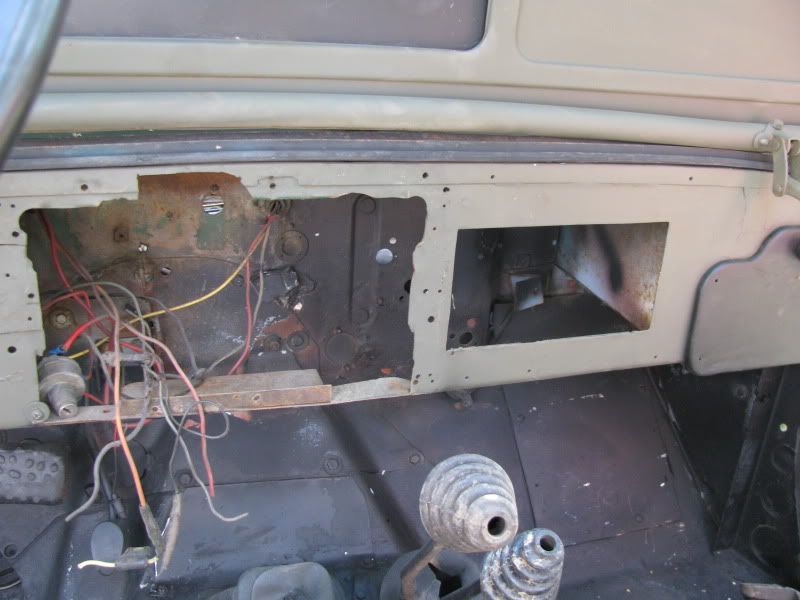
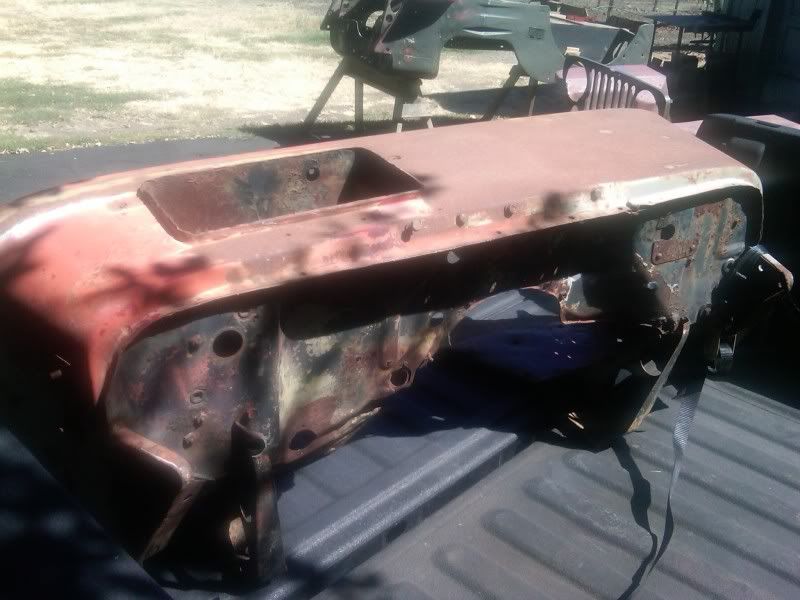
Picked up a better cowl and dash. Going to cut out mine and replace with this one

Did Complete Transfer Case rebuild, everything but main shaft and gears were replaced. T90 Trans is next
More Updates on the jeep build.....................
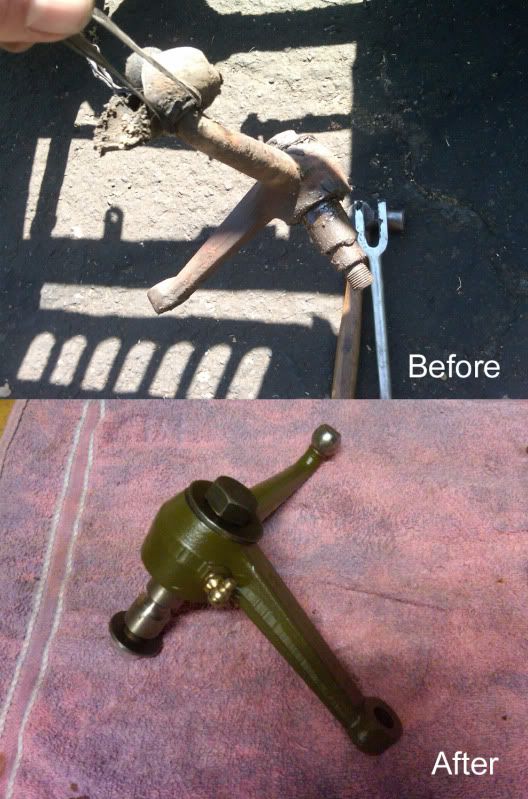
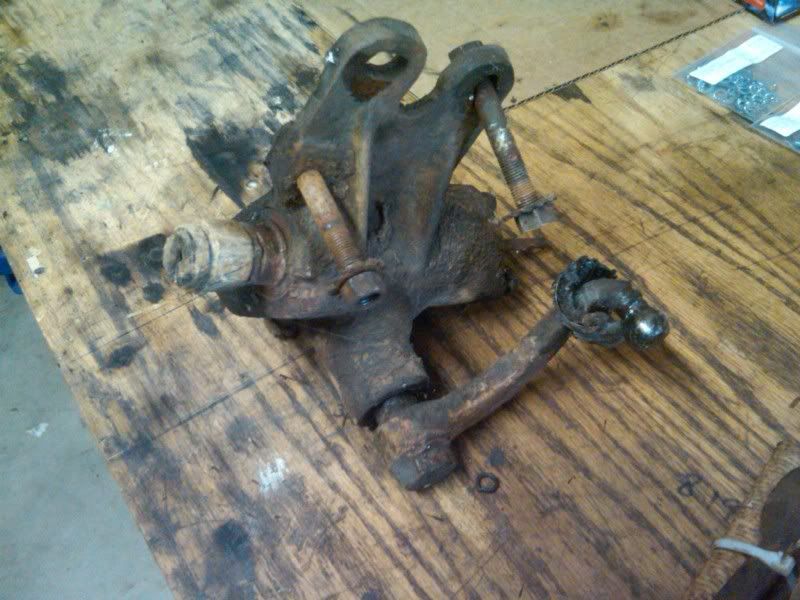
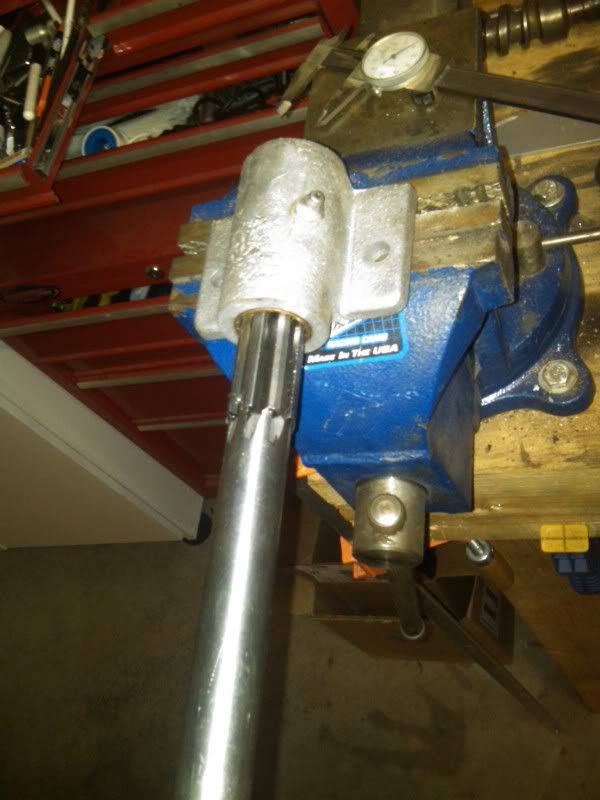
Rebuild the Bellcrank Steering Arm
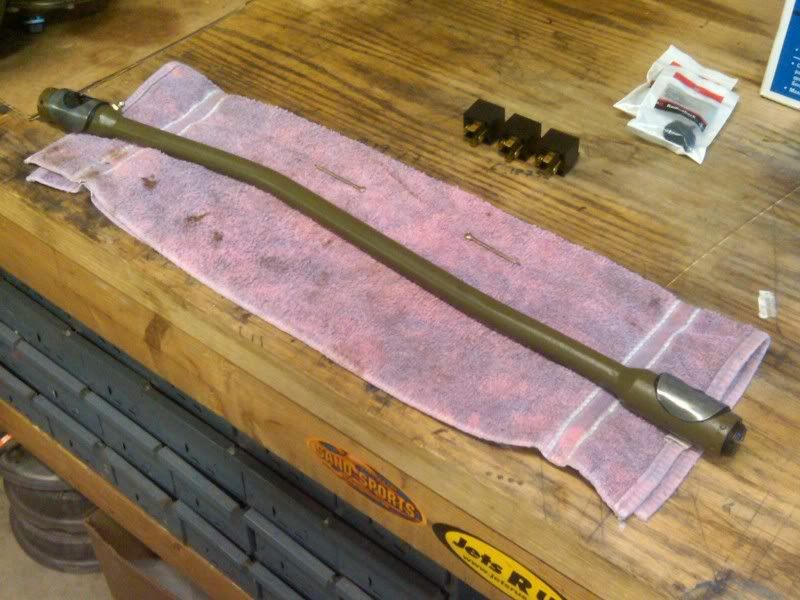
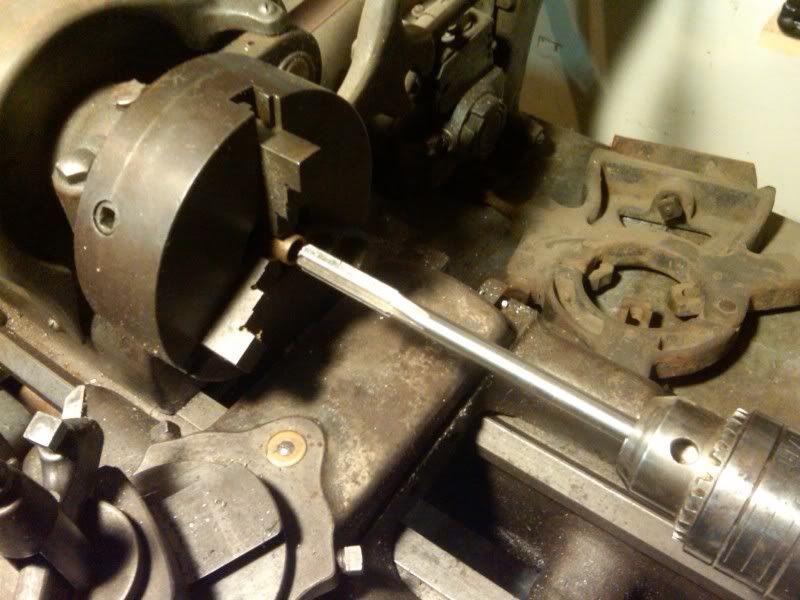
Rebuild drag link
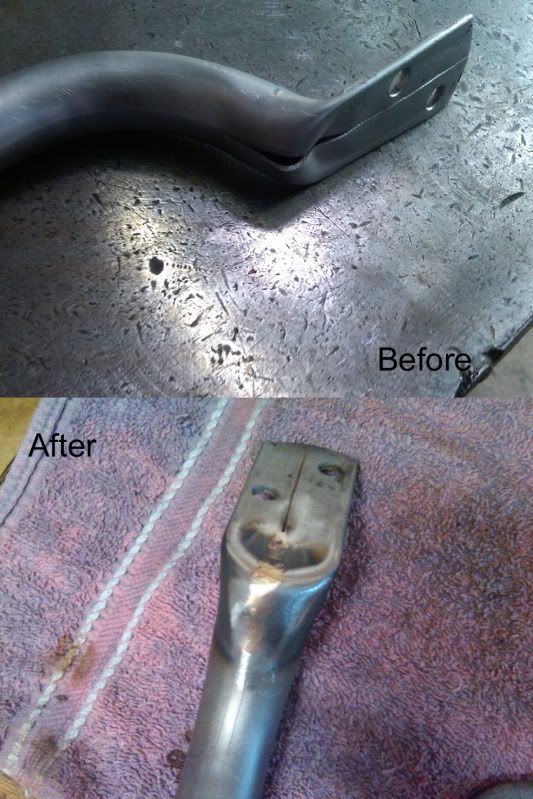
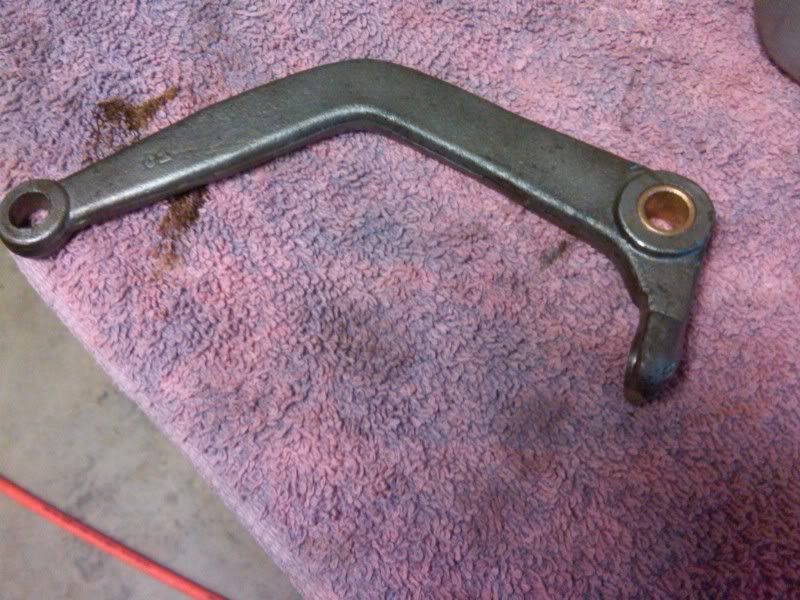
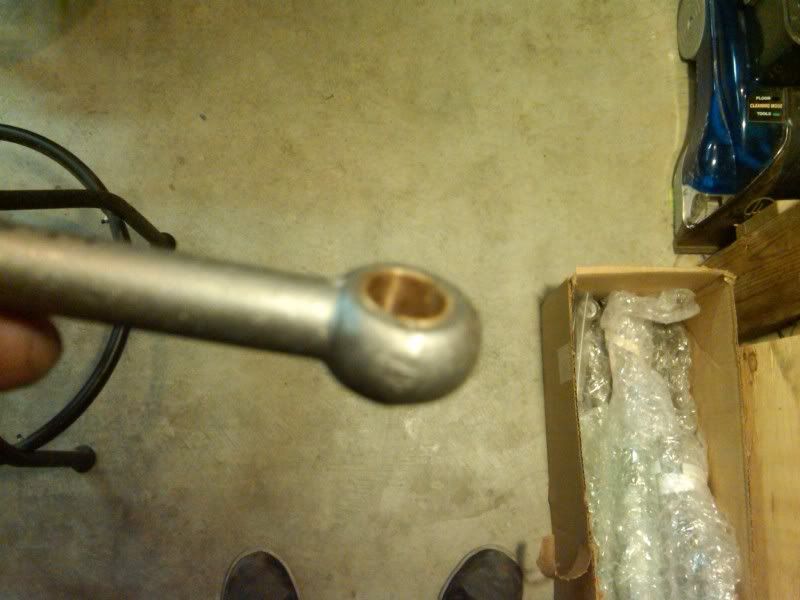
The Emergency brake arm bushing had a lot of play in it. Bored the arm to .500 and pressed in a new oil light bushing .500 o.d x .375 i.d. The fuel handle had a split in the arm, straightened arm and tig welded the gap.
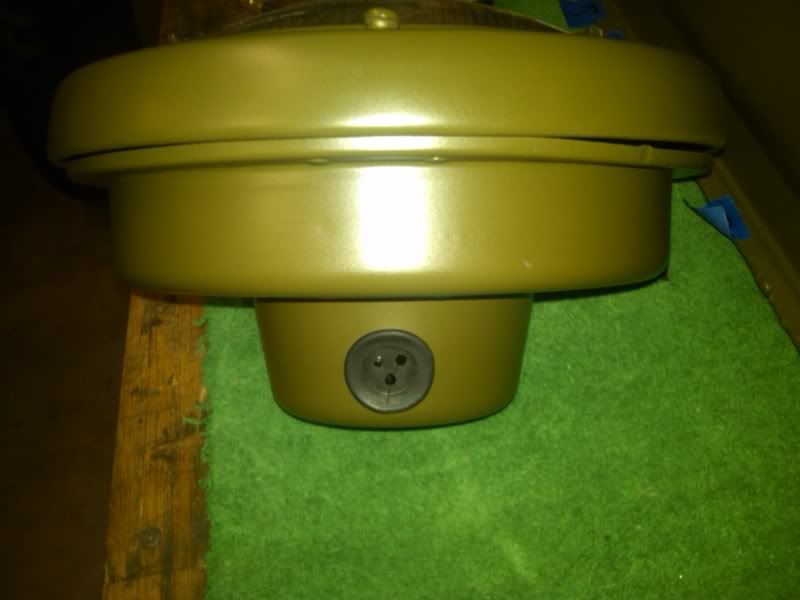
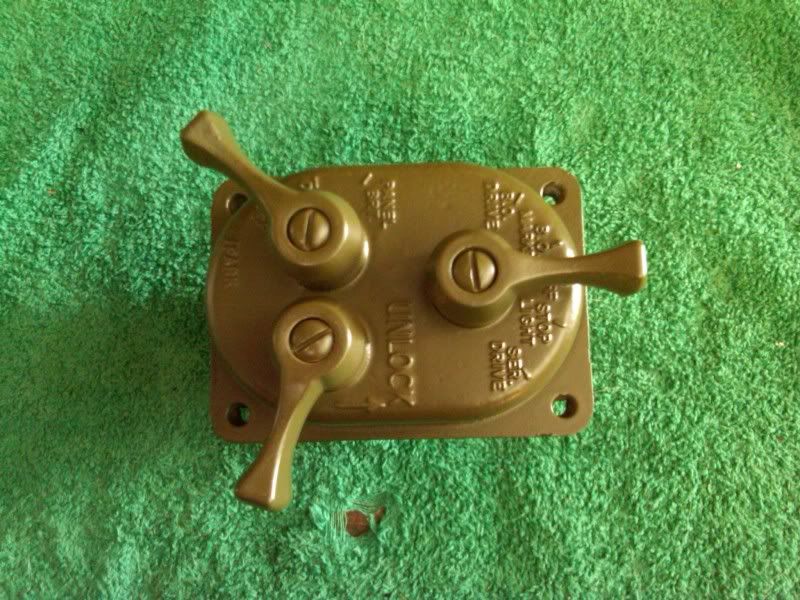
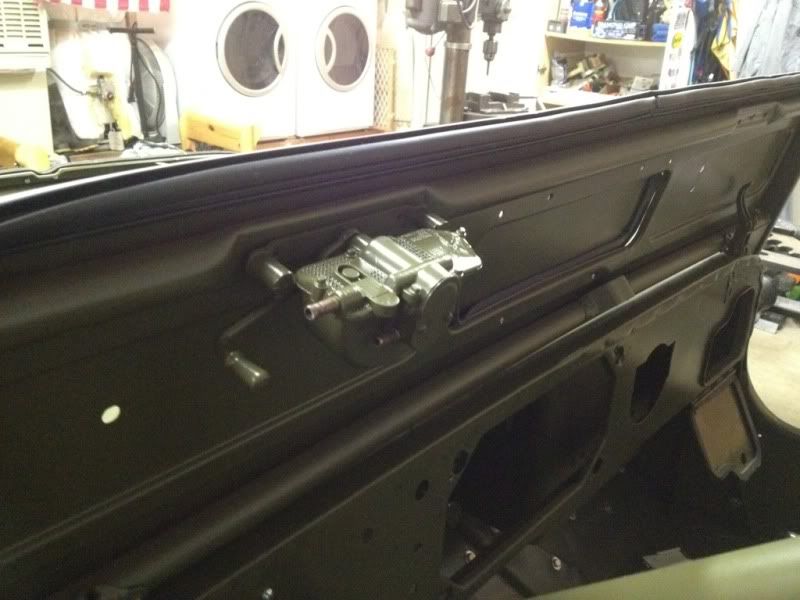
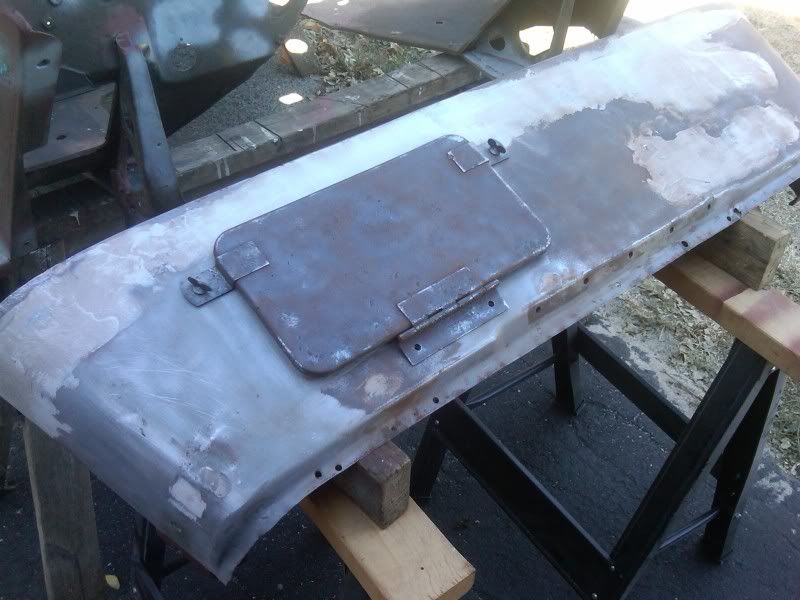
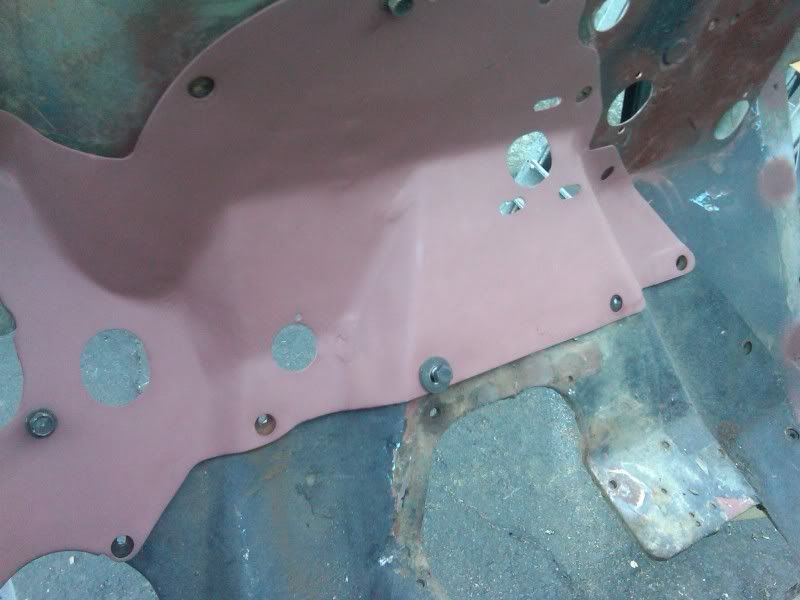
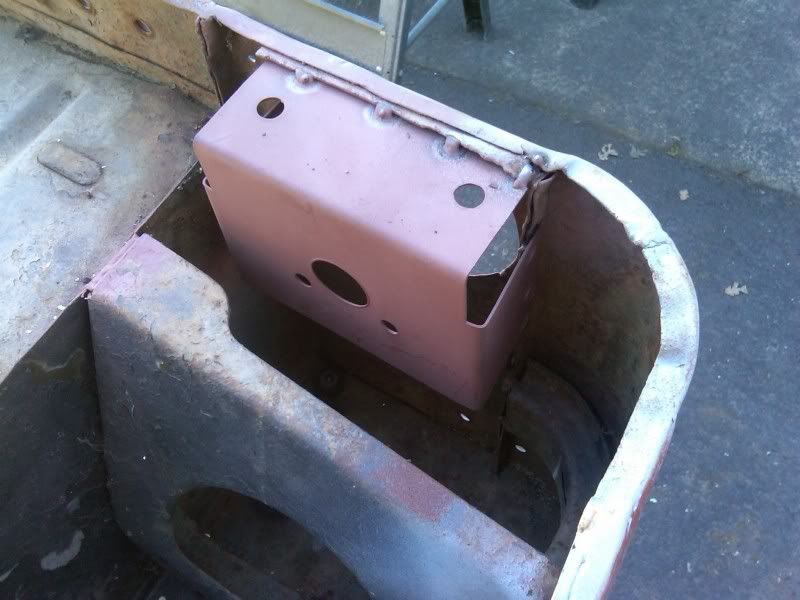
The Cowl dash got sand blasted and primed under the cowl, since the cowl is still not welded to the tub. The Battery box lid came today (Month Long Search)
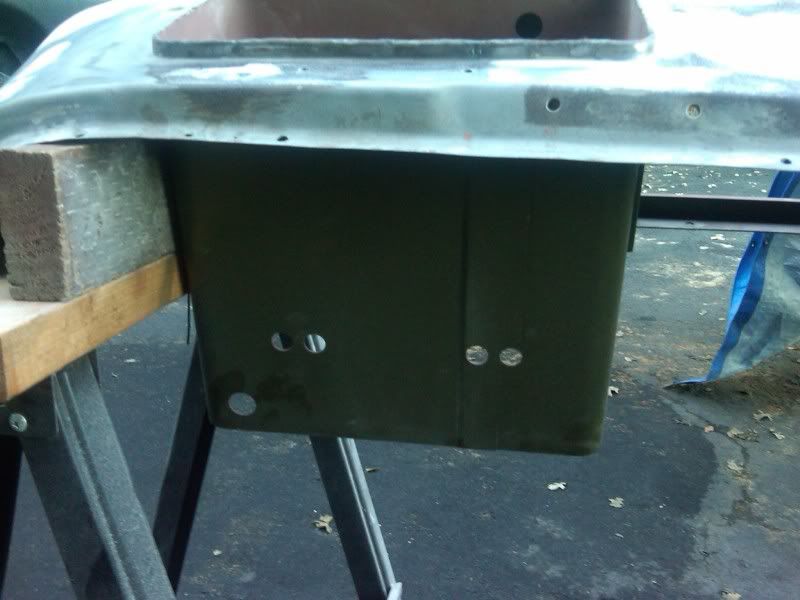
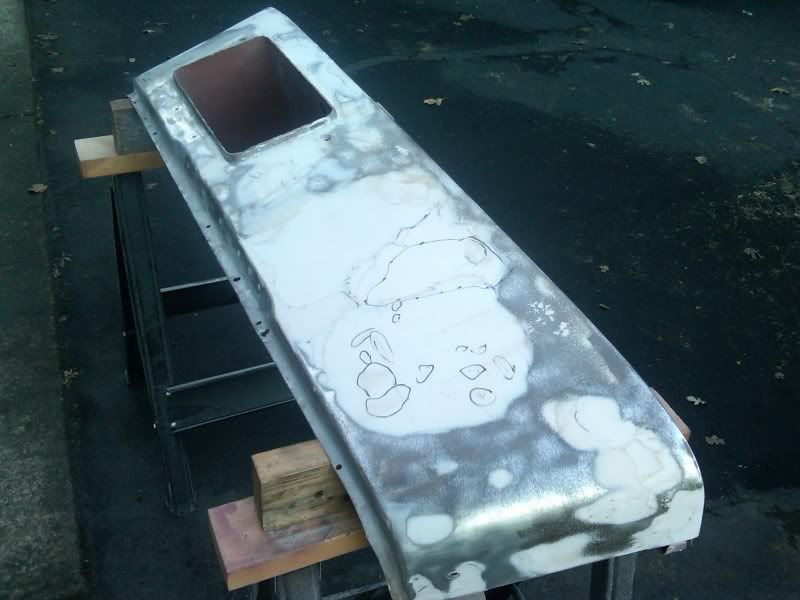
Plugging all the none stock holes in the firewall and rear bed tubs. over 60 holes just in the 3 spots.
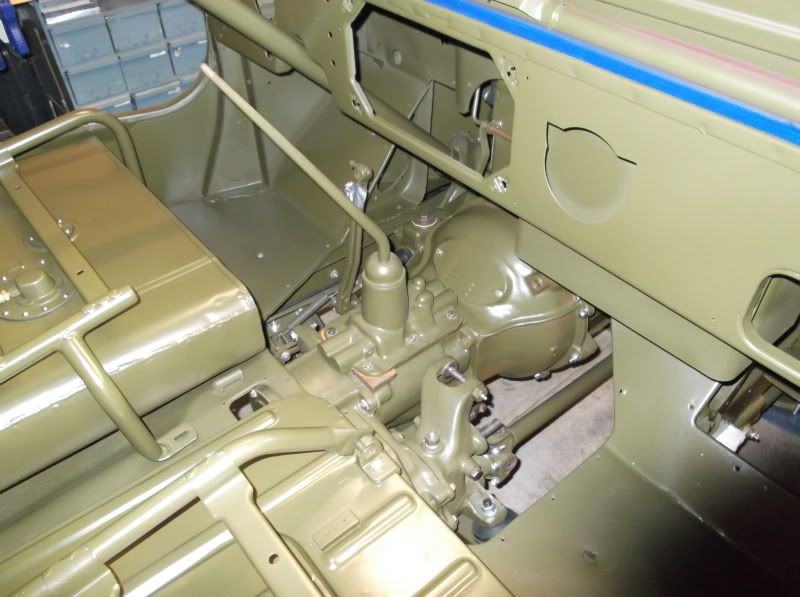
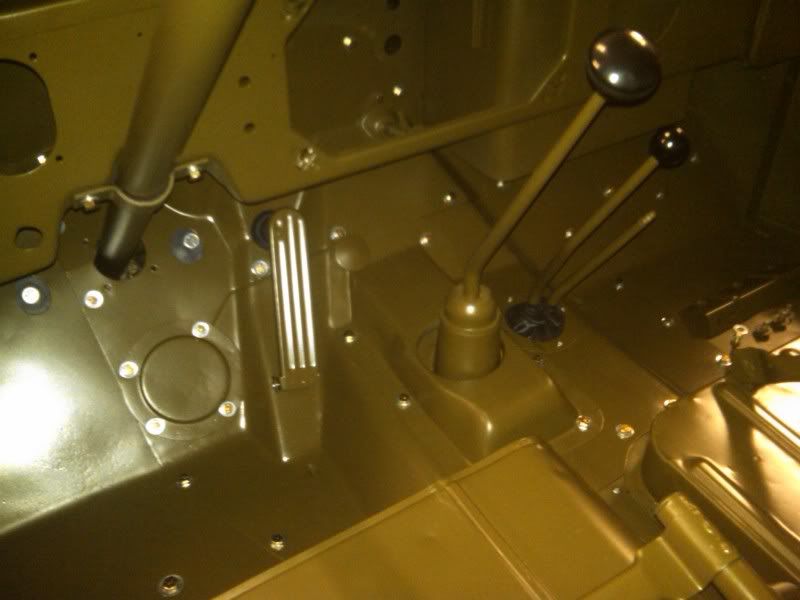
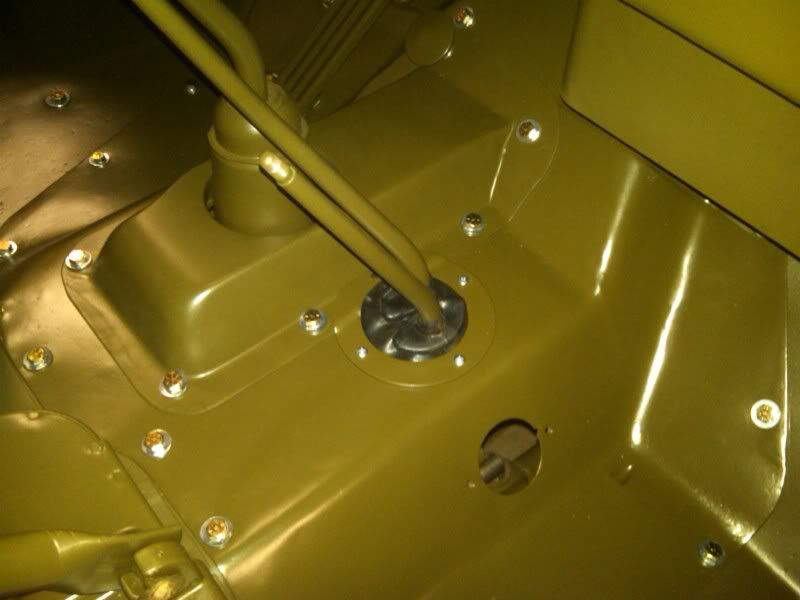
The transmission pan had a big cutout in it to clear the old Buick v6 and t18 trans, Made a sheet metal piece and rolled in to fit into the cutout area. Made a new rear tail light holder for the driver side, the original was missing.

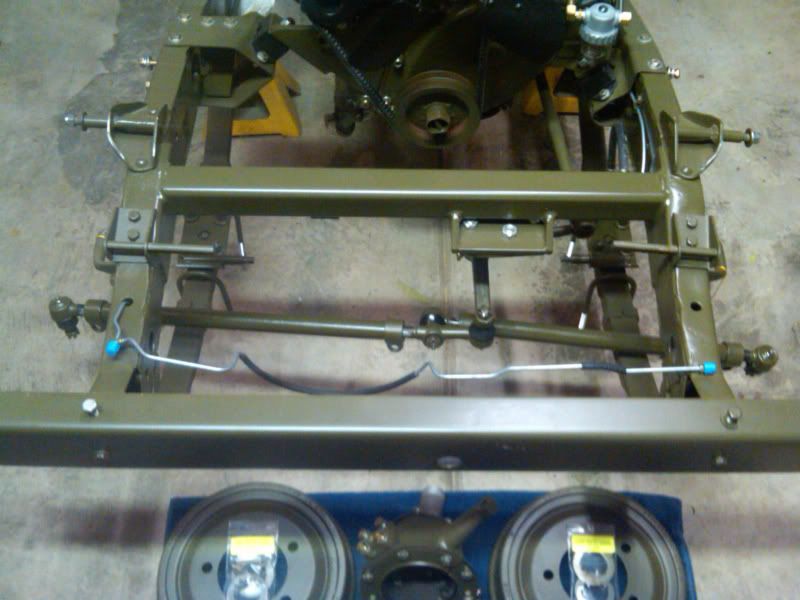
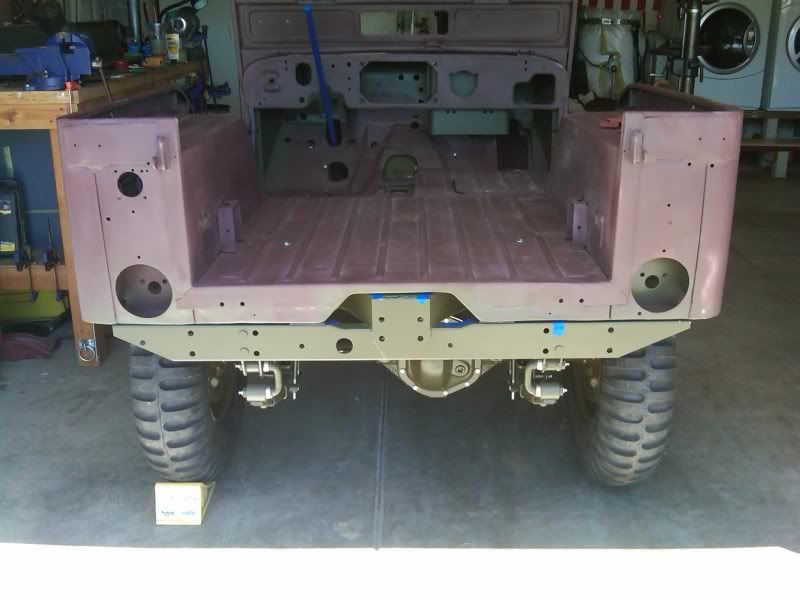
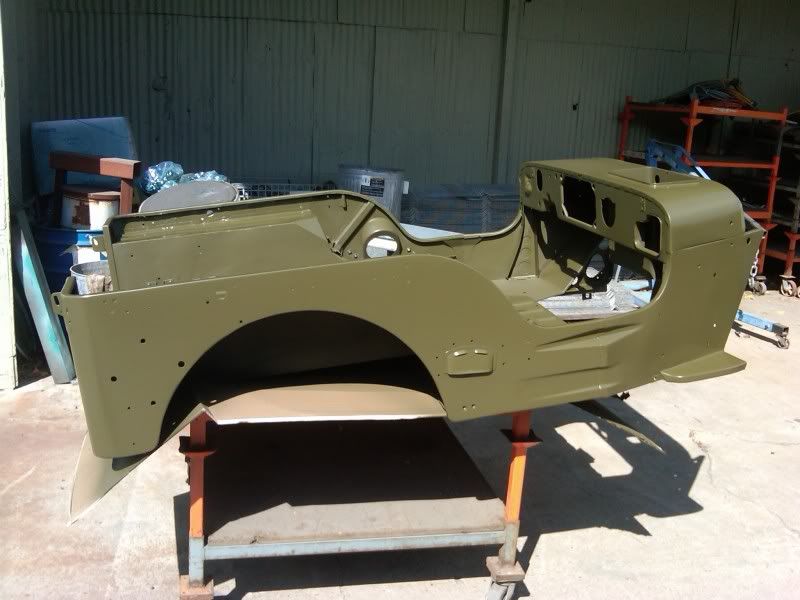
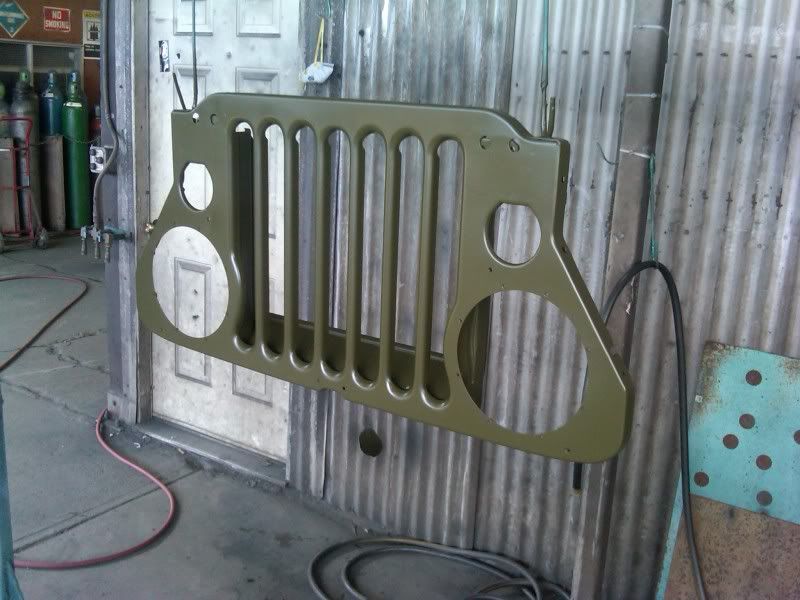
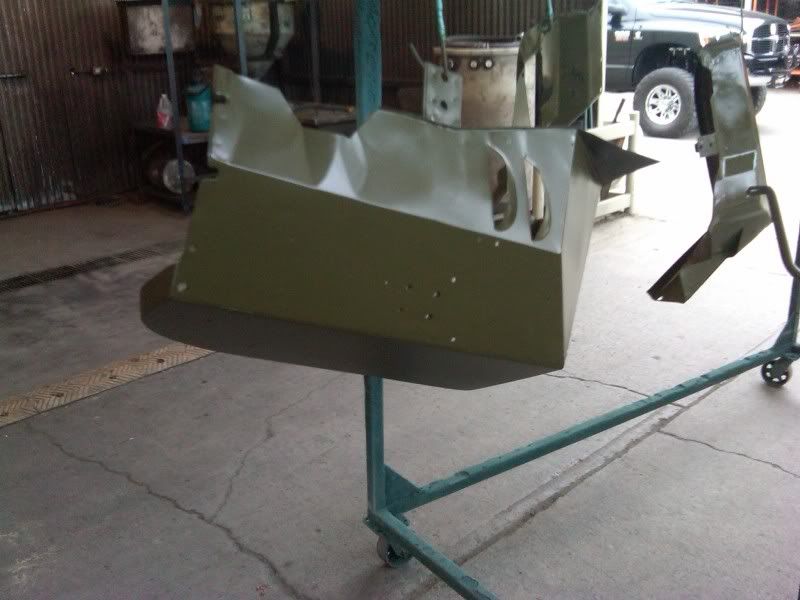
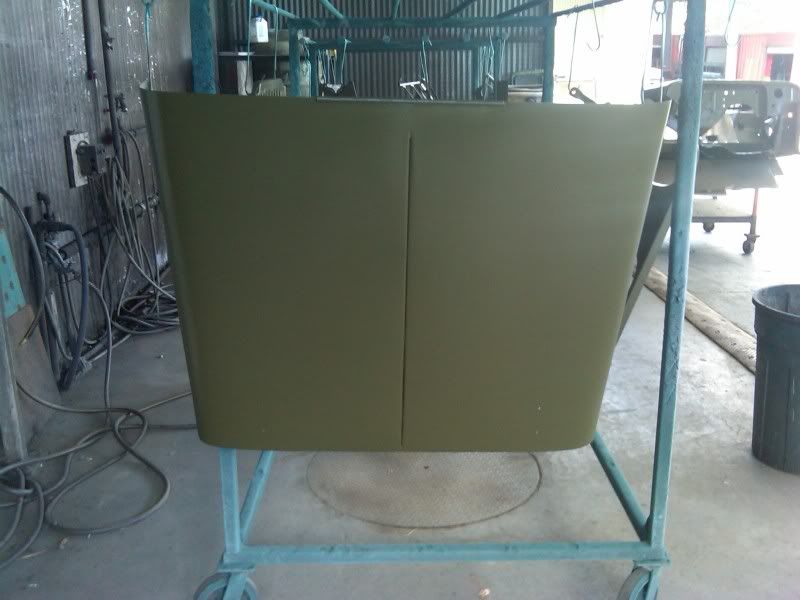
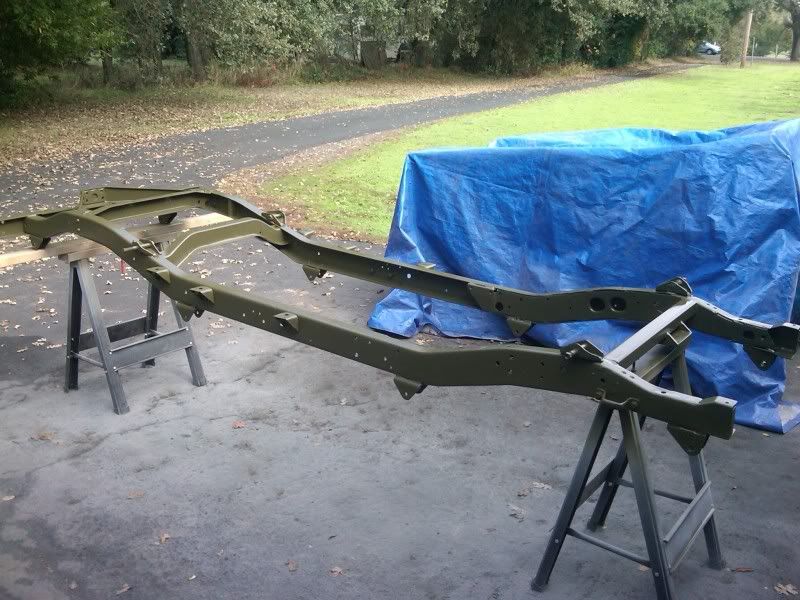
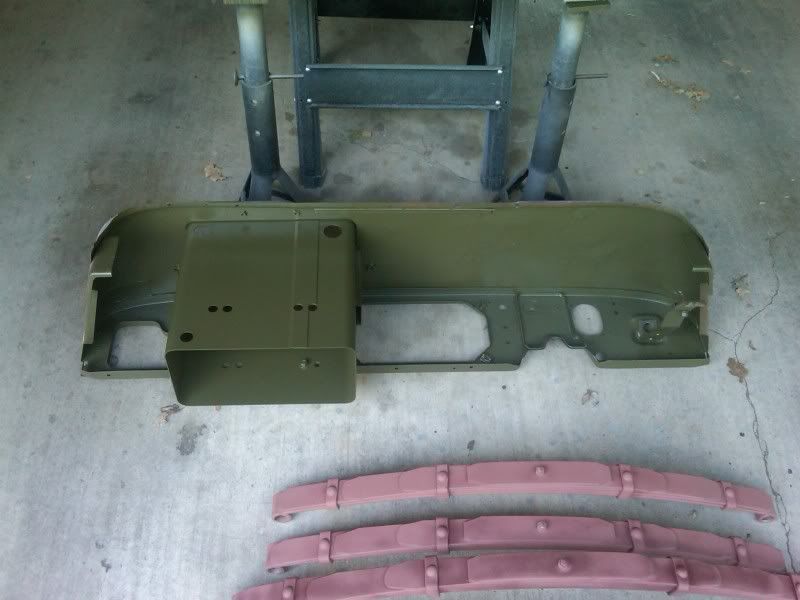
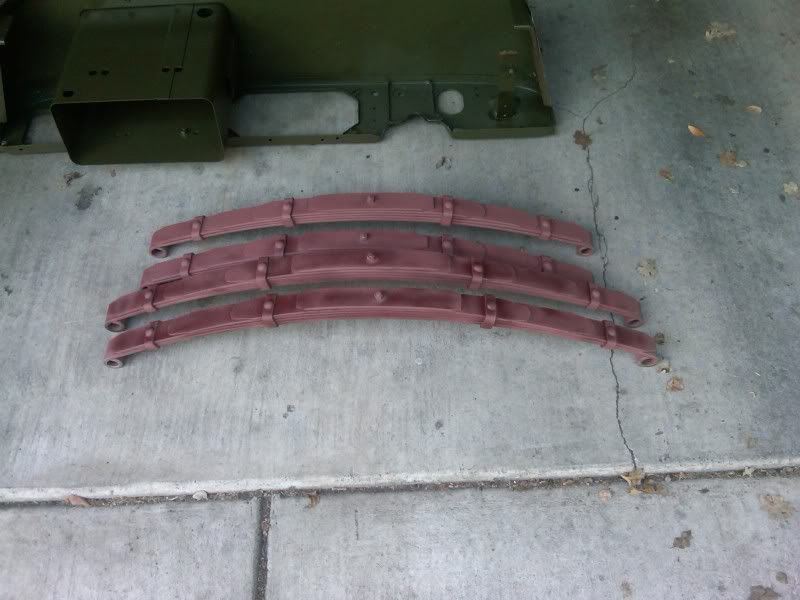
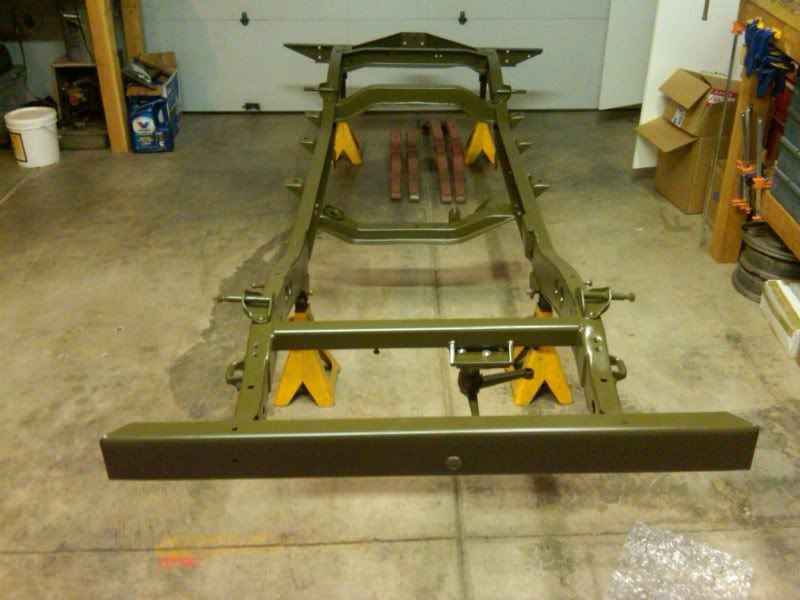
Painted the Frame,Bumper,Under the cowl and cross member Original Semi Gloss OD Green. Turned out very nice. Also primer the springs.
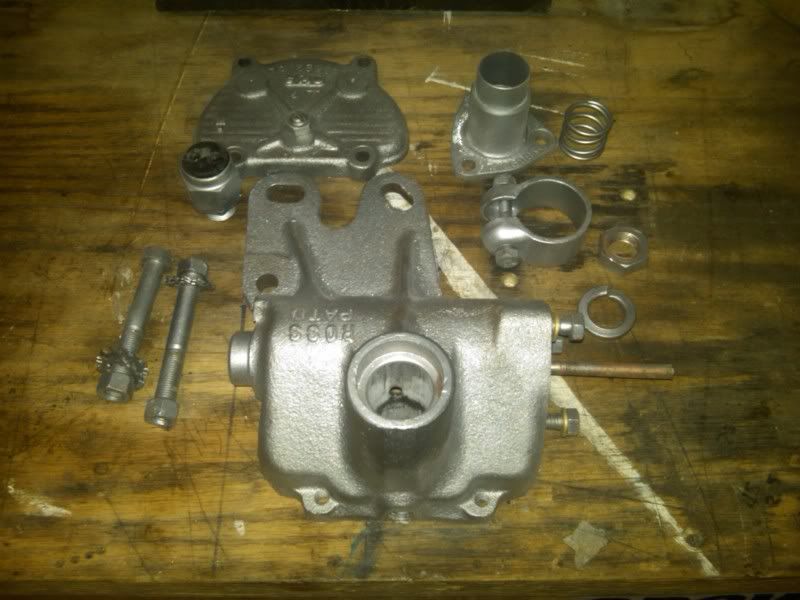
Tore the Ross Steering Box apart, pressed out the bushings and degrease. Bead blast all the parts to new, Going to rebuild everything on and in the gear box.
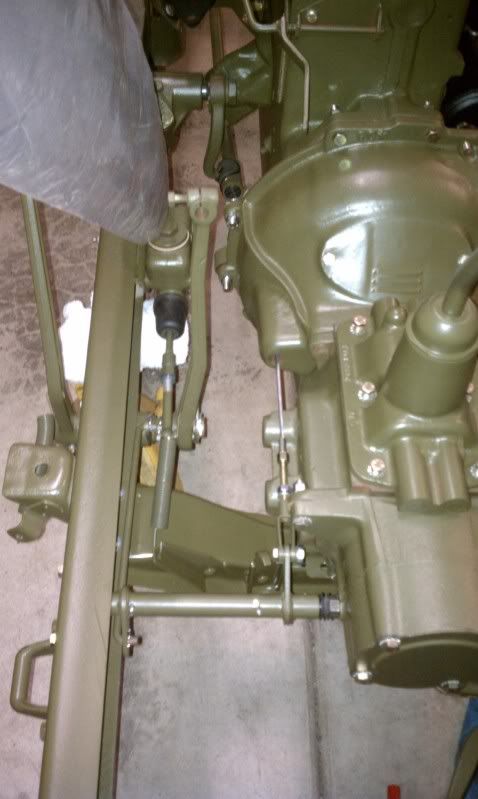
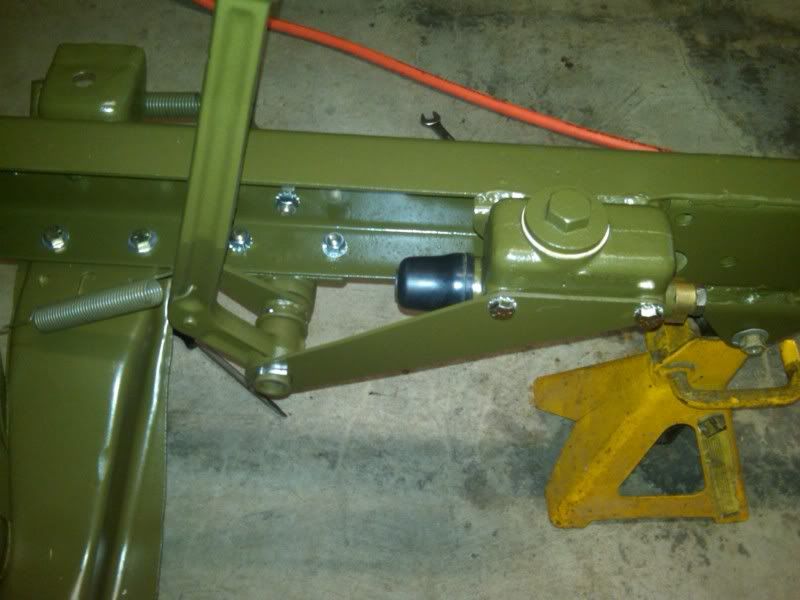
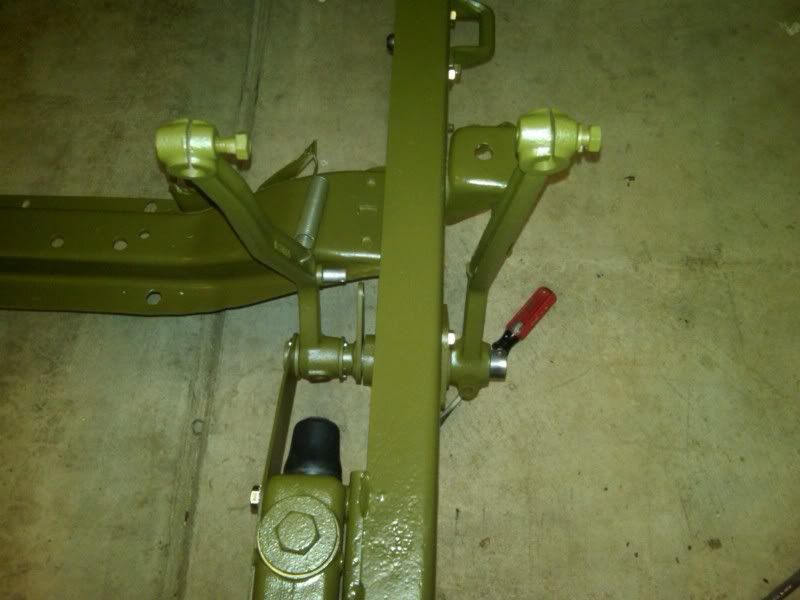
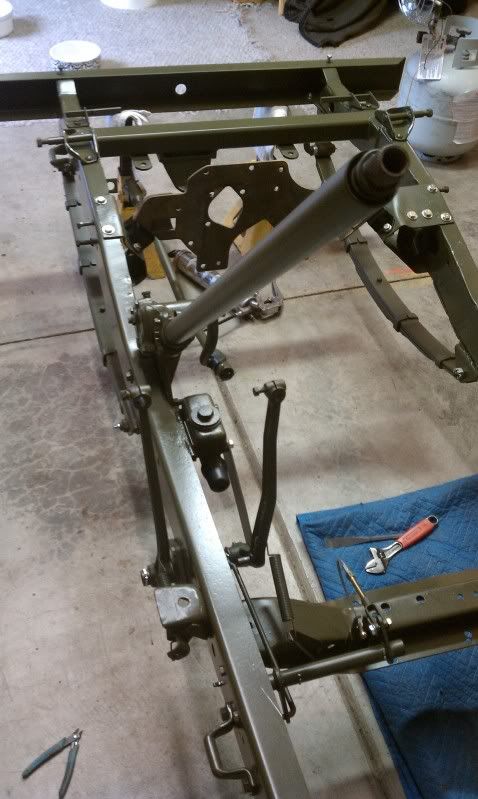
I started bolting parts onto the frame. Master Cylinder, Bell Crank, Engine Mounts. I rebuilt the Pedal assembly. I order a new pedal shaft, springs and washers. I pressed 2 new 1" x 1 1/8" x 1 oil light bushings into the pedal shaft support bracket, then using a adjustable reamer, i over sized the oil lights to 1.003. The pedal has no slop at all. The brake rod was egg shaped and had alot of movement on the pedal pin. I over sized the hole and pressed in a oil light bushing reamed to 7/16 i.d. This took all the play out of the brake pedal plunger shaft

Finished clutch/brake assembly
More updates on the jeep......................
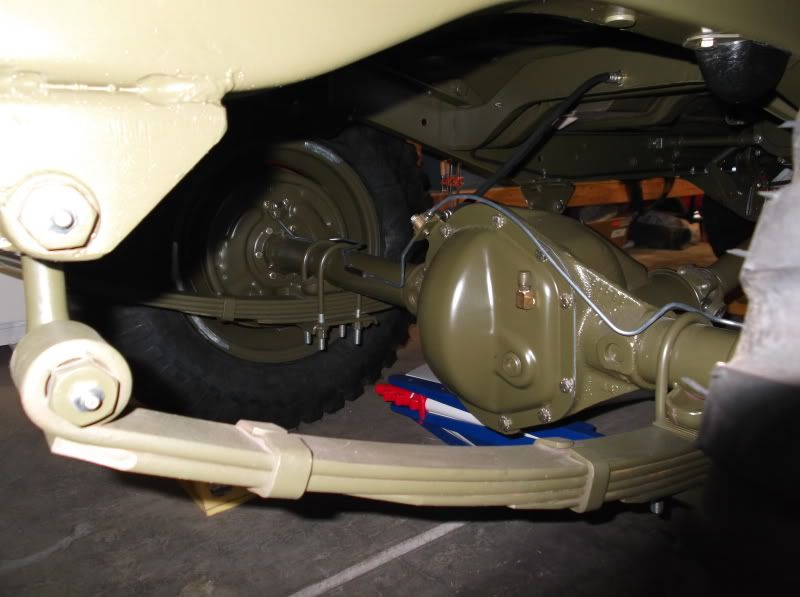
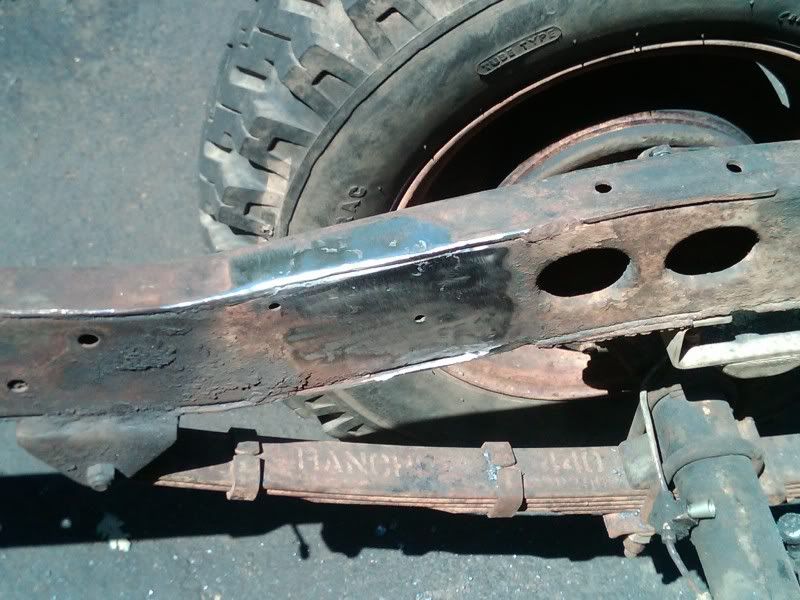
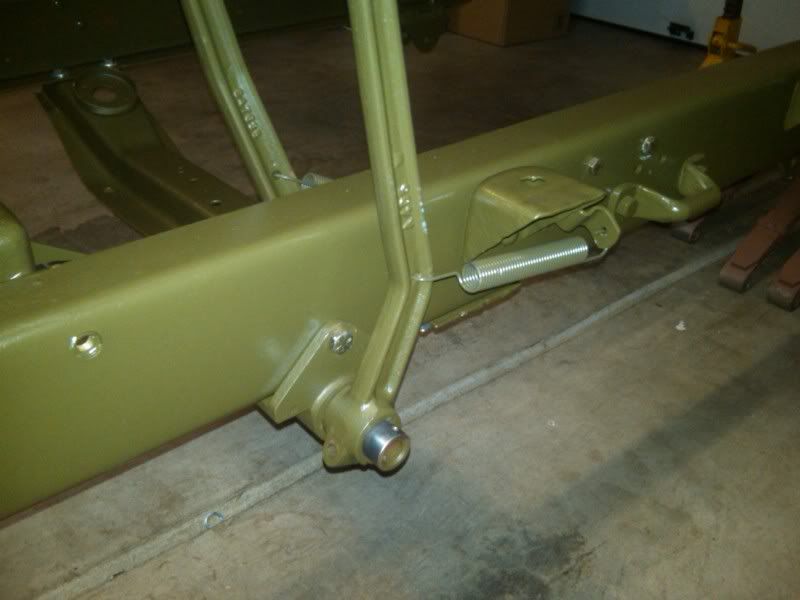
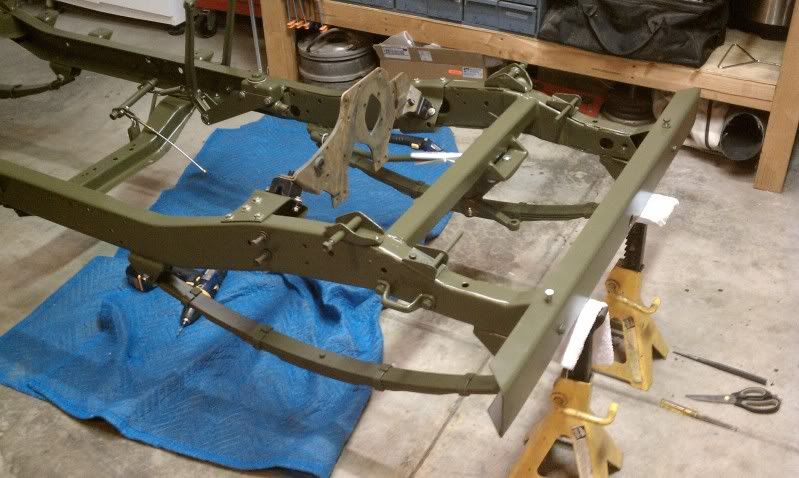
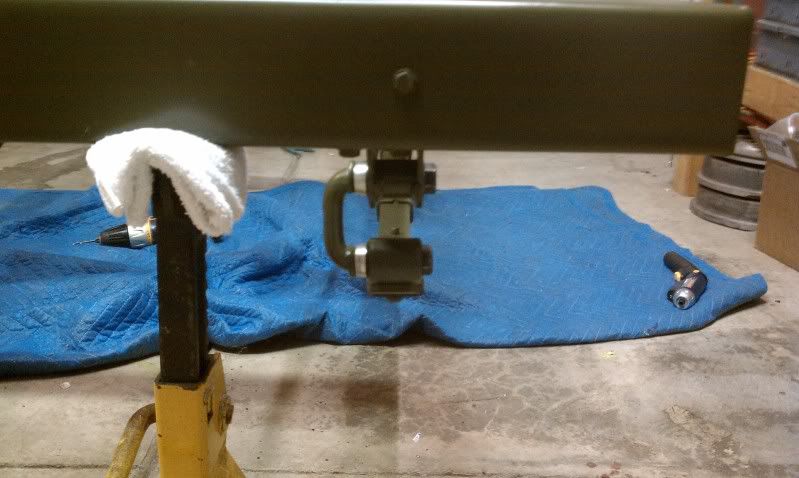
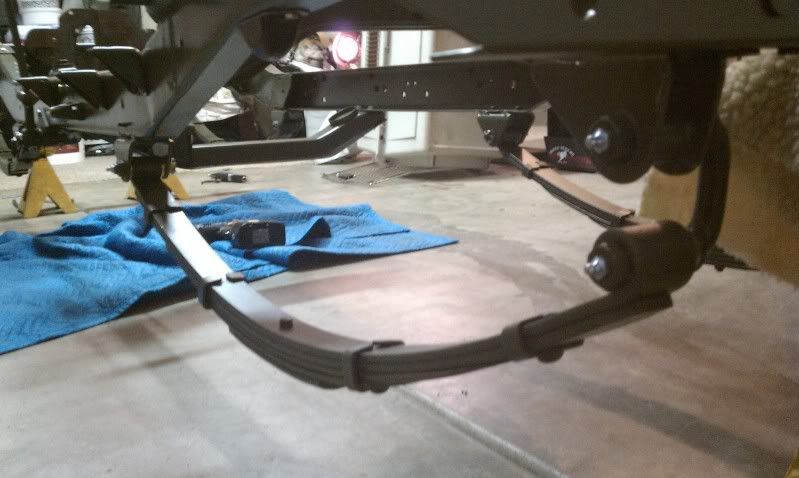
I wanted a little more ride height than stock, so i used the Rancho 2" springs. I made all the original m38 hangers work with the newer spring to give it the same look. Lots of mill and lathe work
Ross Steering box got completely rebuilt with new steering column shaft


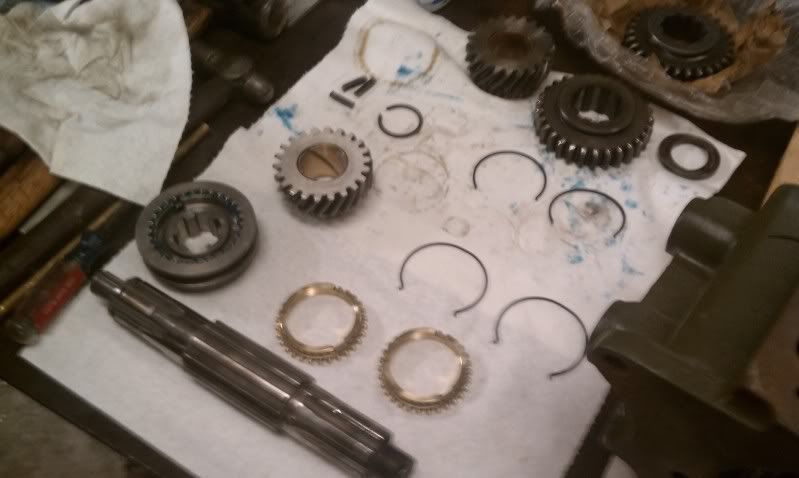
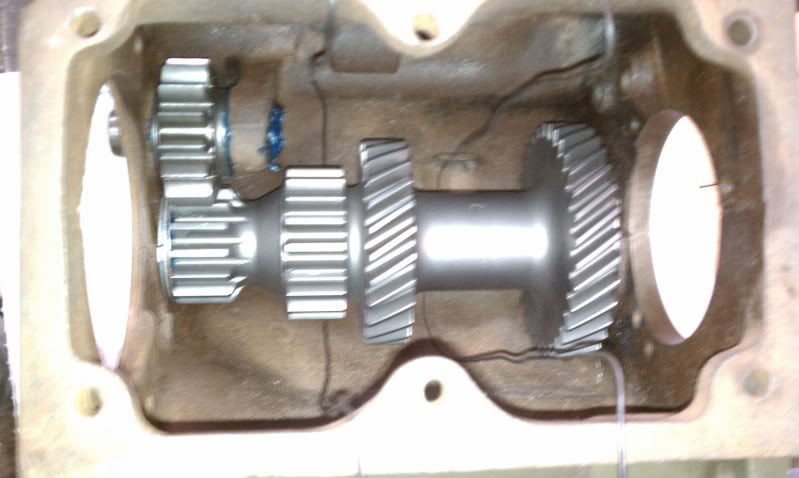
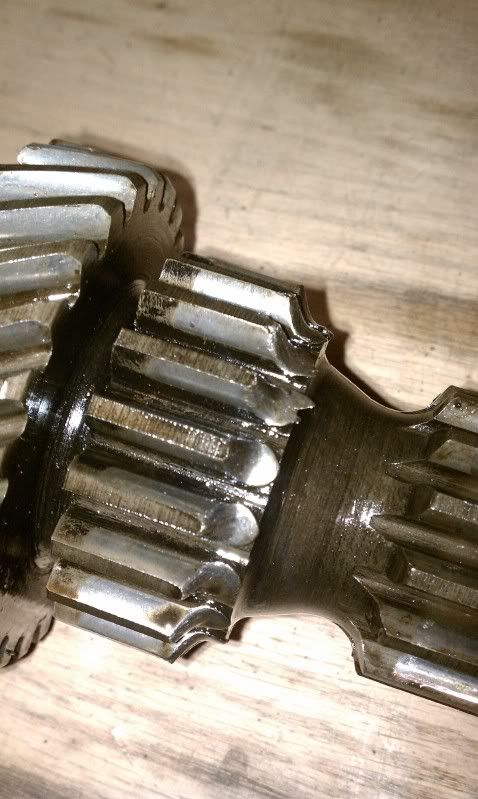
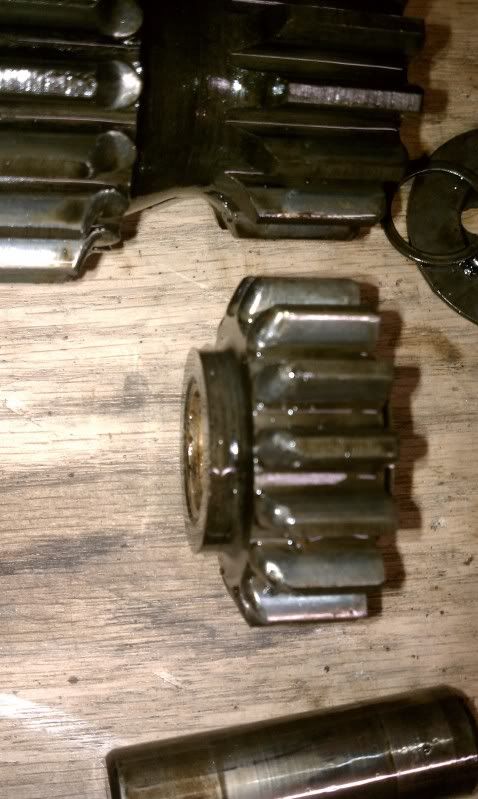
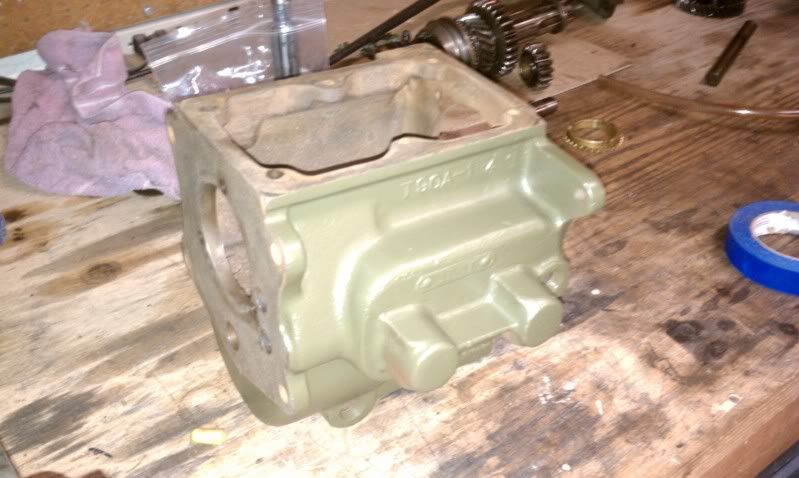
Got the T90 transmission stripped and painted. Parts were gone through. Needs a new 1st gear, reverse gear, lower cluster, rebuild kit with gaskets, seals, bearings and 2nd gear.
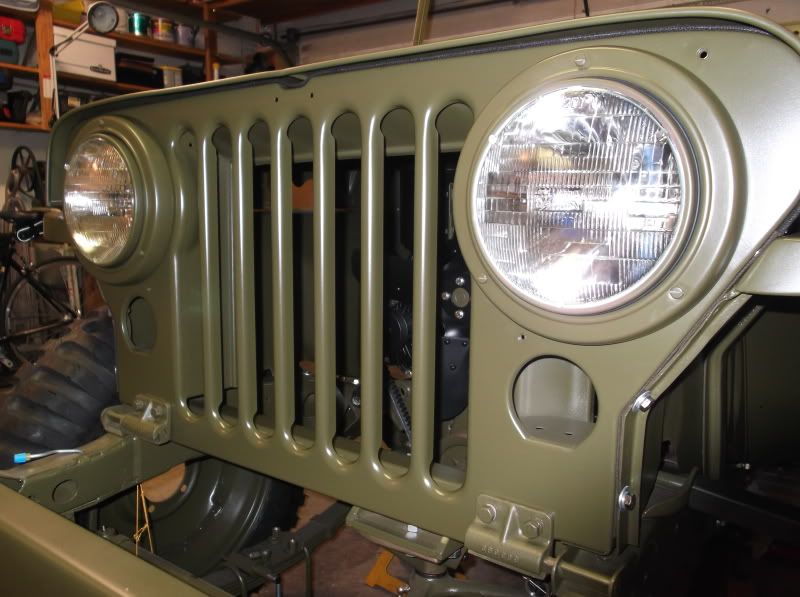
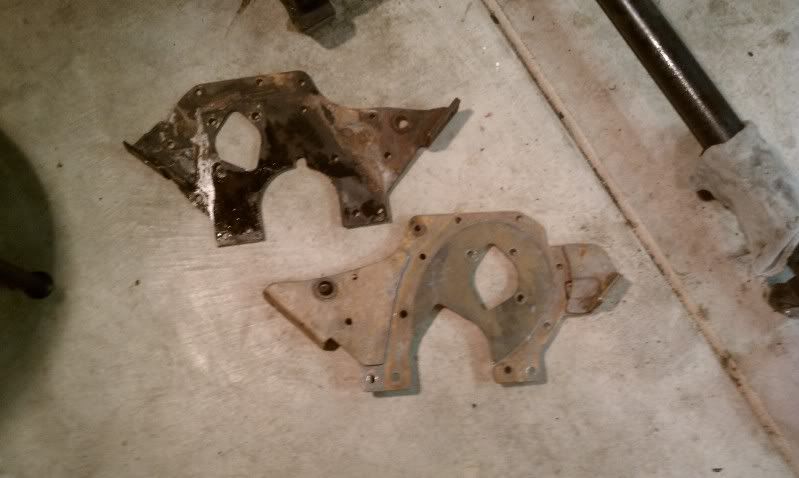
Had to change out the cj front plate to the M38 plate, took 3 months to find the plate, A guy had one in Vermont.
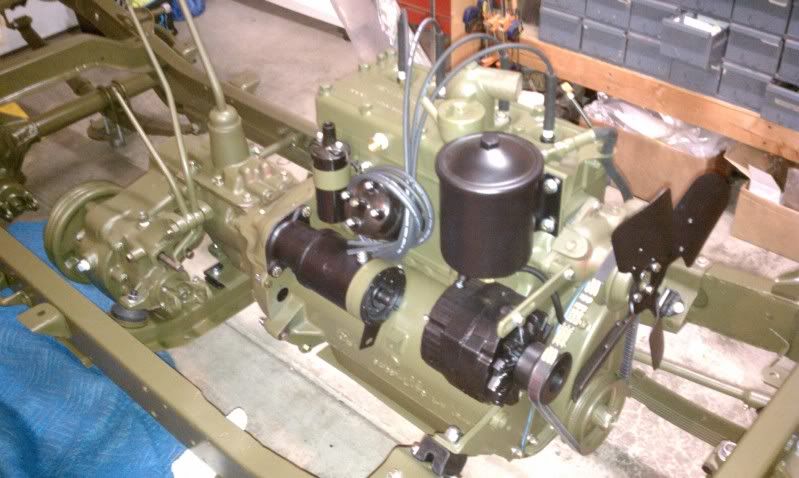
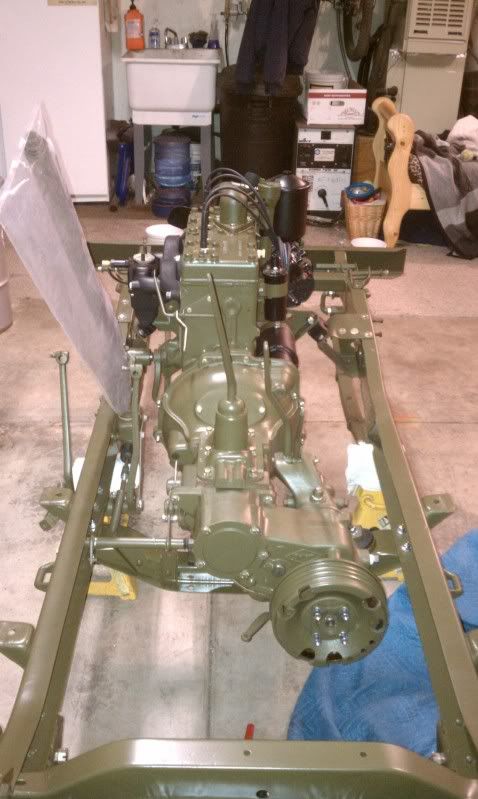
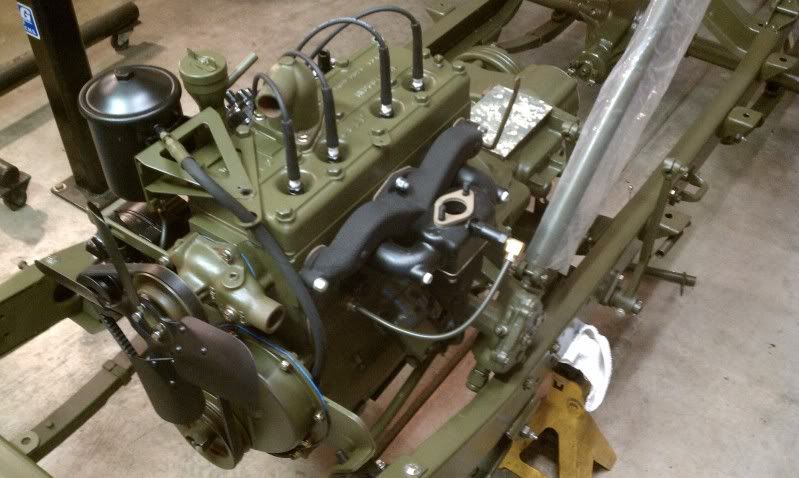
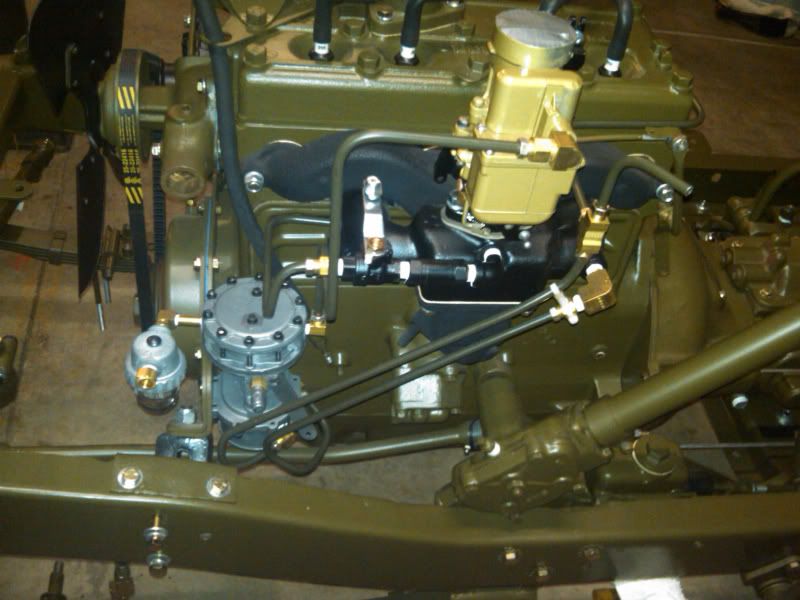
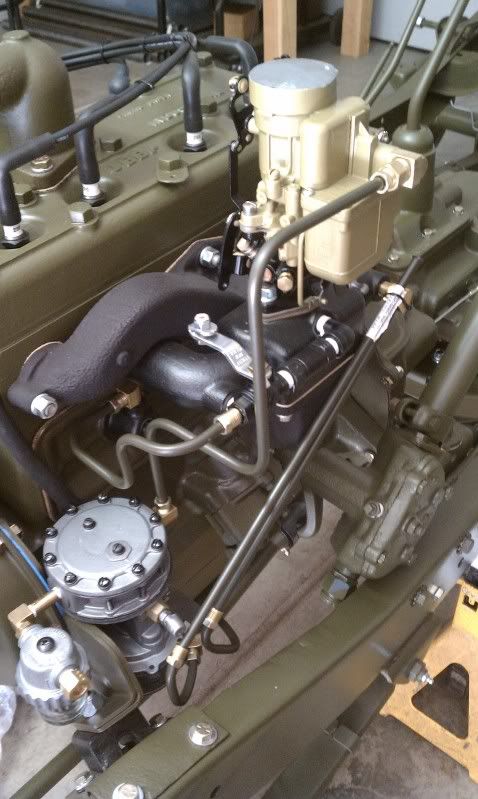
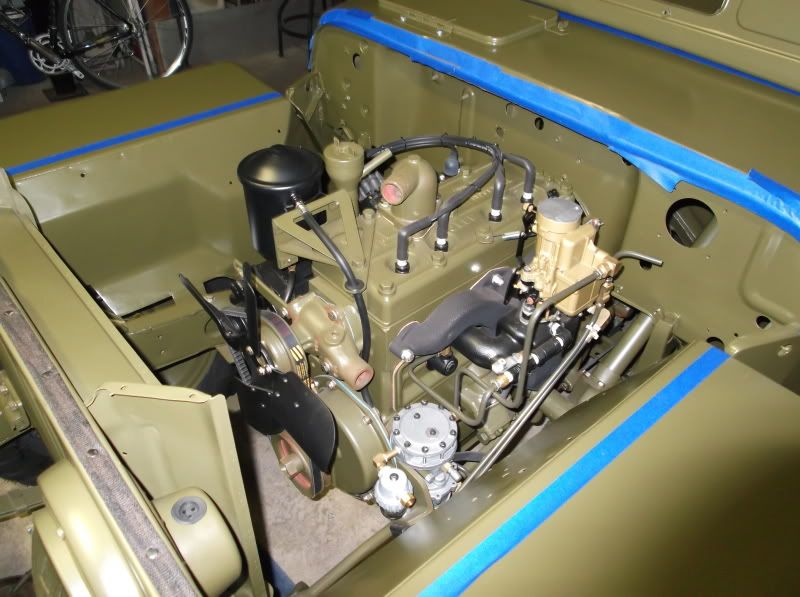
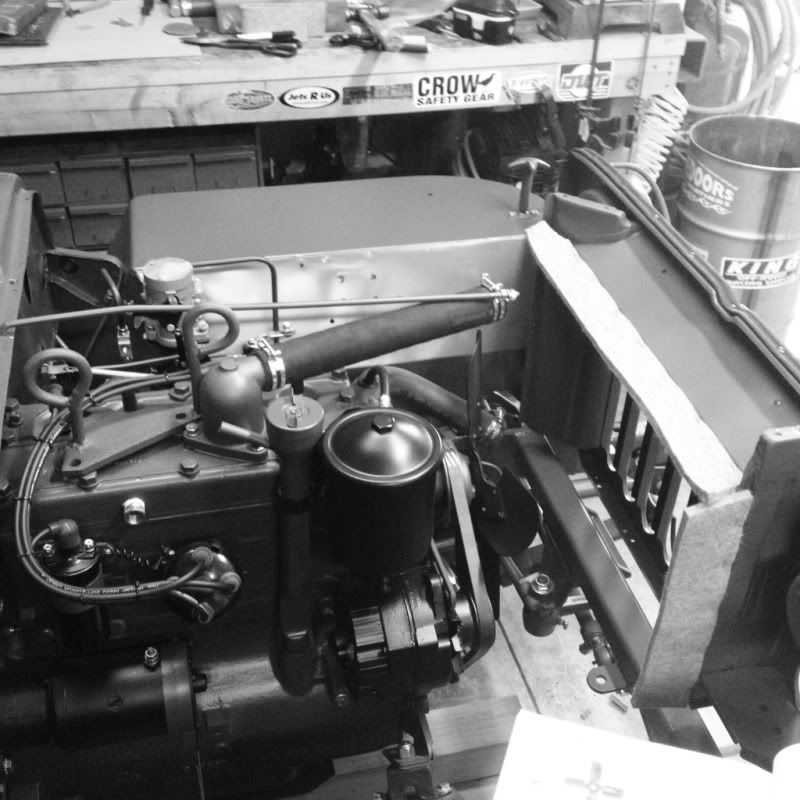
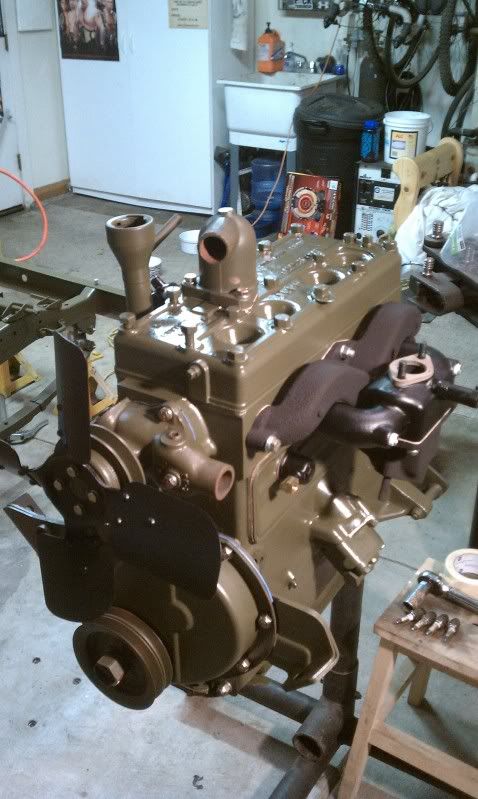
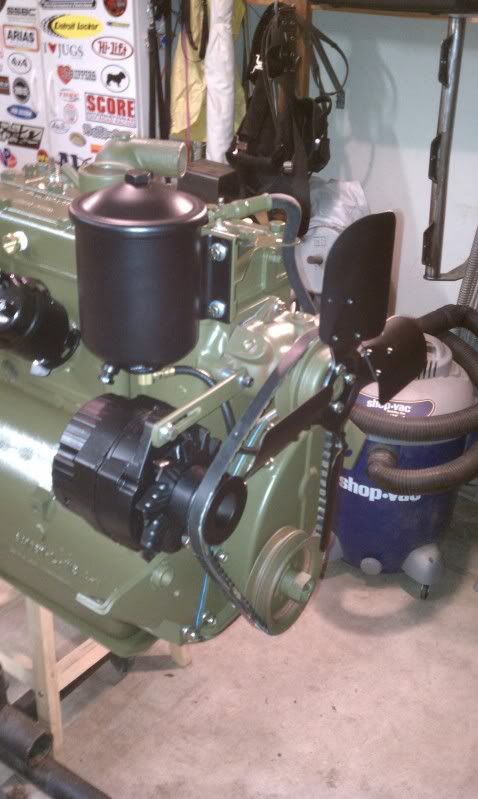
Rebuilt the L-134 Engine, Upgraded to a GM 12 volt One wire Alt. The stock system was a 24 volt originally. Fabbed up some custom bracket to mount the Alt.
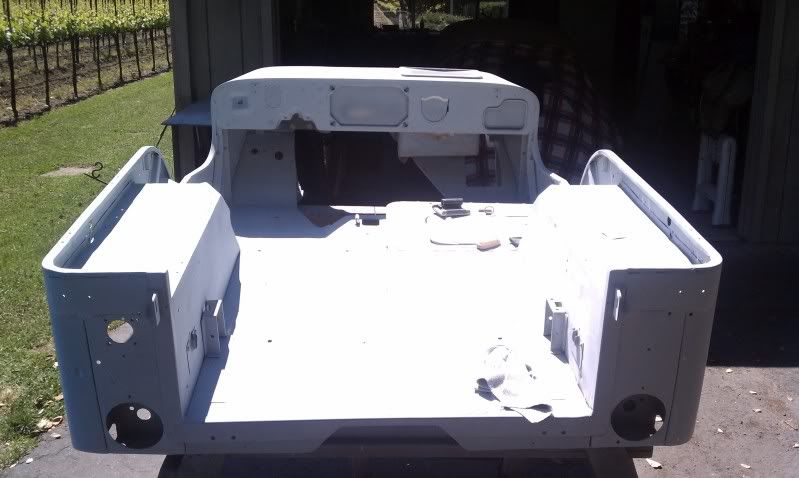
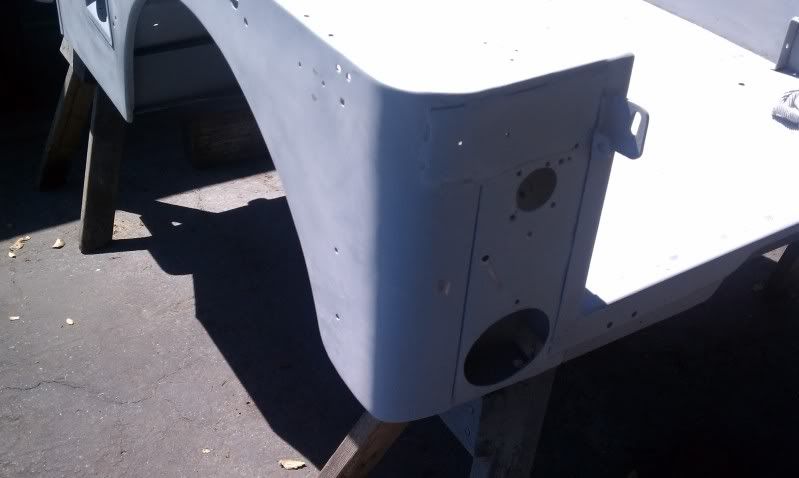
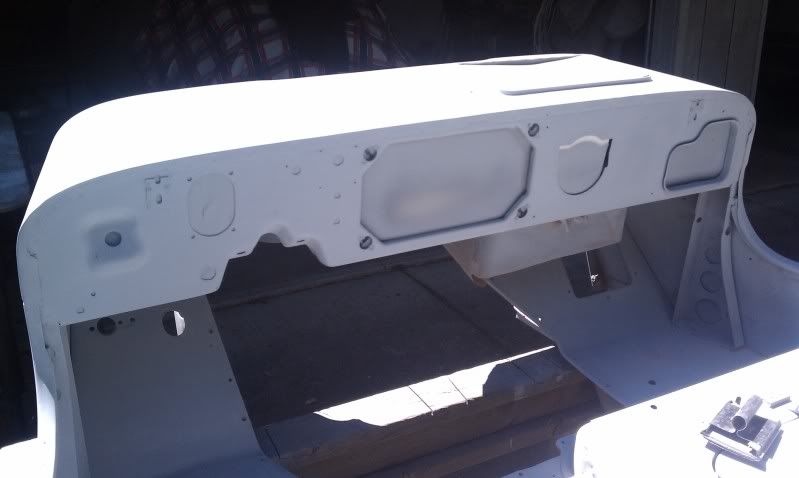
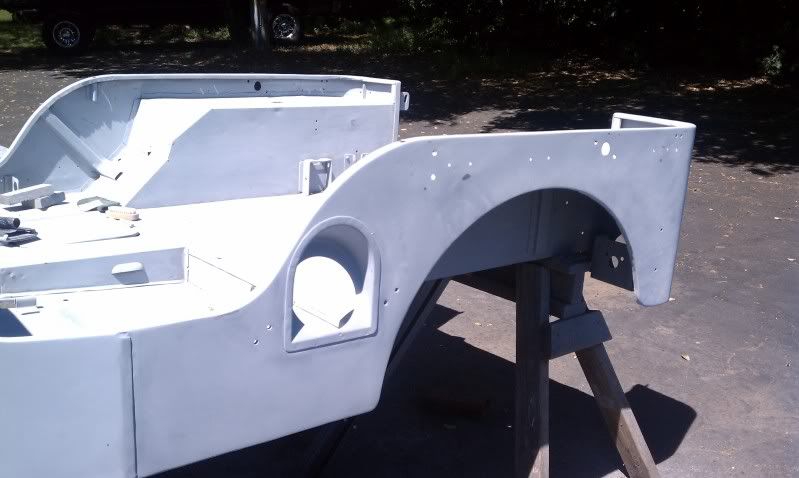
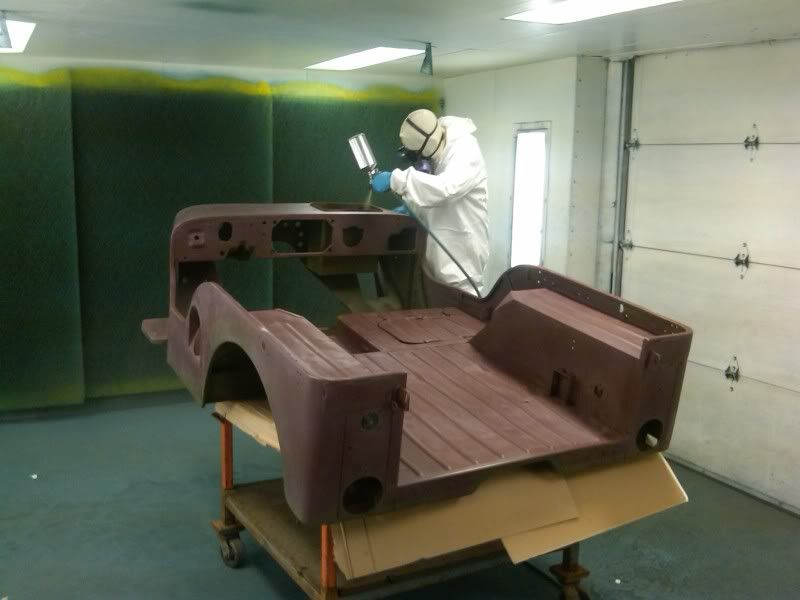
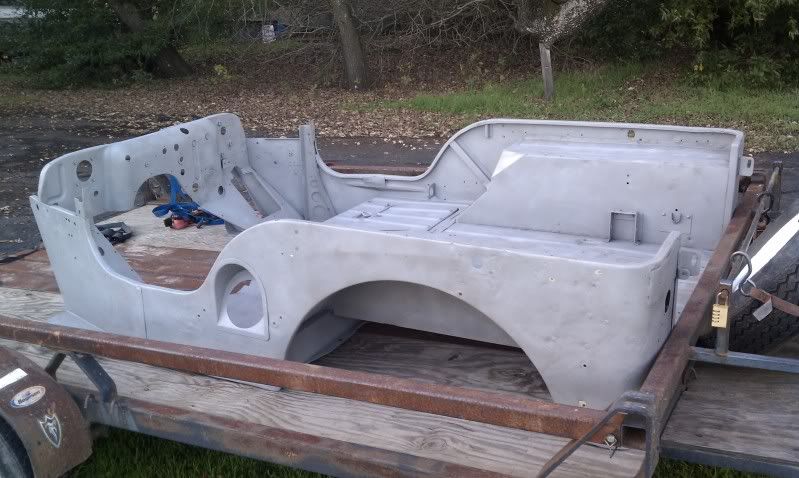
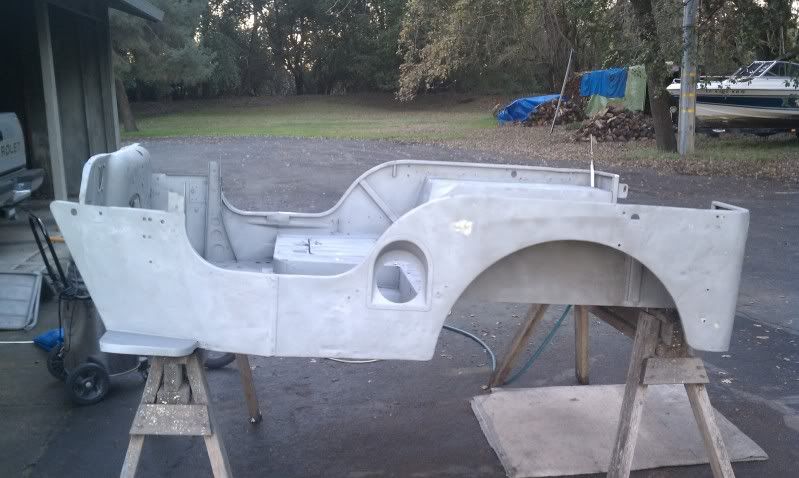
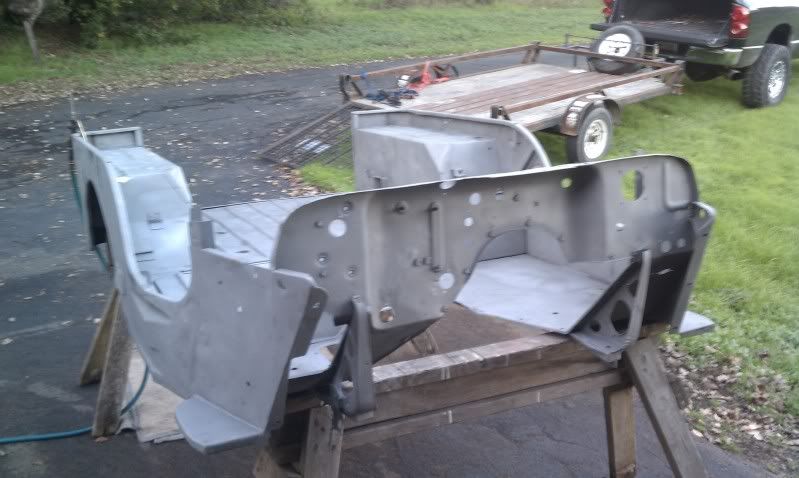
Body came back from sand blast today, primer tomorrow. The guy who blasted said this is the best looking non rust tub he has seen yet... Ended up filling 112 holes that were not supposed to be there with the mig.
I can finally start to see light at the end of the tunnel with this restore...................................................... :sha: :sha: :sha:
These Pictures are from the Last 3 weeks of frame up restore on the M38...Though I would play catch up and post some stuff
Picking up Jeep in Coquille OR.(Redding was 108 degrees coming home)
Day i Dropped off at parents house
The Exhaust, Gas Tank and Wiring all got Stripped out (Found the first minor Rust Spots)
Rear Panel Repair
Found Original Spec. Plate on Tub. Had to strip 4 coats of paint to see what it said.. Jeep number is 53,984 of 61,423 Ever Built. Delivered to the war dept. Feb 52
Removed Tub from frame, Made up drawings of new sheet metal Body Frame Mounts, Found Original OD Green paint on frame and body.
Made sheet metal tabs for broken and rusted fender and fender mounts, Made new sections of of floor panel braces out of 16 gauge sheet metal. Cut out Passenger side step.
made this channel to slip over part of the original frame. Before i weld in in place i need the new step and fix a patch of rust
My Dad is doing the Passenger Fender Work, A lot of cracked supports and missing sheet metal. He welded up holes throughout the years and is rebuilding the fender. (Leaving Factory holes)
This was the fender 1 week later
Changing the oakie Bubba Mod steering that came in the jeep. Someone fab a channel to support the steering and radiator. The Radiator was in the wrong location by 4". cut out all the old welds and channel. Fixed the top of the frame. The hole in the frame is where the original bell crank support was installed, why it was removed is beyond me?
After plasma out the crappy channel and welds
I cut the support plates out with the plasma, And jigged up to the frame. I welded in the plates. Ground down the plates to look flush with the frame. I Designed the new steering/Radiator support since the bell crank support tube was missing when I bought it. Everything should be close to factory locations.
I finished building and welding the new Bell crank and radiator support bracket today, Came out good and should put everything close to stock location.
Here is the new support welded in place
Pulled the engine and trans
Another horrible weld job, makes me sick. These mounts was use for the Buick V6 Conversion (Going back to 4 cyl.)
after cutting the oakie mounts off i found the whole frame was cracked from the bad welds, re welded and smoothed out
All prepped and ready for new rear bumper to be fitted and rivet on (Old bumper was missing both ends)
Cut the bumper off, was more of a rock crawler style (ordered NOS stock m38 bumper)
Found a rust spot on cowl support, put in a patch piece before the step and channel can be fitted
Tested the OD Semi Gloss Green on front and rear Drivelines (Love the Color) It's a perfect match to the original green that the jeep got from willys
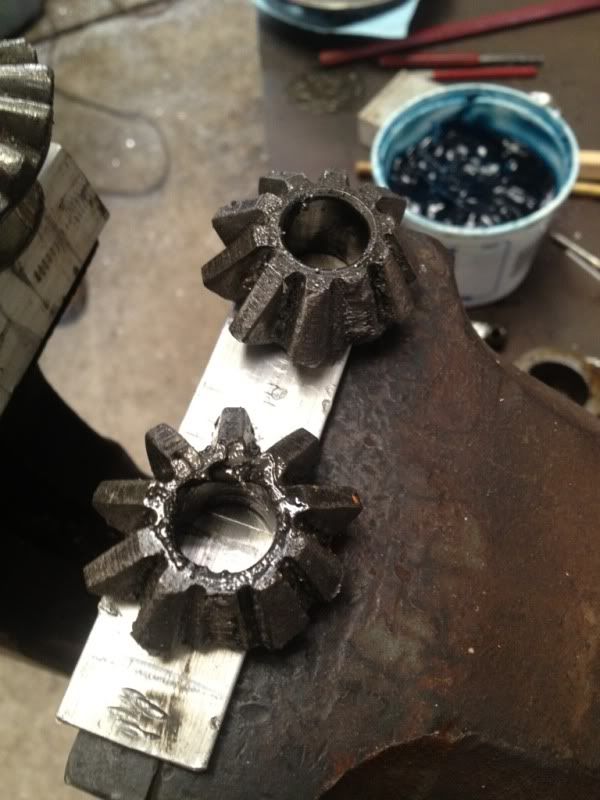
Started to tear into the trans and transfer, going for full overhaul, seals and new OD Green paint
Some more pictures of the slow progress of the jeep.... Found and Picking up the original L-head engine Sunday for the jeep
The frame was cutoff for the home build bumper, I had to make a new front frame to fit the new Repo oem Bumper.
Before/After
Cut the rust out of the driver side floor, Replaced with new sheet metal
Made a Patch piece for the fuel pickup hole
Here is a few before and after pictures of the major improvements so far
Some more updates on the jeep.....
Back Bumper was broken off when i got jeep, got a new bumper/pingle plate and rear support along with rivets.
Picked up a better cowl and dash. Going to cut out mine and replace with this one
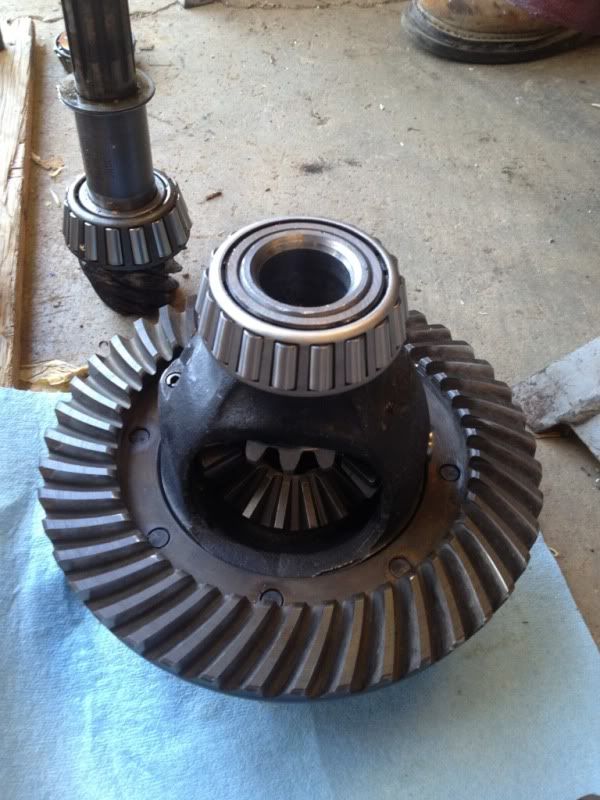
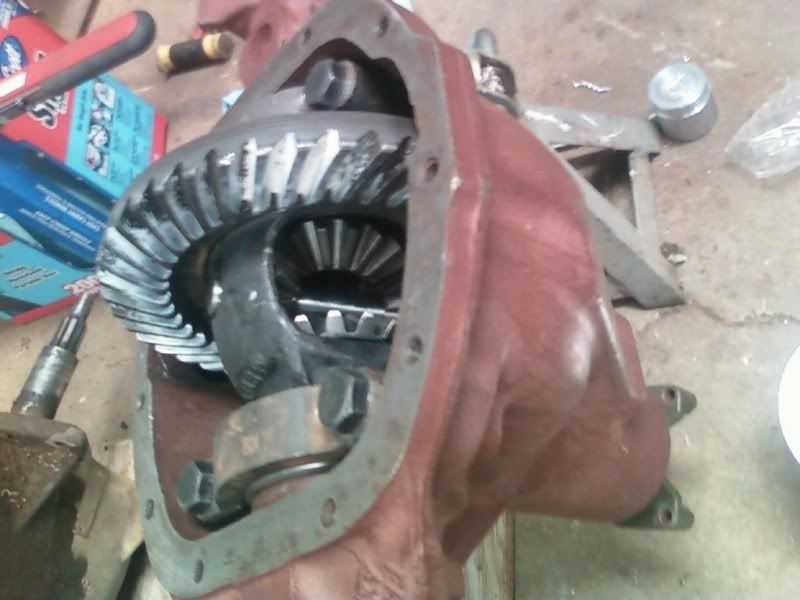
Did Complete Transfer Case rebuild, everything but main shaft and gears were replaced. T90 Trans is next
More Updates on the jeep build.....................
Rebuild the Bellcrank Steering Arm
Rebuild drag link
The Emergency brake arm bushing had a lot of play in it. Bored the arm to .500 and pressed in a new oil light bushing .500 o.d x .375 i.d. The fuel handle had a split in the arm, straightened arm and tig welded the gap.
The Cowl dash got sand blasted and primed under the cowl, since the cowl is still not welded to the tub. The Battery box lid came today (Month Long Search)
Plugging all the none stock holes in the firewall and rear bed tubs. over 60 holes just in the 3 spots.
The transmission pan had a big cutout in it to clear the old Buick v6 and t18 trans, Made a sheet metal piece and rolled in to fit into the cutout area. Made a new rear tail light holder for the driver side, the original was missing.
Painted the Frame,Bumper,Under the cowl and cross member Original Semi Gloss OD Green. Turned out very nice. Also primer the springs.
Tore the Ross Steering Box apart, pressed out the bushings and degrease. Bead blast all the parts to new, Going to rebuild everything on and in the gear box.
I started bolting parts onto the frame. Master Cylinder, Bell Crank, Engine Mounts. I rebuilt the Pedal assembly. I order a new pedal shaft, springs and washers. I pressed 2 new 1" x 1 1/8" x 1 oil light bushings into the pedal shaft support bracket, then using a adjustable reamer, i over sized the oil lights to 1.003. The pedal has no slop at all. The brake rod was egg shaped and had alot of movement on the pedal pin. I over sized the hole and pressed in a oil light bushing reamed to 7/16 i.d. This took all the play out of the brake pedal plunger shaft
Finished clutch/brake assembly
More updates on the jeep......................
I wanted a little more ride height than stock, so i used the Rancho 2" springs. I made all the original m38 hangers work with the newer spring to give it the same look. Lots of mill and lathe work
Ross Steering box got completely rebuilt with new steering column shaft
Got the T90 transmission stripped and painted. Parts were gone through. Needs a new 1st gear, reverse gear, lower cluster, rebuild kit with gaskets, seals, bearings and 2nd gear.
Had to change out the cj front plate to the M38 plate, took 3 months to find the plate, A guy had one in Vermont.
Rebuilt the L-134 Engine, Upgraded to a GM 12 volt One wire Alt. The stock system was a 24 volt originally. Fabbed up some custom bracket to mount the Alt.
Body came back from sand blast today, primer tomorrow. The guy who blasted said this is the best looking non rust tub he has seen yet... Ended up filling 112 holes that were not supposed to be there with the mig.
I can finally start to see light at the end of the tunnel with this restore...................................................... :sha: :sha: :sha:
Last edited: