khamill2000
Member
- 44
- 16
- 8
- Location
- kansas
Had the bed off my M1008 to replace the fuel tank and add a second and decided it was a good time to install a gooseneck hitch. Well, since the correct hitch for this vehicle is something like $500 and requires drilling, I figured any hitch would be about as easy to install.
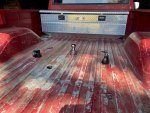
Started with a late model puck style hitch off a 2021 Ford F150 that i picked up off of marketplace for $100.

Bed removal, Farm style.
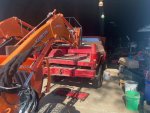
Bed off
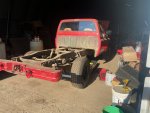
Locating the hitch. I was pleased to see that I would have 6 holes that lined up with the top of the frame rails.
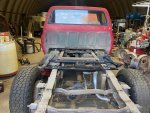
There is a limited amount of flat surface where it needs to be mounted and one of the left shock bracket limited things a little further. I ended up positioning it up against the shock bracket rivet (circled) and squaring it up.
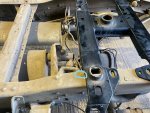
There are (4) 5/8" diameter slots for bolts and (1) each 1/2" diameter hole and slot. I clamped and drilled the 1?2" holes and then reinstalled the bed to see how things were going to line up top-side.
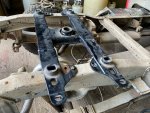
Test fit looked good with the bed. All 4 of the outer pucks were in open areas and the center one was only contacting the edge of a brace. That gave me enough confidence to drill and bolt it all the way down temporarily. Also started cutting off the extra material that was sticking way past the sides of the frame.
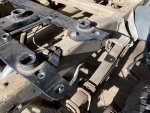
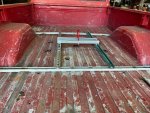
And then start locating the holes in the bed. I located the center hole 51-13/16 from the front of the bed.
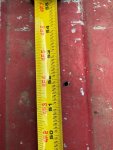
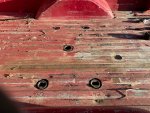
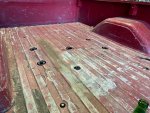
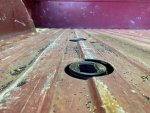
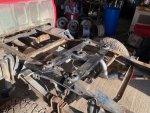
Then I reinstalled the bed to verify the location of that hole and marked the other holes. Must not have taken any pics. Anyway, for final install to the frame, I cut off the rest of the extra material. I was unable to use the original side brackets that came with the hitch because they weren't bent at 90 degrees so I made my own out of 3" x 3" x 1/4" steel angle. The holes coming down through the top of the hitch where my side brackets were located were 1" diameter and 1 on each side was too close to the frame to use. I decided to bush the holes down to 1/2" using a piece of 1/2" iron pipe inside a piece of 3/4" iron pipe. Then installed everything with new grade 8 hardware.
I'm out of time for today and I don't see an option to save this as a draft so I'll post the rest tomorrow.
Started with a late model puck style hitch off a 2021 Ford F150 that i picked up off of marketplace for $100.

Bed removal, Farm style.

Bed off

Locating the hitch. I was pleased to see that I would have 6 holes that lined up with the top of the frame rails.

There is a limited amount of flat surface where it needs to be mounted and one of the left shock bracket limited things a little further. I ended up positioning it up against the shock bracket rivet (circled) and squaring it up.

There are (4) 5/8" diameter slots for bolts and (1) each 1/2" diameter hole and slot. I clamped and drilled the 1?2" holes and then reinstalled the bed to see how things were going to line up top-side.

Test fit looked good with the bed. All 4 of the outer pucks were in open areas and the center one was only contacting the edge of a brace. That gave me enough confidence to drill and bolt it all the way down temporarily. Also started cutting off the extra material that was sticking way past the sides of the frame.

And then start locating the holes in the bed. I located the center hole 51-13/16 from the front of the bed.

Then I reinstalled the bed to verify the location of that hole and marked the other holes. Must not have taken any pics. Anyway, for final install to the frame, I cut off the rest of the extra material. I was unable to use the original side brackets that came with the hitch because they weren't bent at 90 degrees so I made my own out of 3" x 3" x 1/4" steel angle. The holes coming down through the top of the hitch where my side brackets were located were 1" diameter and 1 on each side was too close to the frame to use. I decided to bush the holes down to 1/2" using a piece of 1/2" iron pipe inside a piece of 3/4" iron pipe. Then installed everything with new grade 8 hardware.

I'm out of time for today and I don't see an option to save this as a draft so I'll post the rest tomorrow.


