
nattieleather
Well-known member
- 1,881
- 148
- 63
- Location
- Cleveland, OH
Inside my original tank was full of rust, dirt, rocks, you name it. To have it restored at a tank renewal place was going to be between 600-700 bucks. Do try it myself with muriatic acid and Redkote sealer would have cost about 300 buck and no guarantee that it was truly sealed and in good nick. To do it properly I would have had to cut the tank apart. Media blast inside and out and the weld back together. I’m an okay bugger welder. My welds hold but are not pretty. Plus I doubt they would have sealed the tank properly.
I started looking around for a replacement tank. A lot of folks used a tank out of an S-10 blazer and it's close in size, but the s-10 tank is only 18 gallons and it has a corner cut off of it.
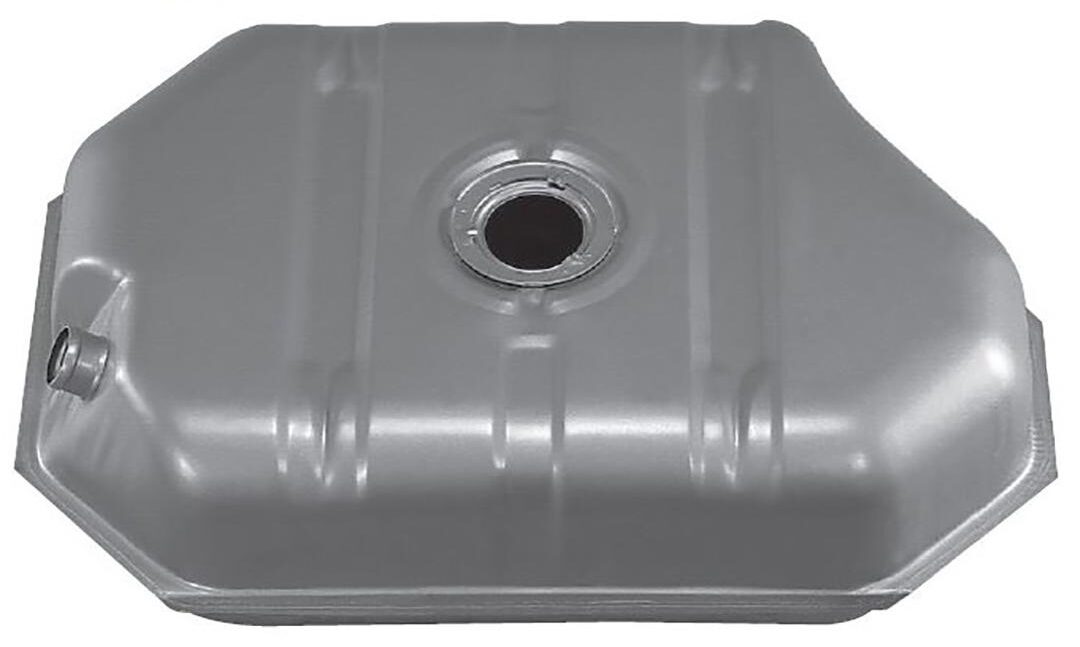
I estimated that the M37 fuel tank has a length of 32.5 inches and a width of 22.75 inches and a depth of 8 inches.
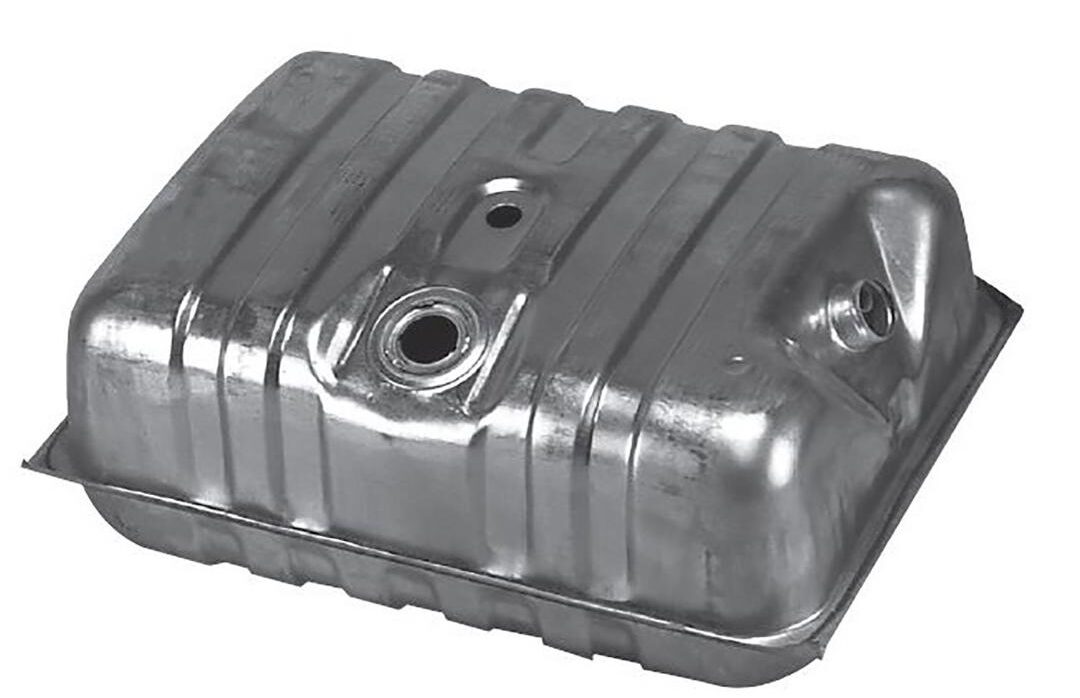
I then started looking for a tank that was close to size and found the tank out of a 1980 Ford Bronco was almost perfect in size except that it was a little taller by about 4 inches but otherwise almost an exact match to the M37 tank. This tank is a length of 31.88 inches and a width of 22.25 inches and a depth of 12.75 inches. This tank is 25.5 gallons. This tank only cost me $89.00. I think with shipping and a few other things I'm all total in at around $120.00 for it.
So, the first thing I had to do was modify the hole that I wanted to put the GI fuel sender into. I used a hole saw and clamped a piece of wood in the opening to pilot the saw and cut the opening to the same size and the original sending unit.
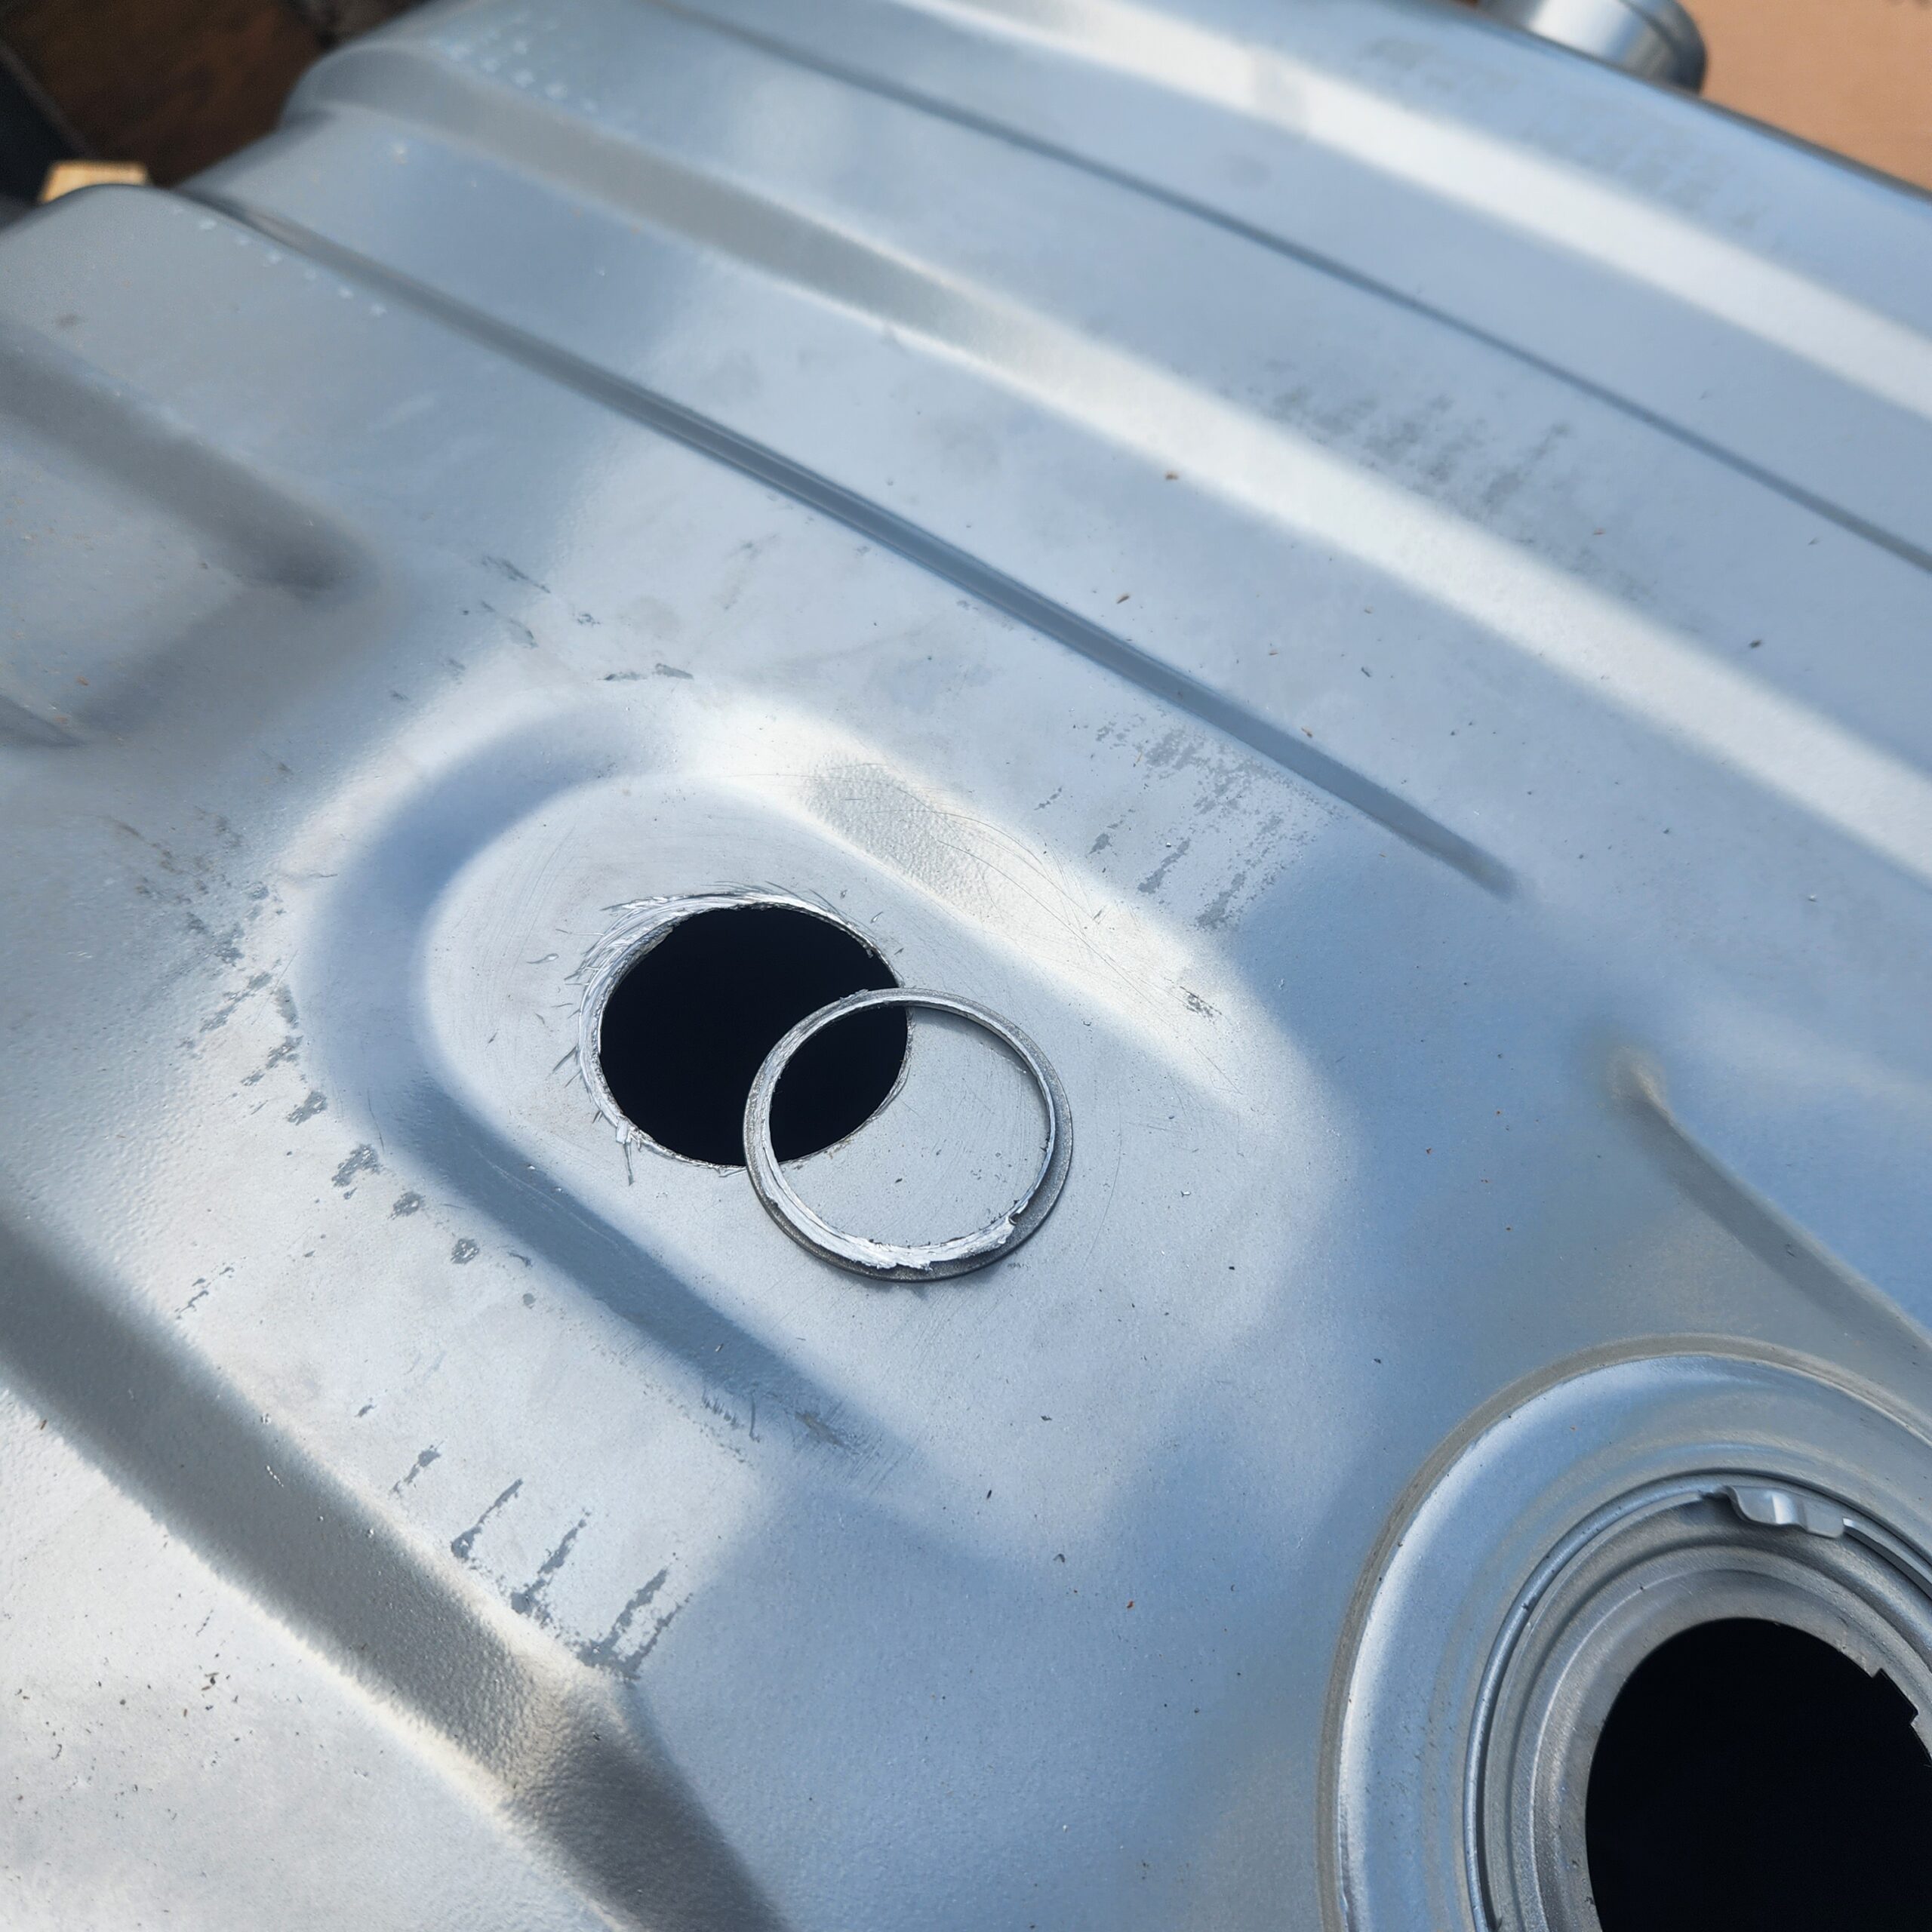
I then drilled and tapped the holes for the sending unit to bolt down to the tank.
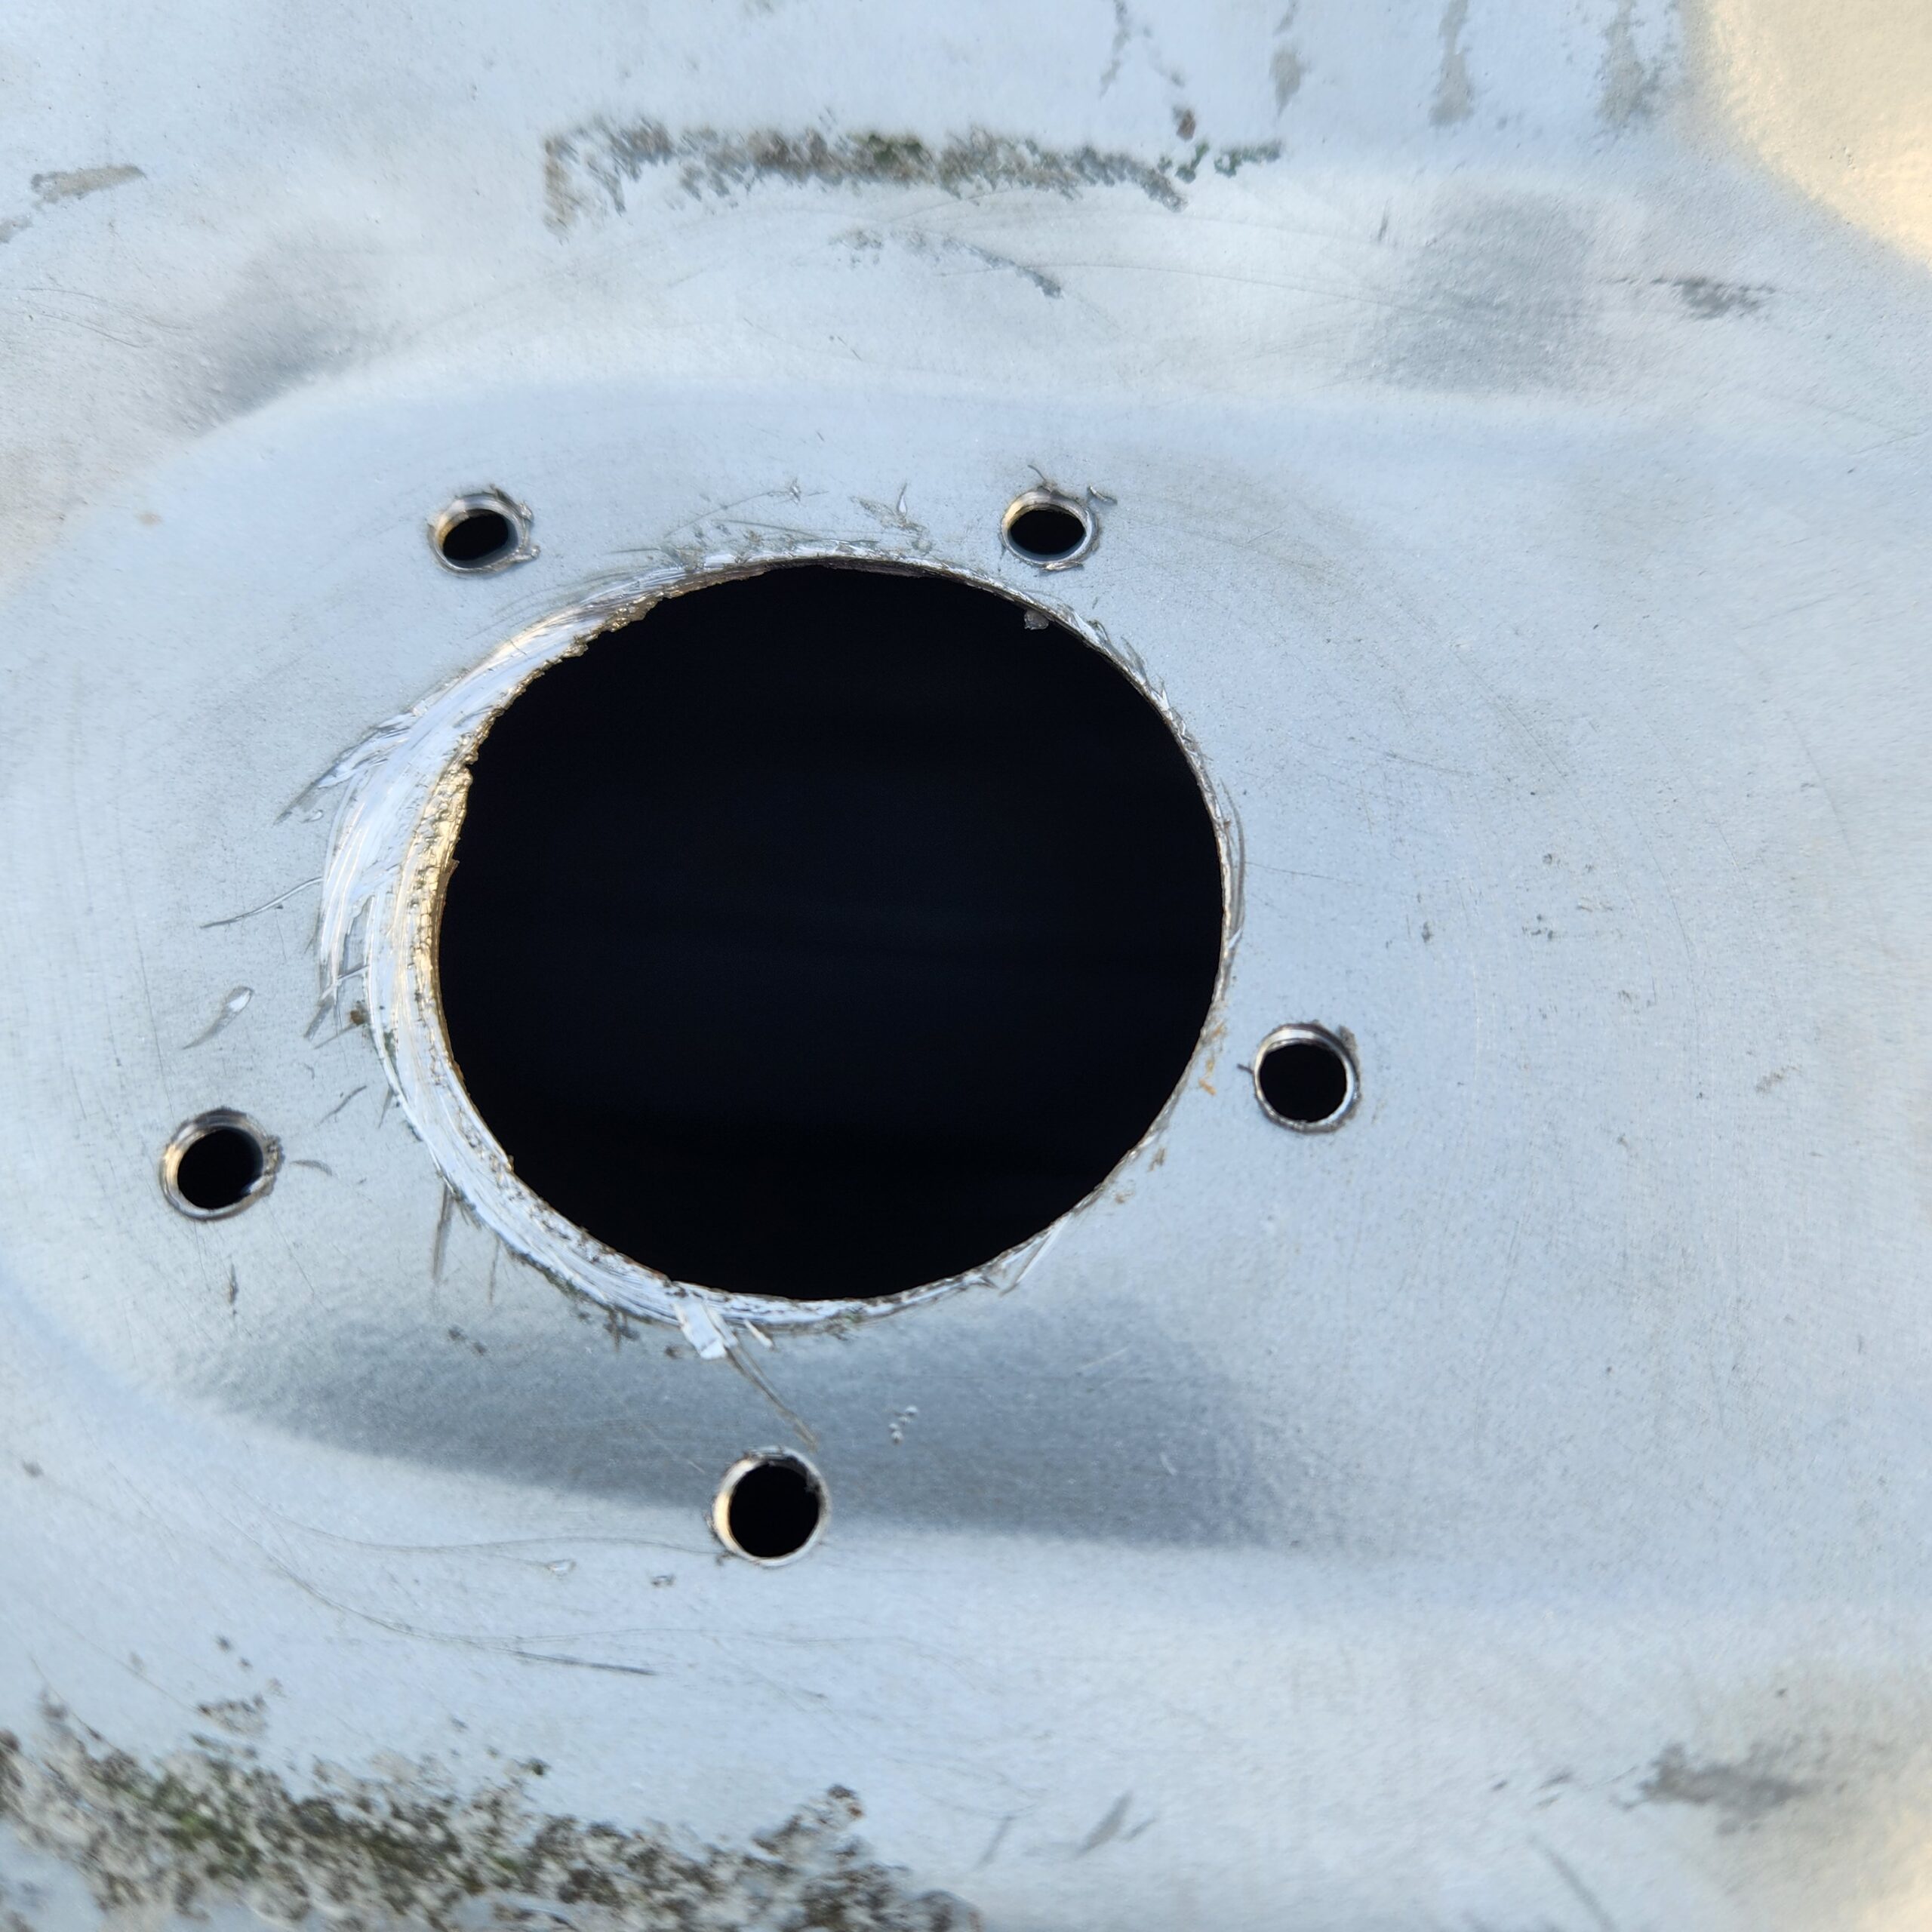
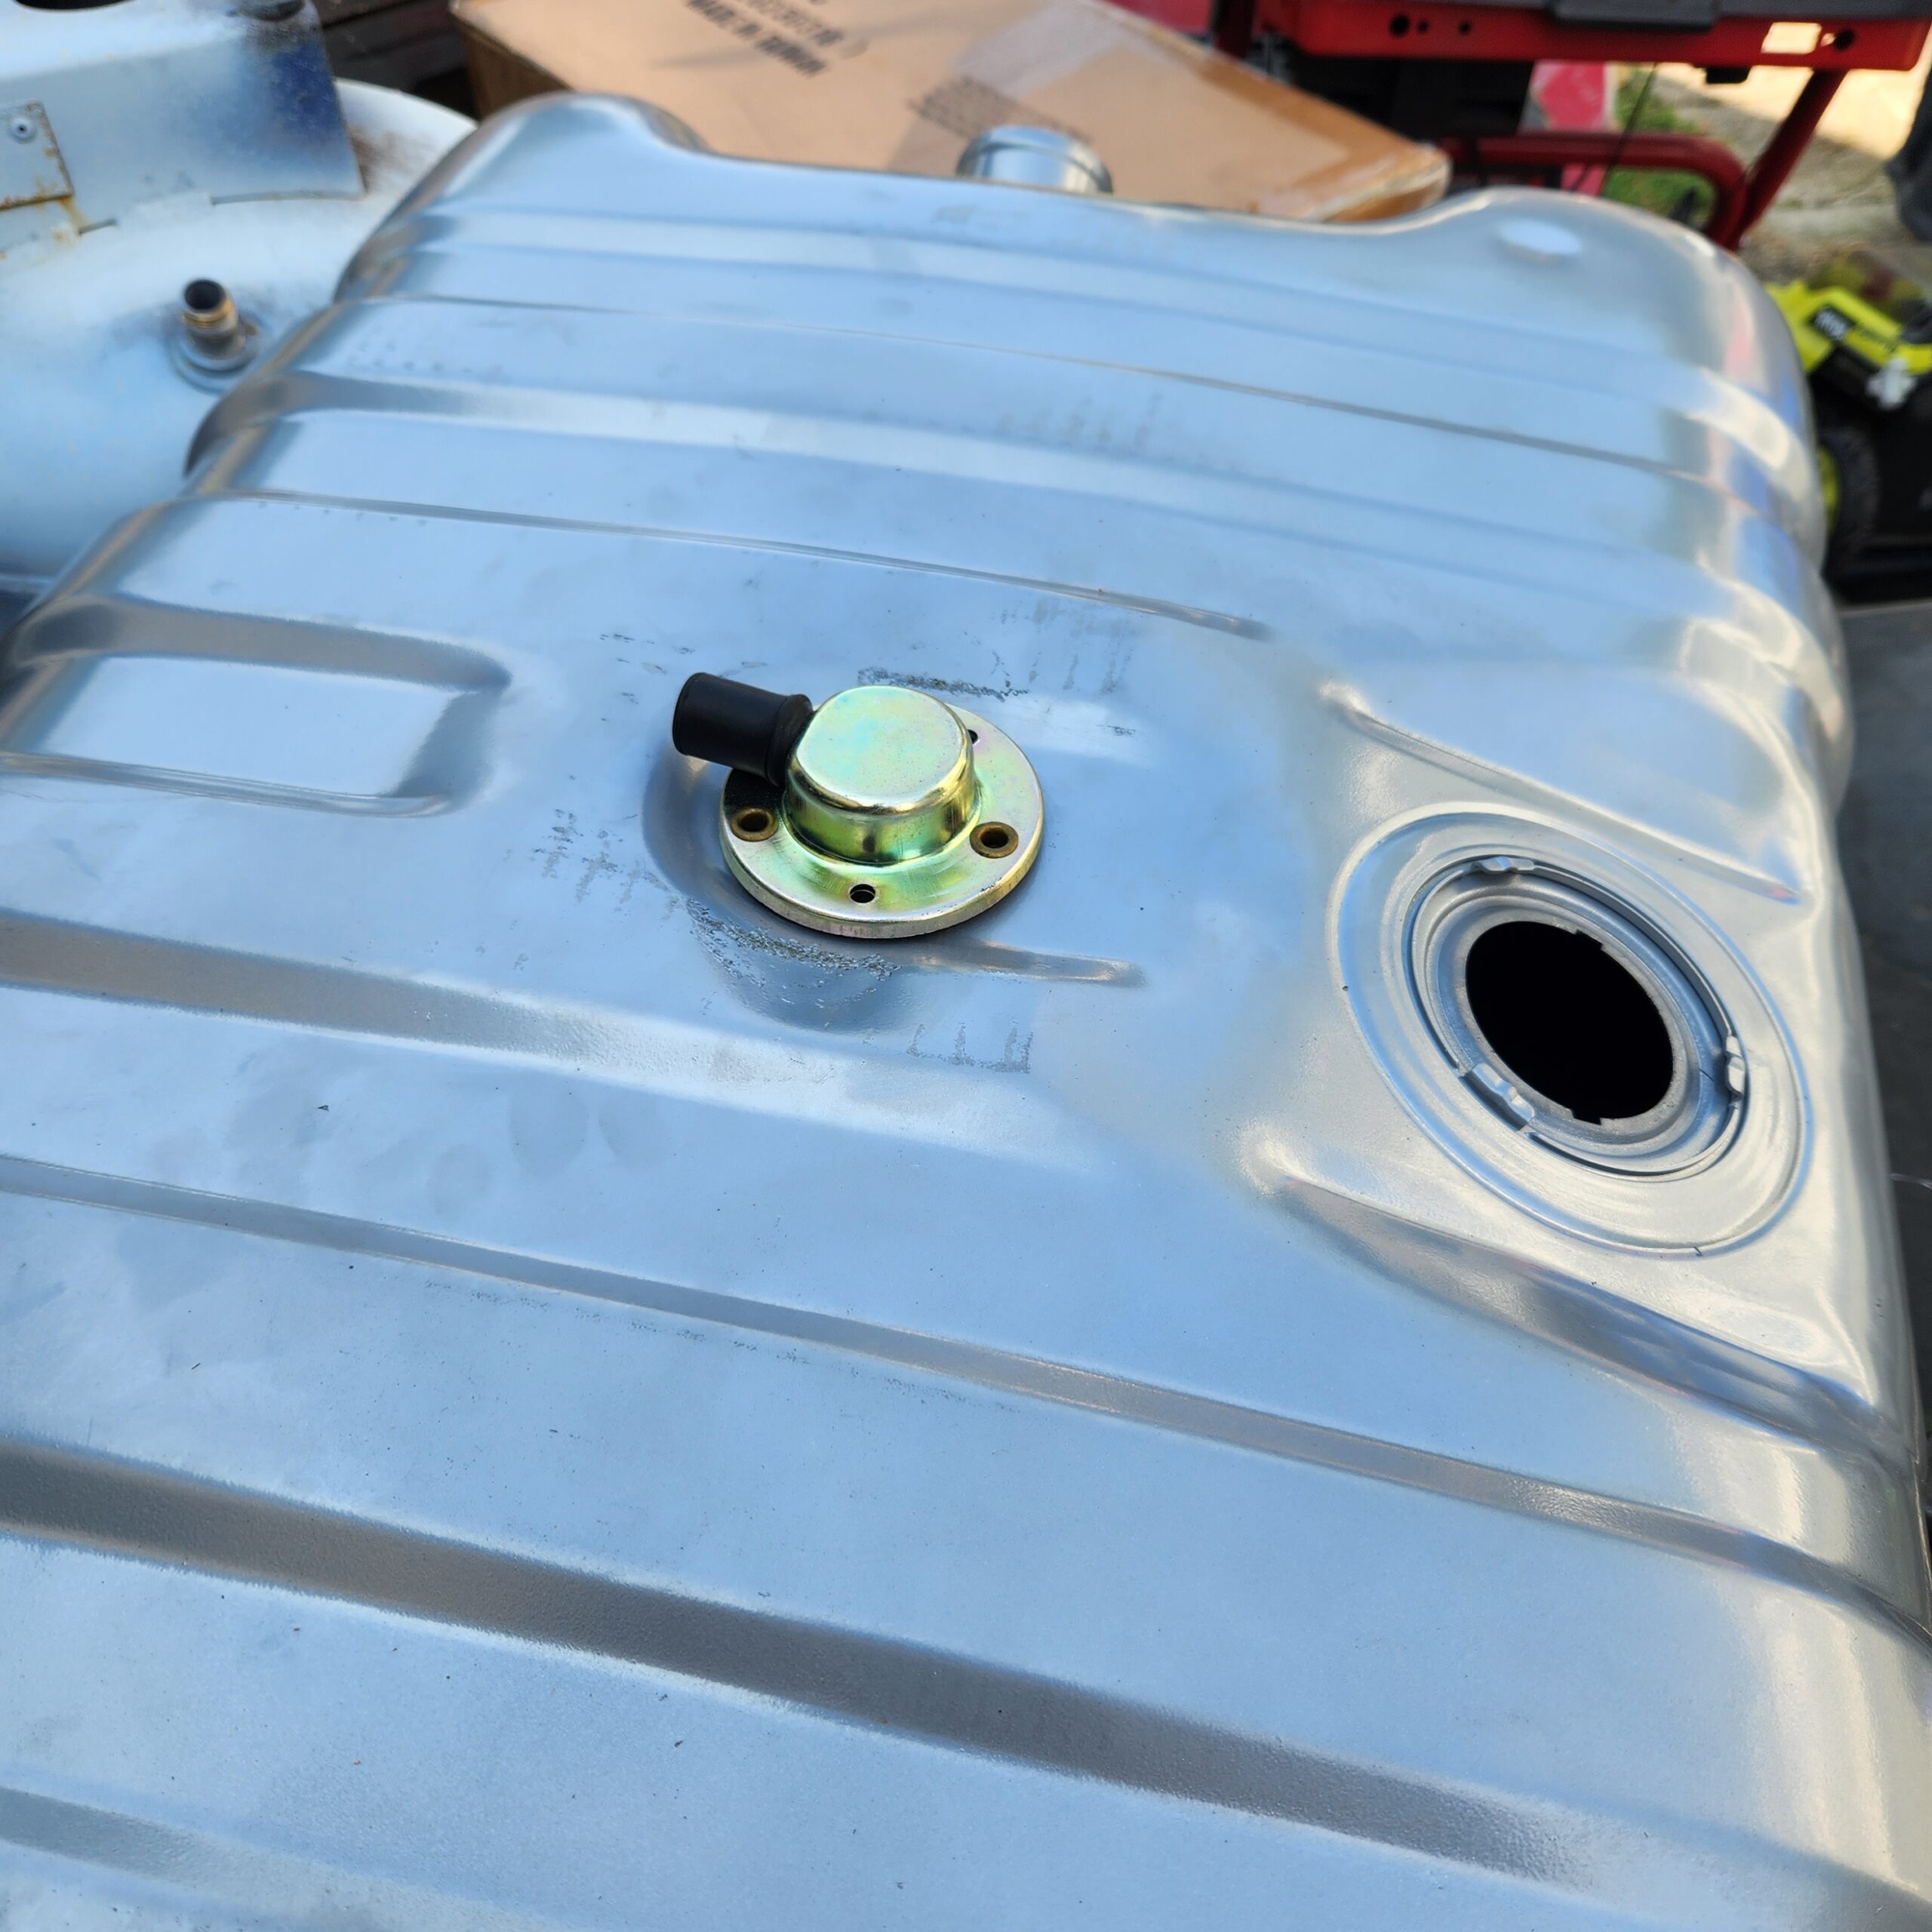
I then had to enlarge the hole for the fuel pickup. Again, I used a hole saw and some wood to guide the saw and I cut the opening bigger for the fuel sender. I also drilled and tapped the mounting holes.
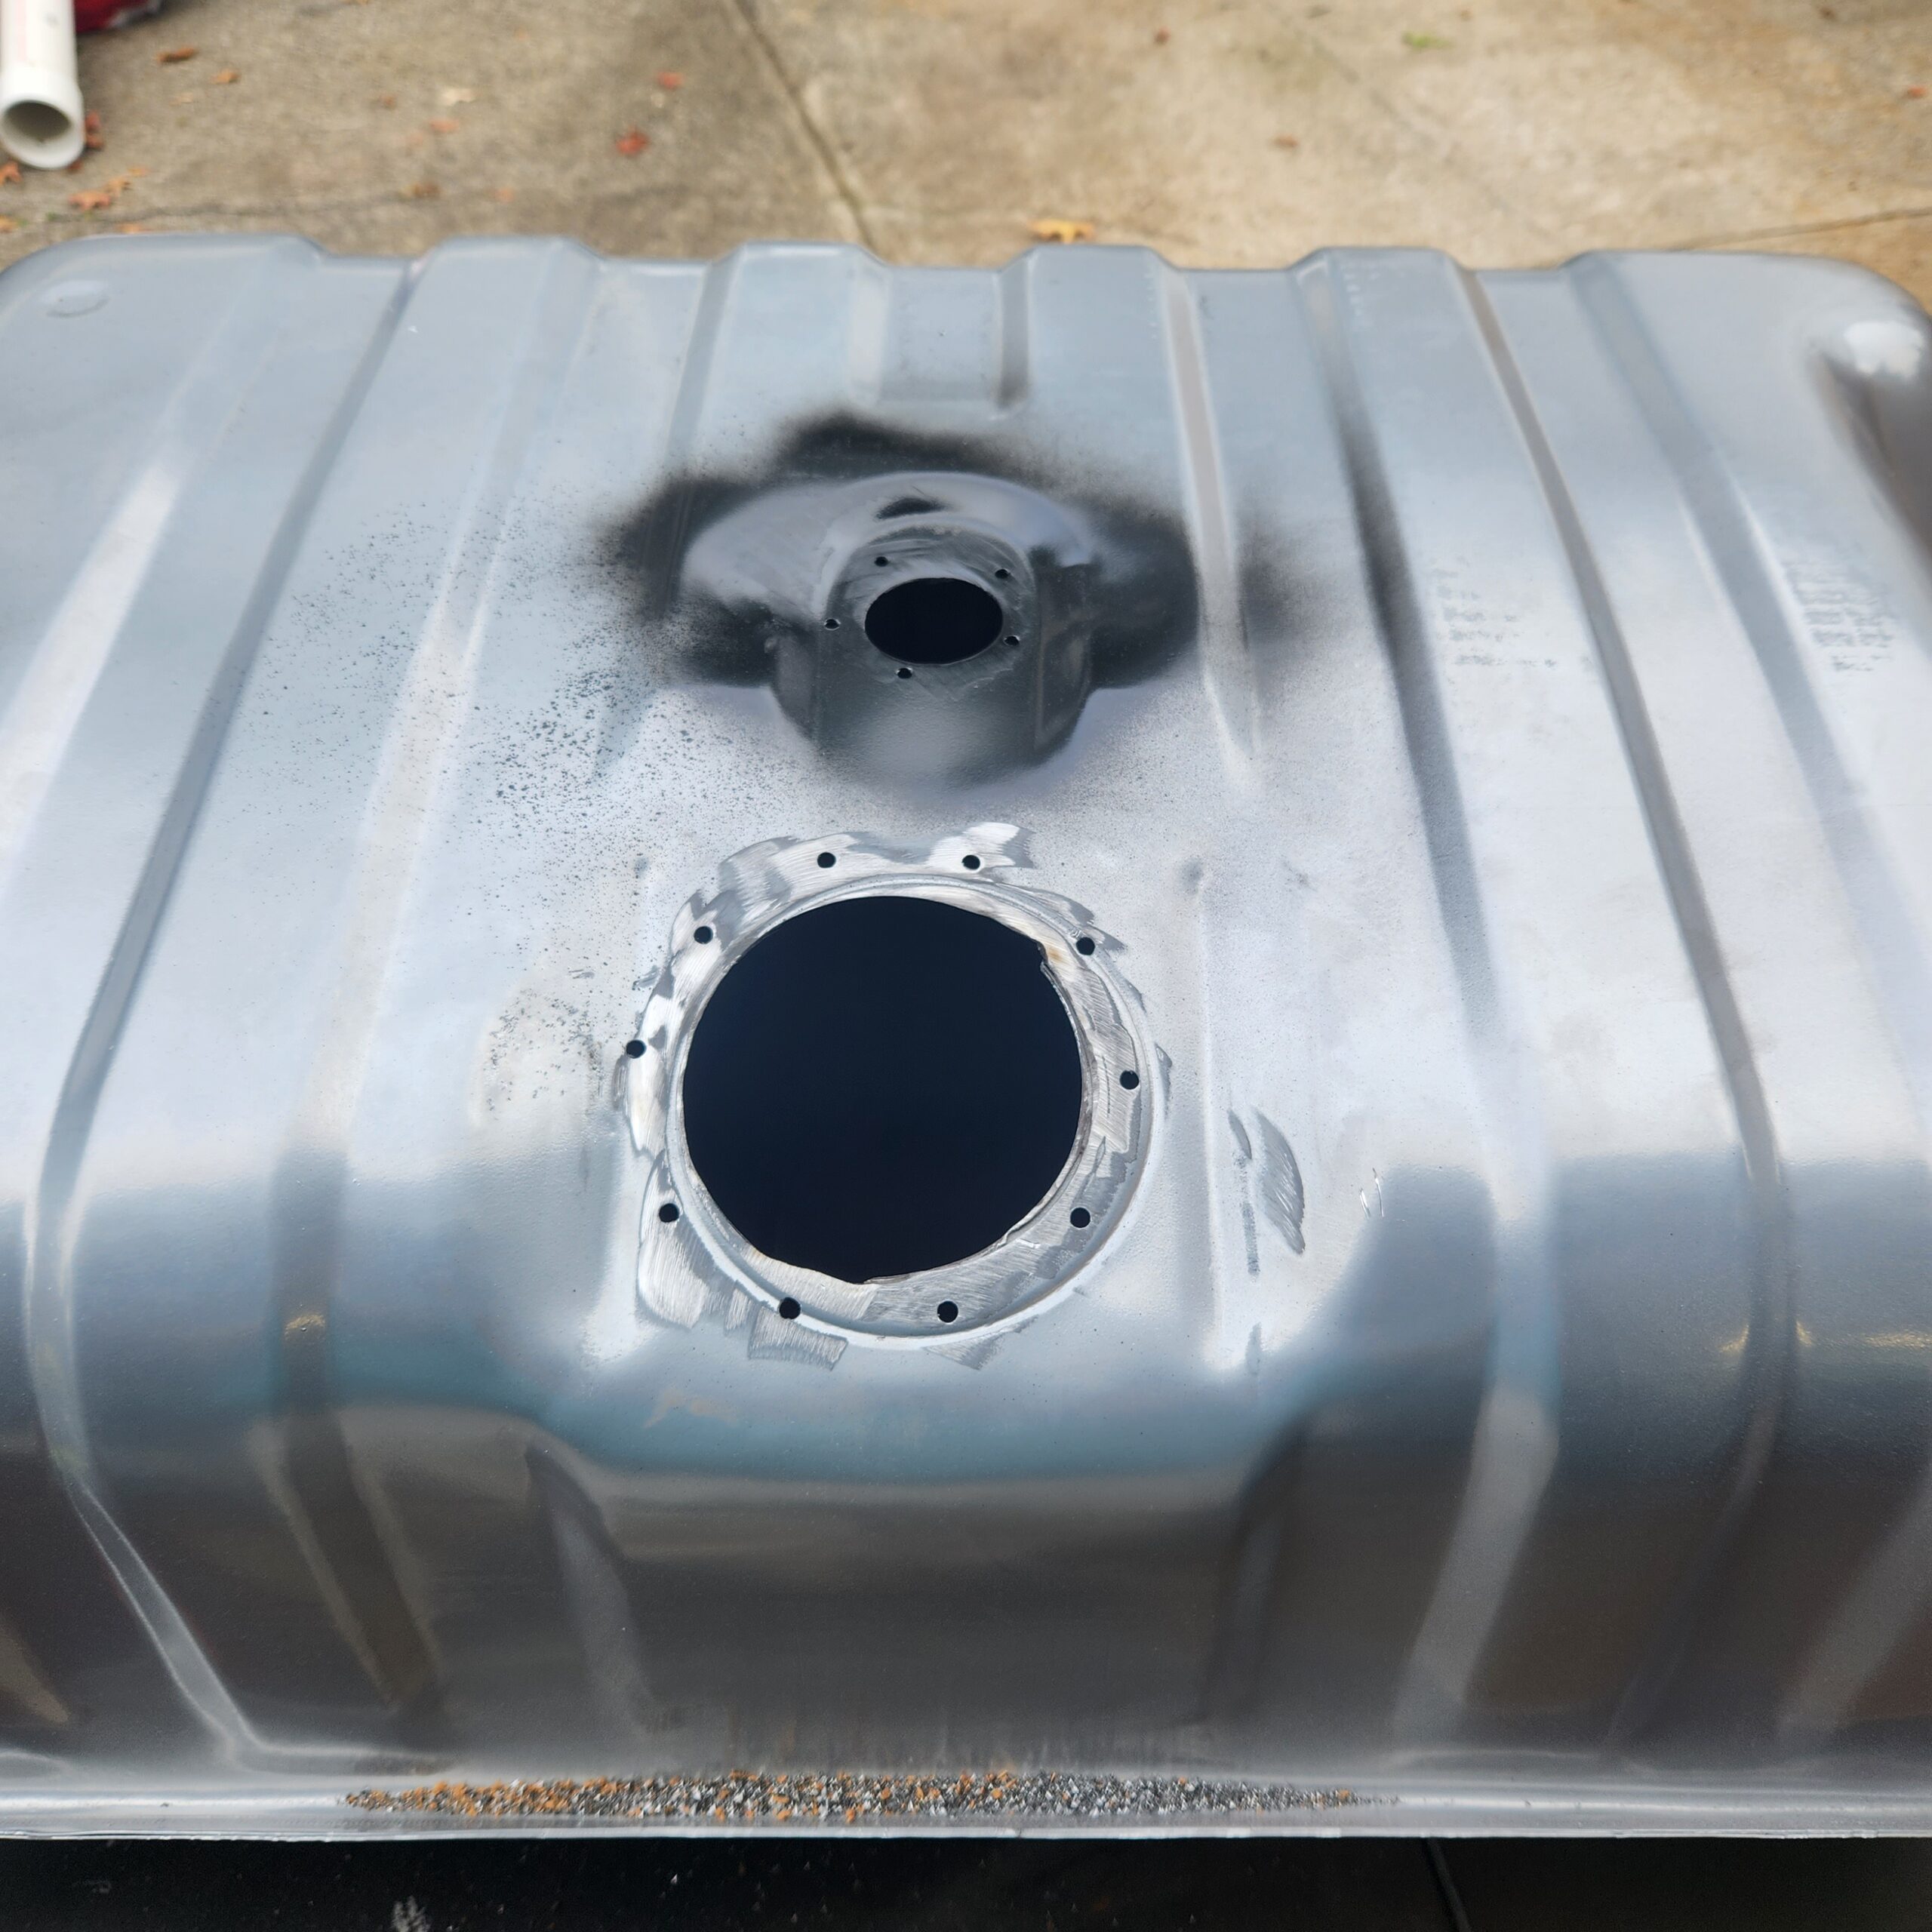
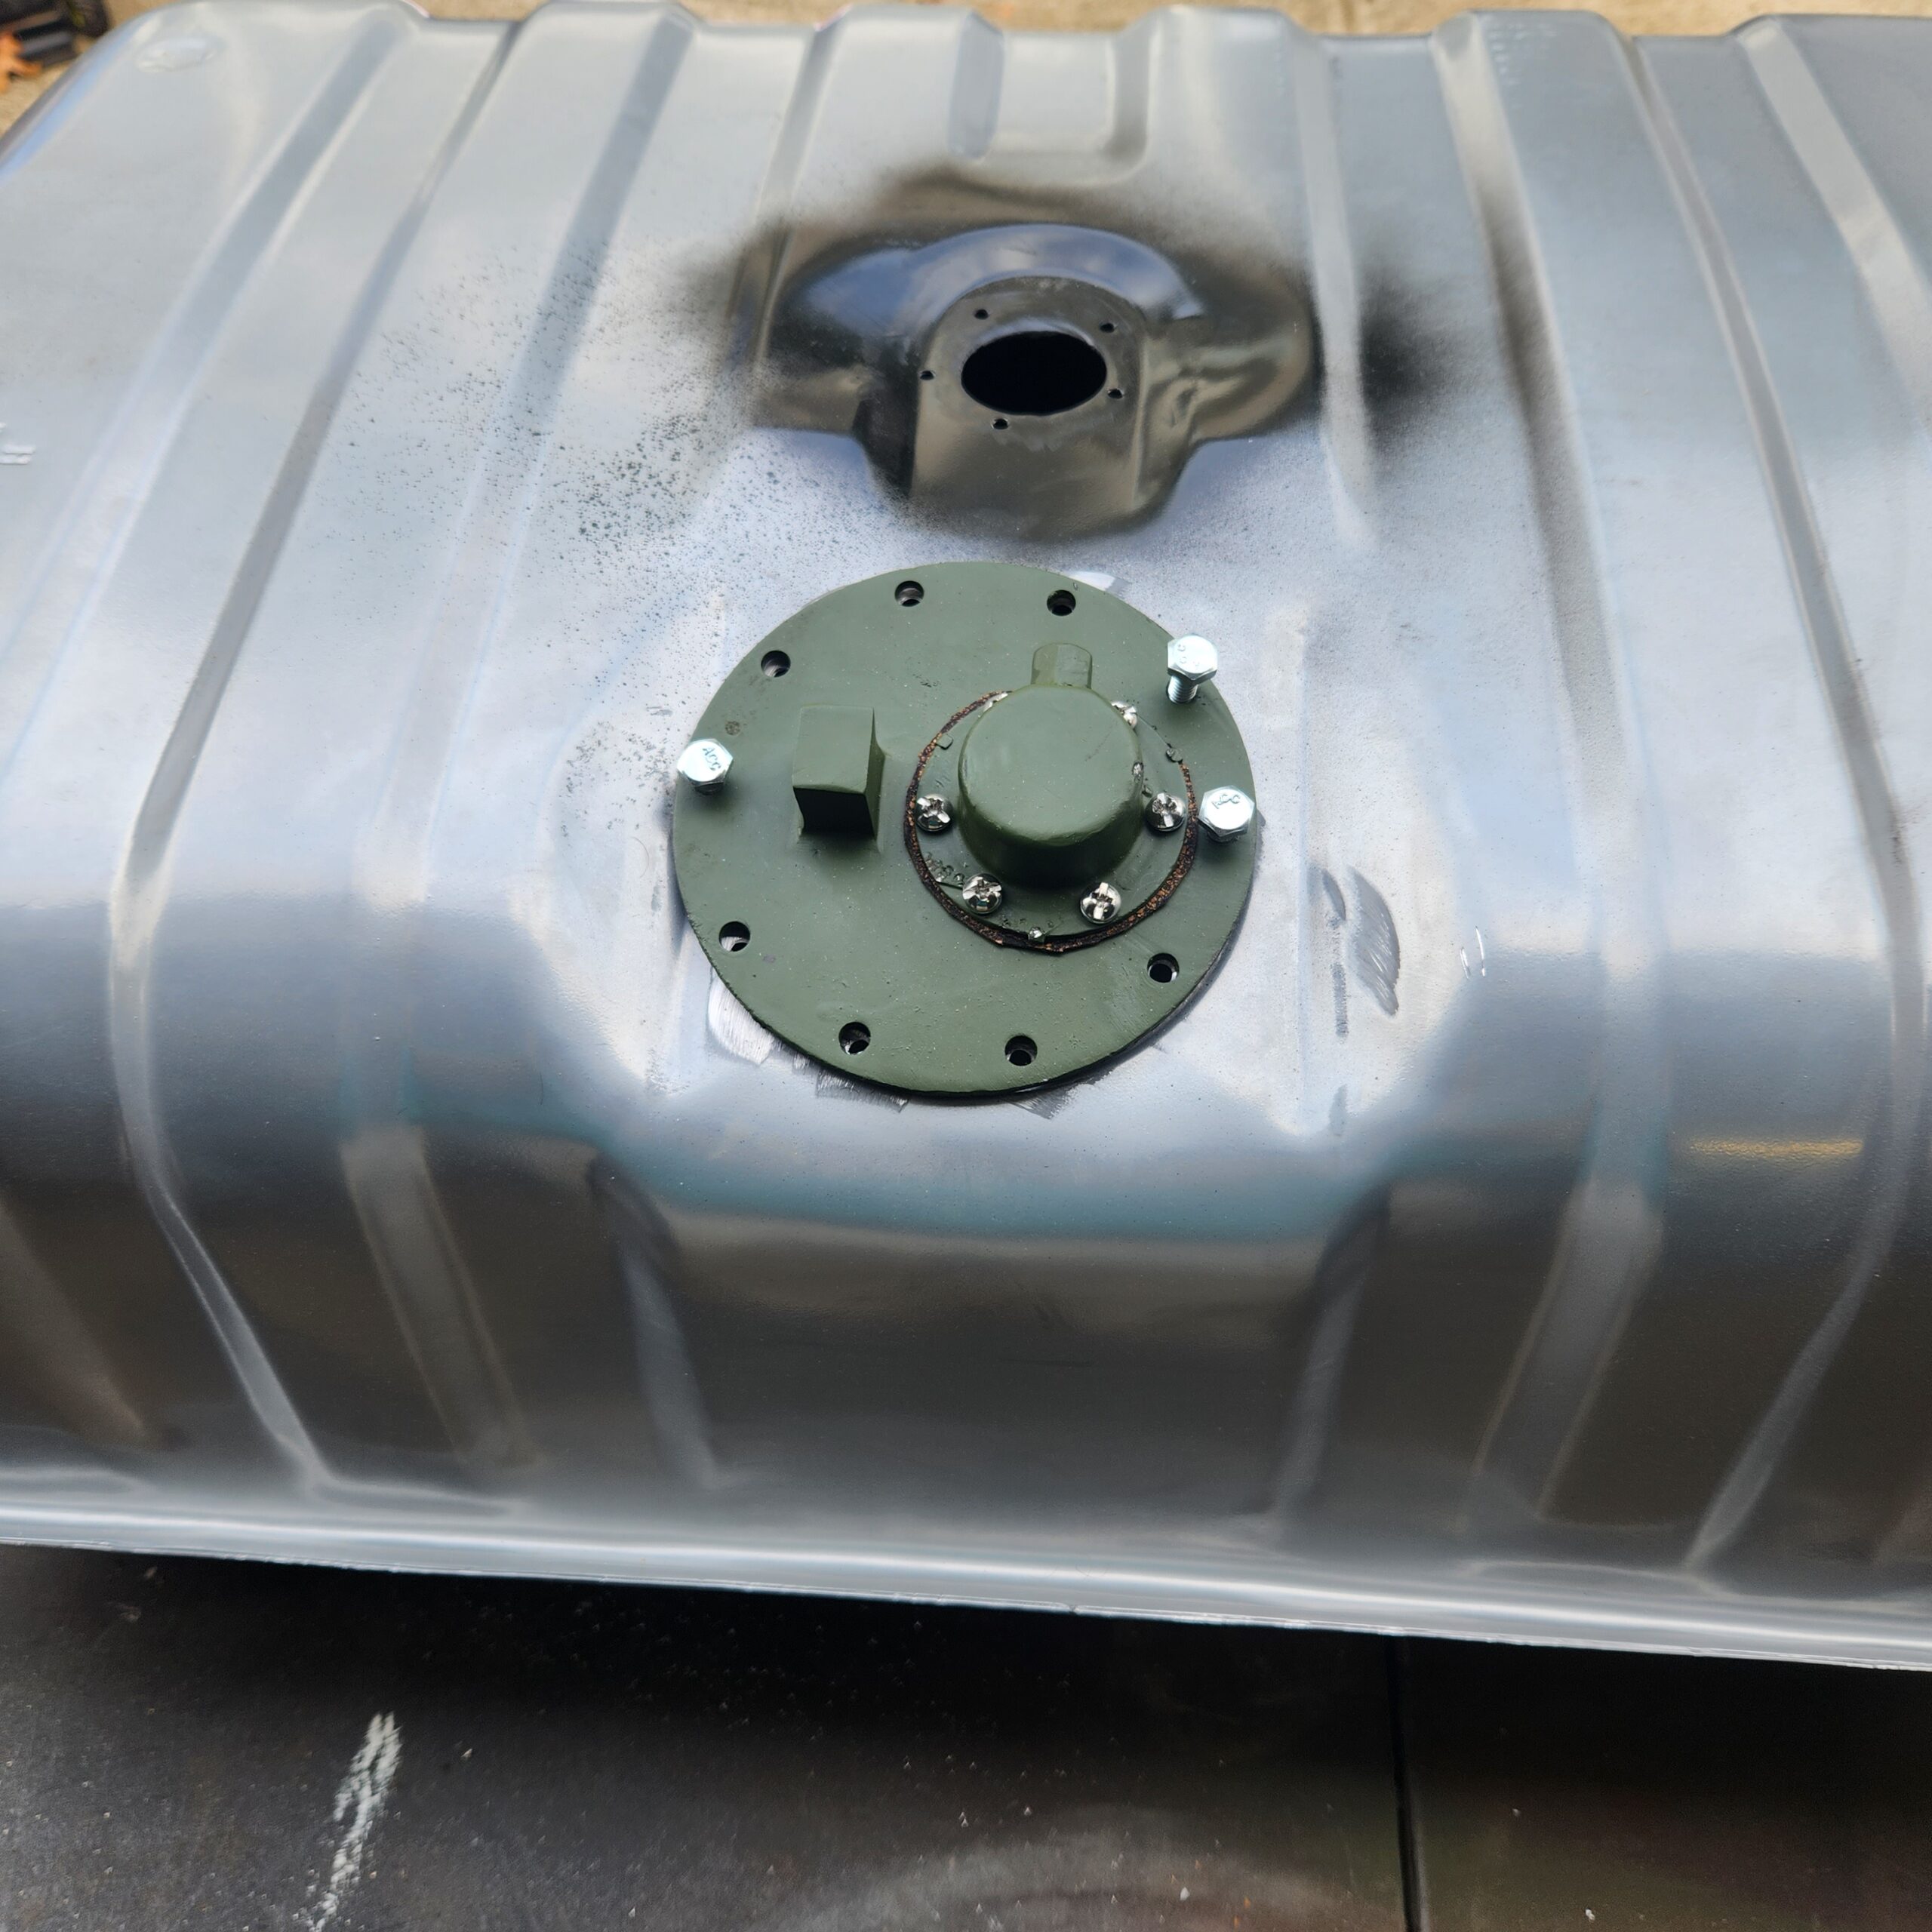
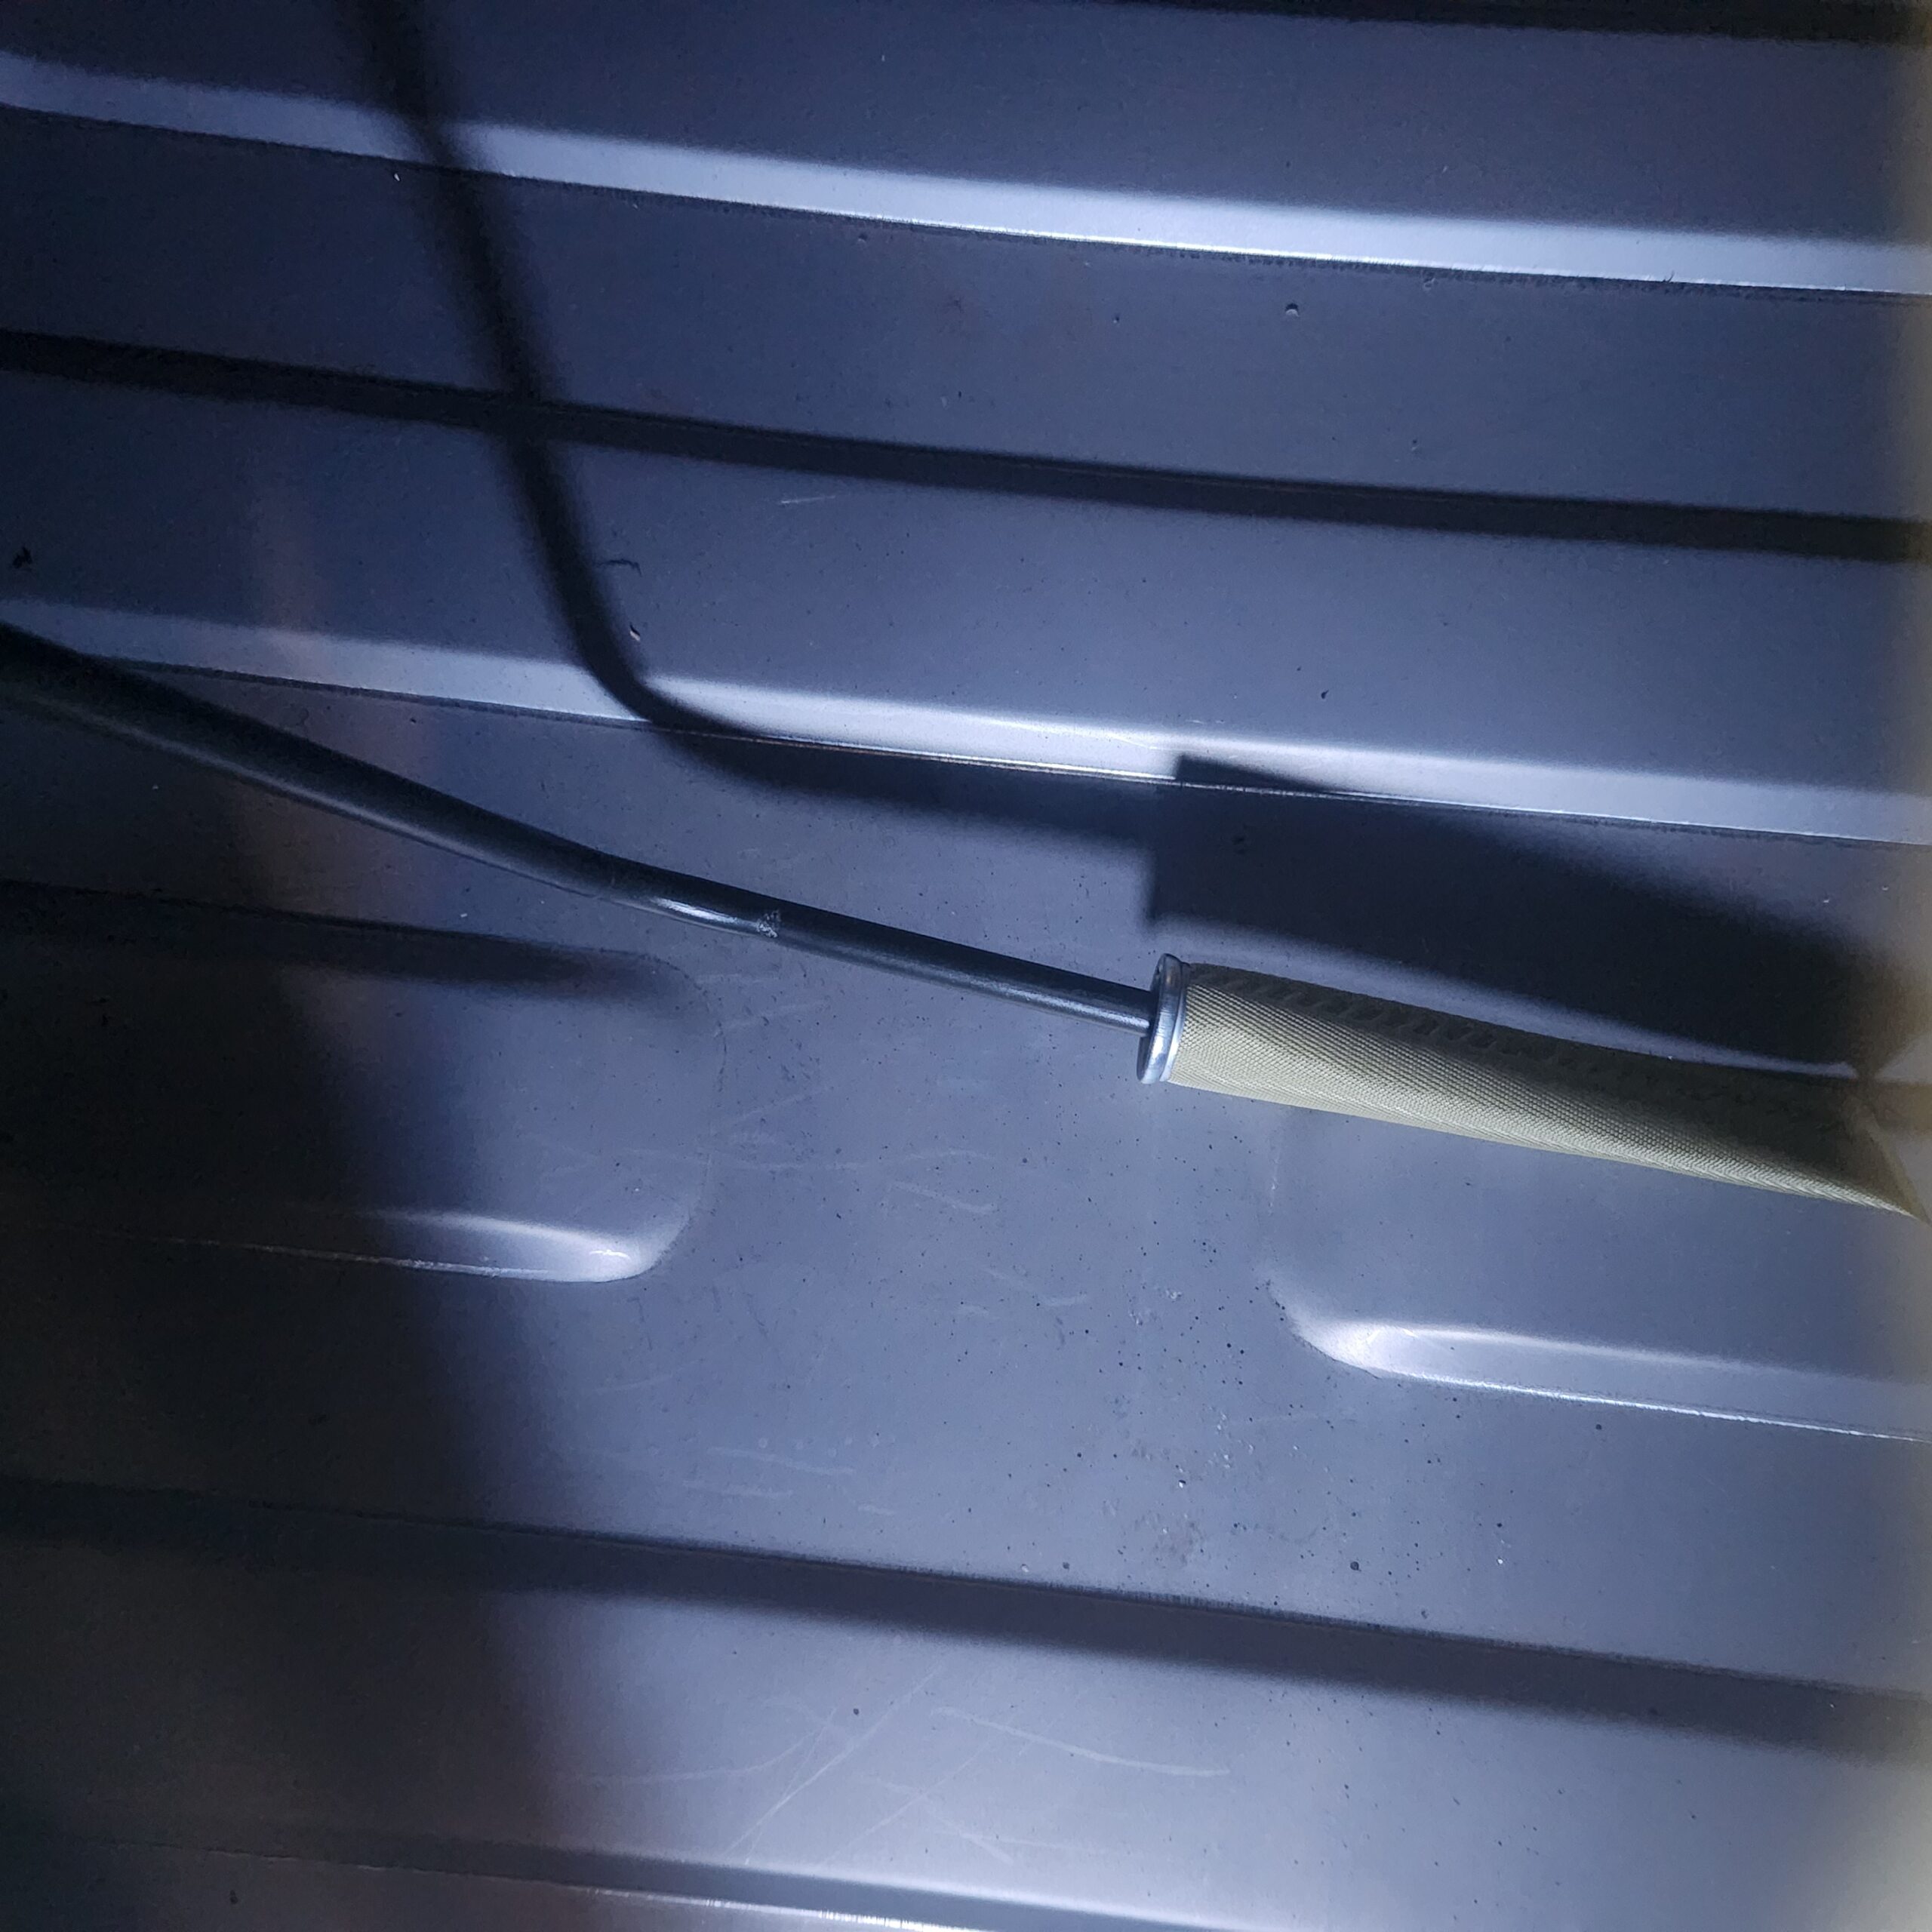
I then took the shop vac and cleaned the inside and out of all metal shavings. With that large opening it was easy to see and get in and clean everything up. I modified the sender by bending the arm down so that it would drop lower into the tank and I took apart the fuel pick-up and put a new 5/16 tube on it and a fuel strainer from a mid-80's Chevy truck.
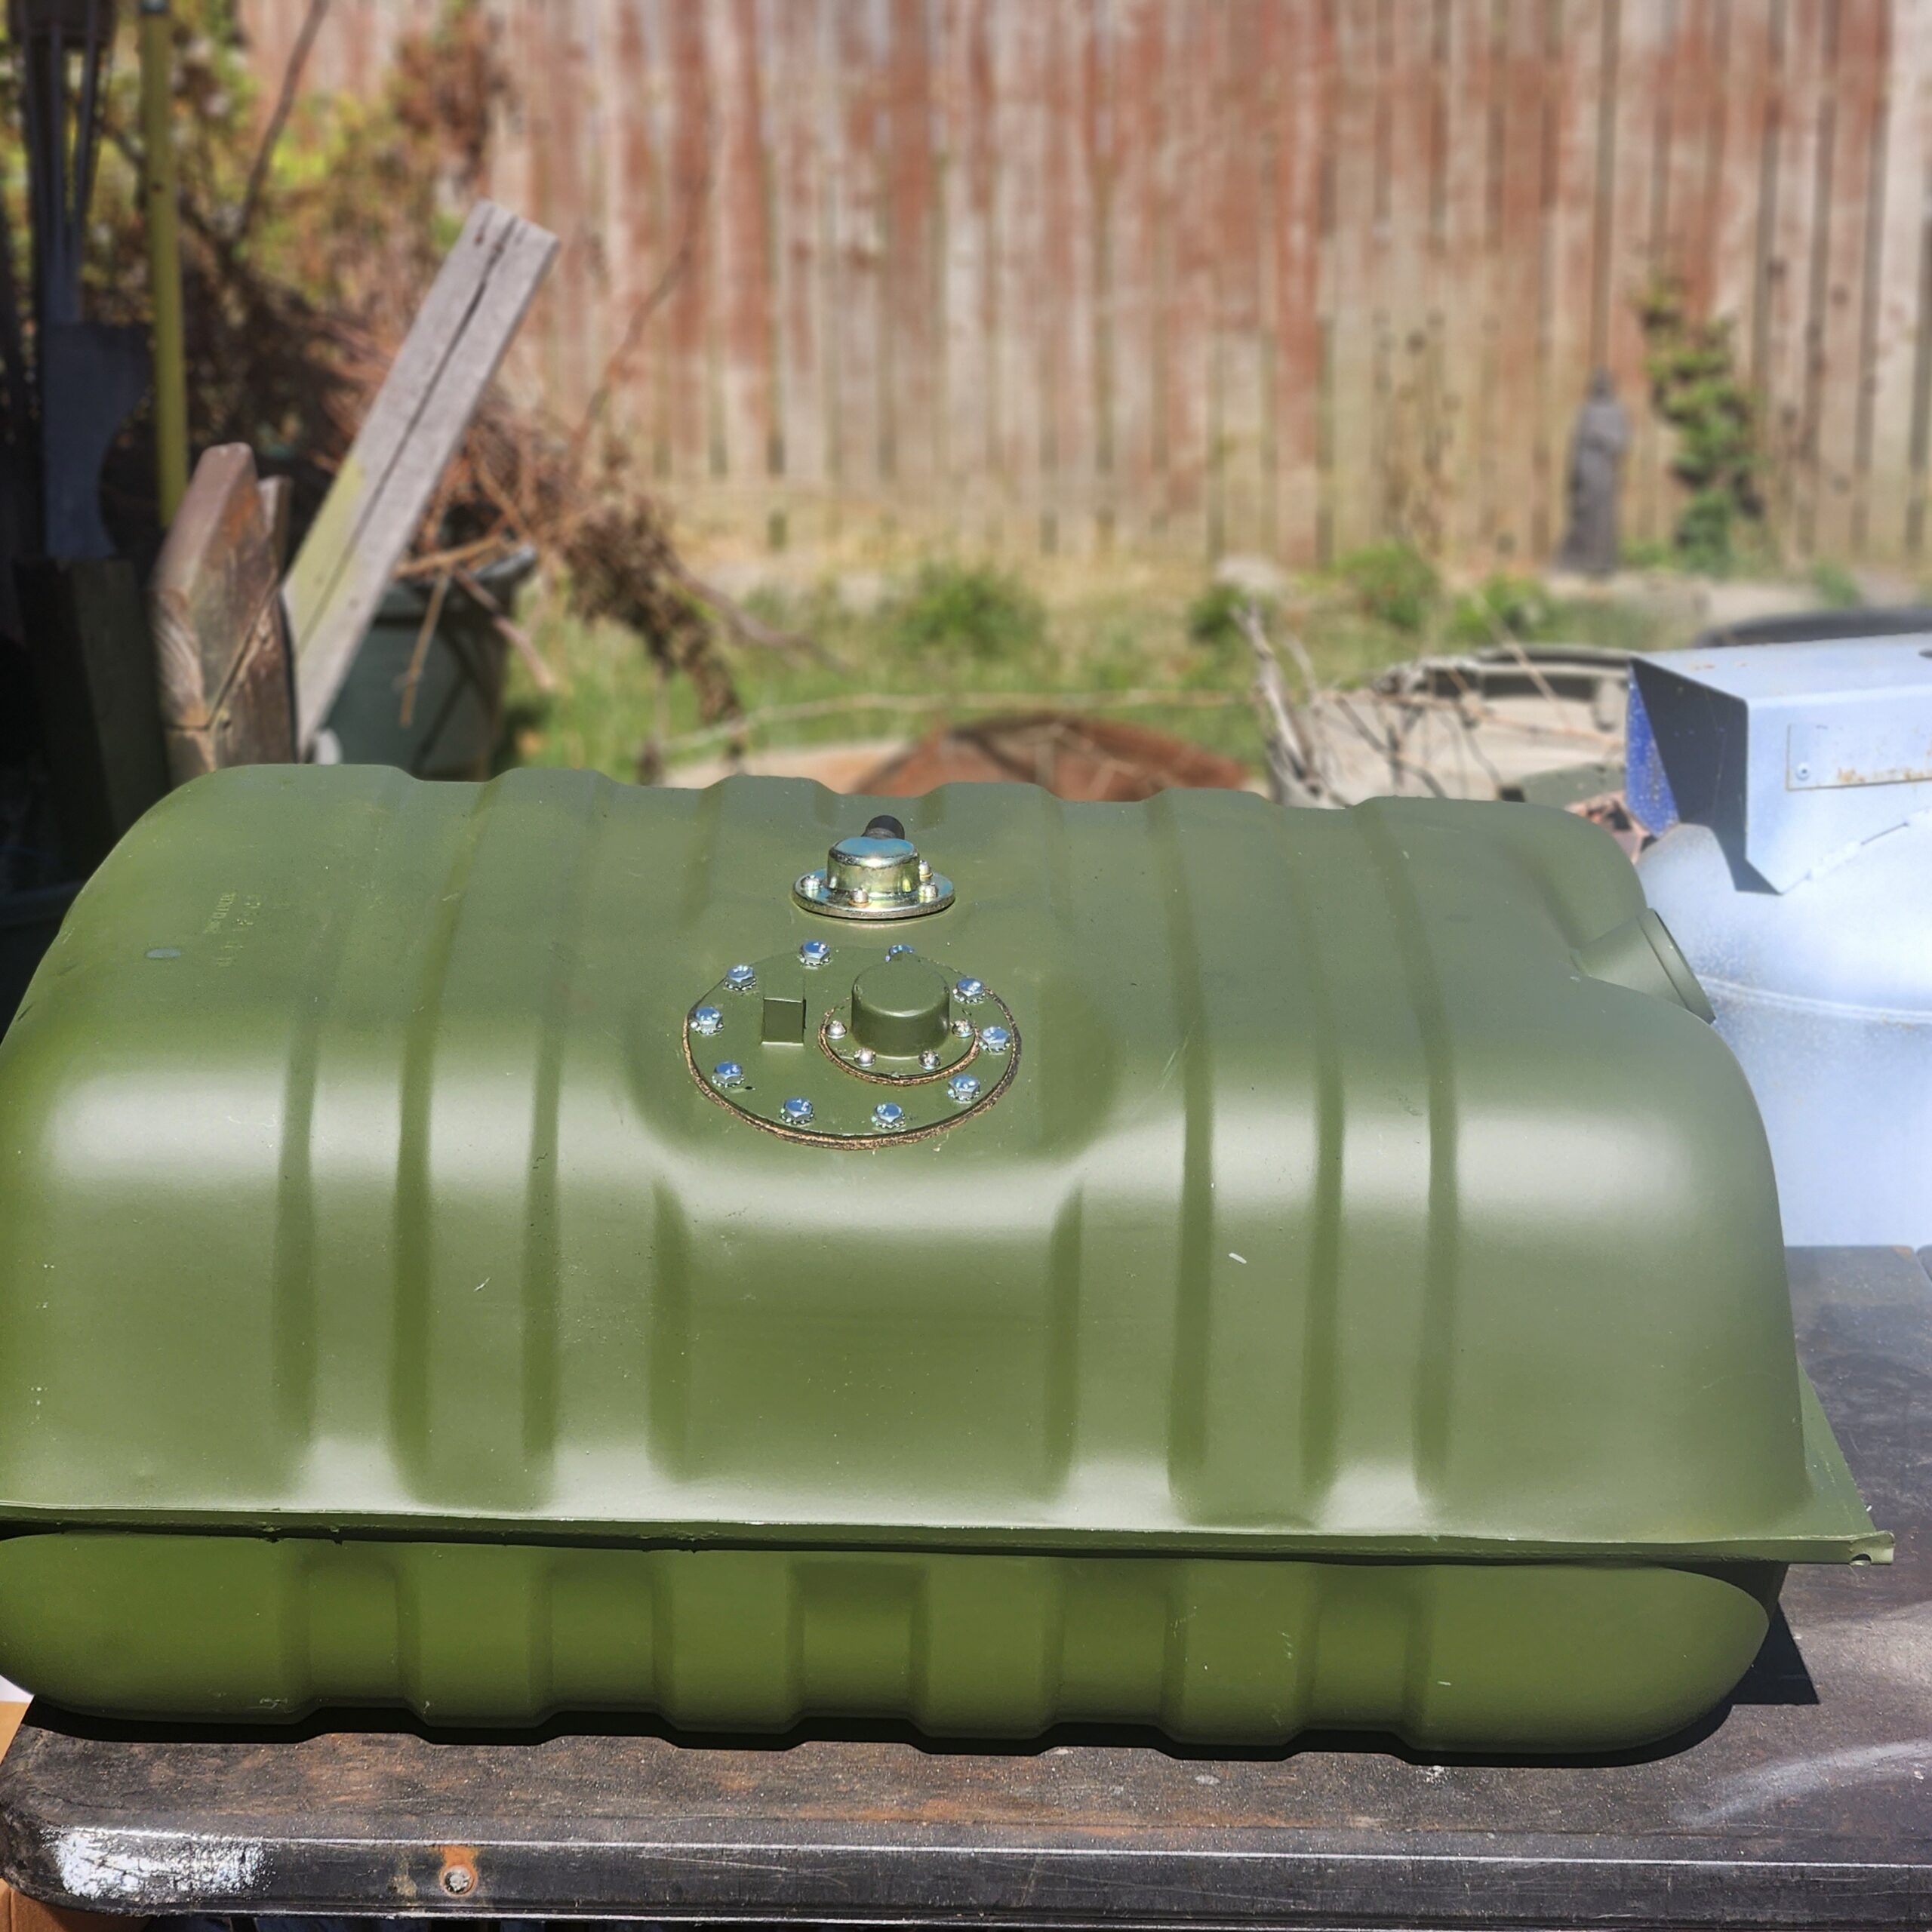
I then painted the tank and assembled.
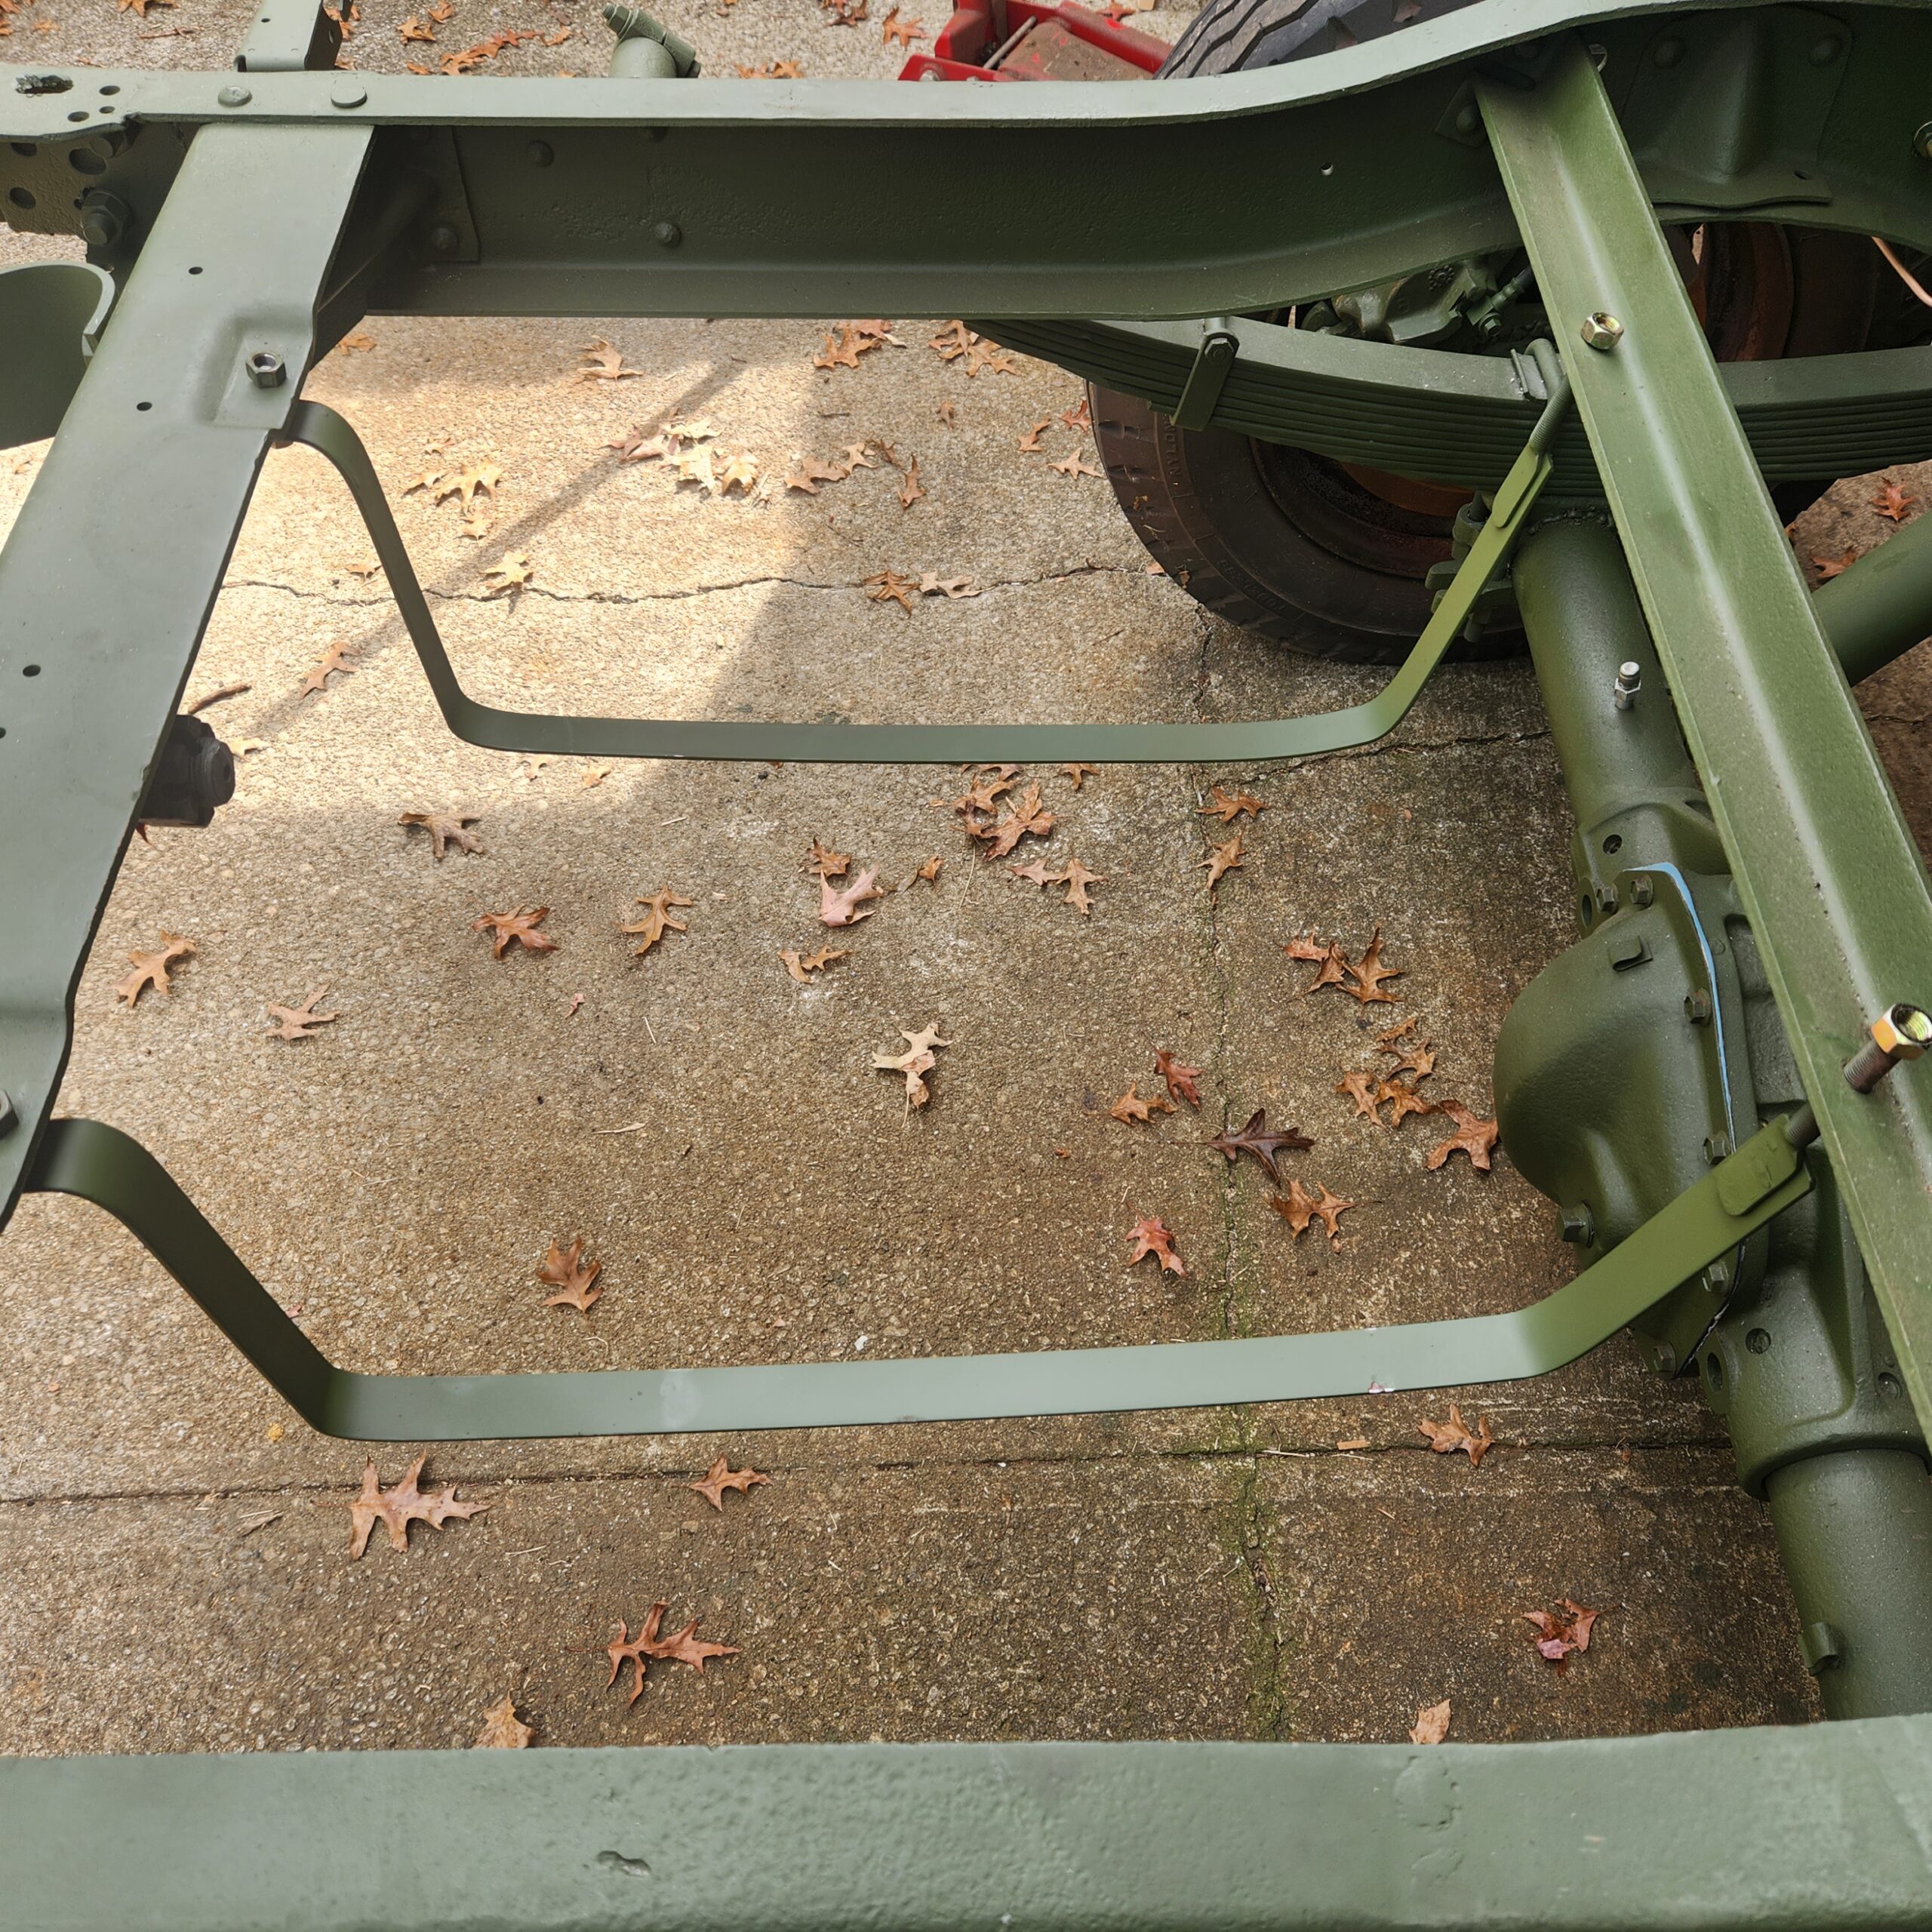
The next thing I had to do was modify the tank straps for the truck. Since this tank is 4 inches taller I had to make straps that where 4 inches longer. I got 1/8 flat stock at Home Depot and I ground off the threaded rod/ bolt on the one end and attached it to the other end and then welded them on and painted them up. Here are the straps I made installed in the truck.
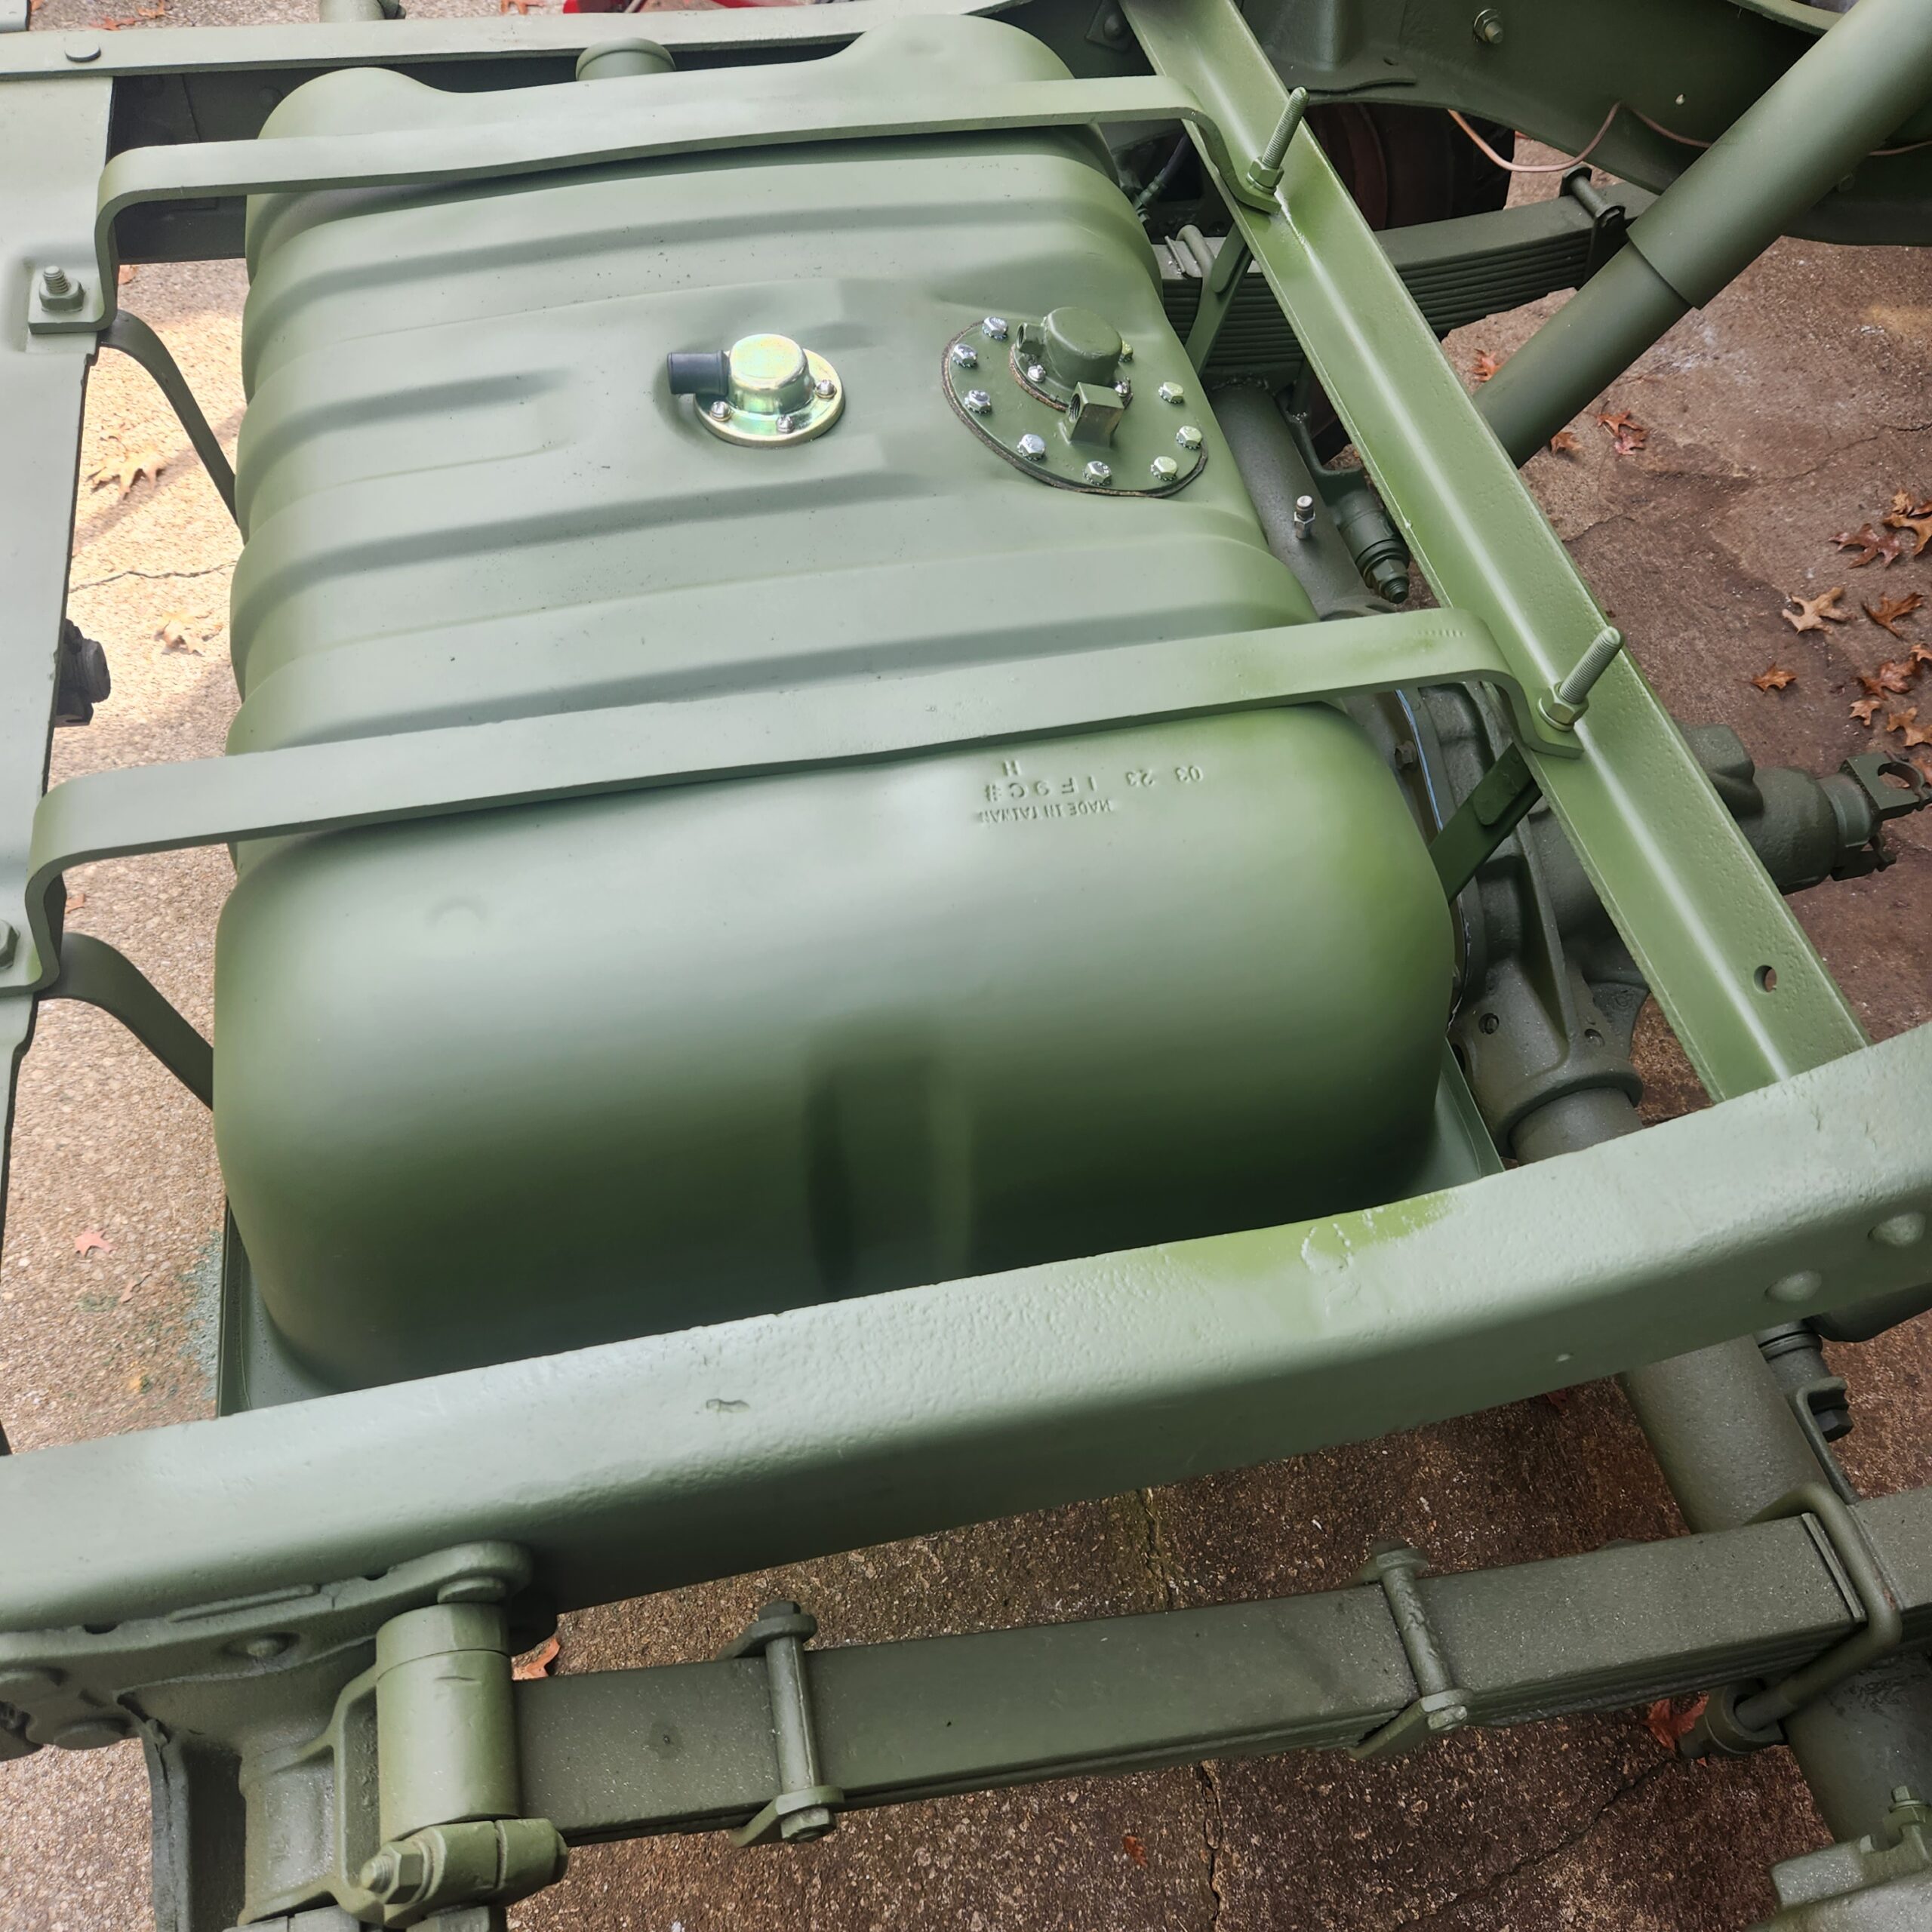
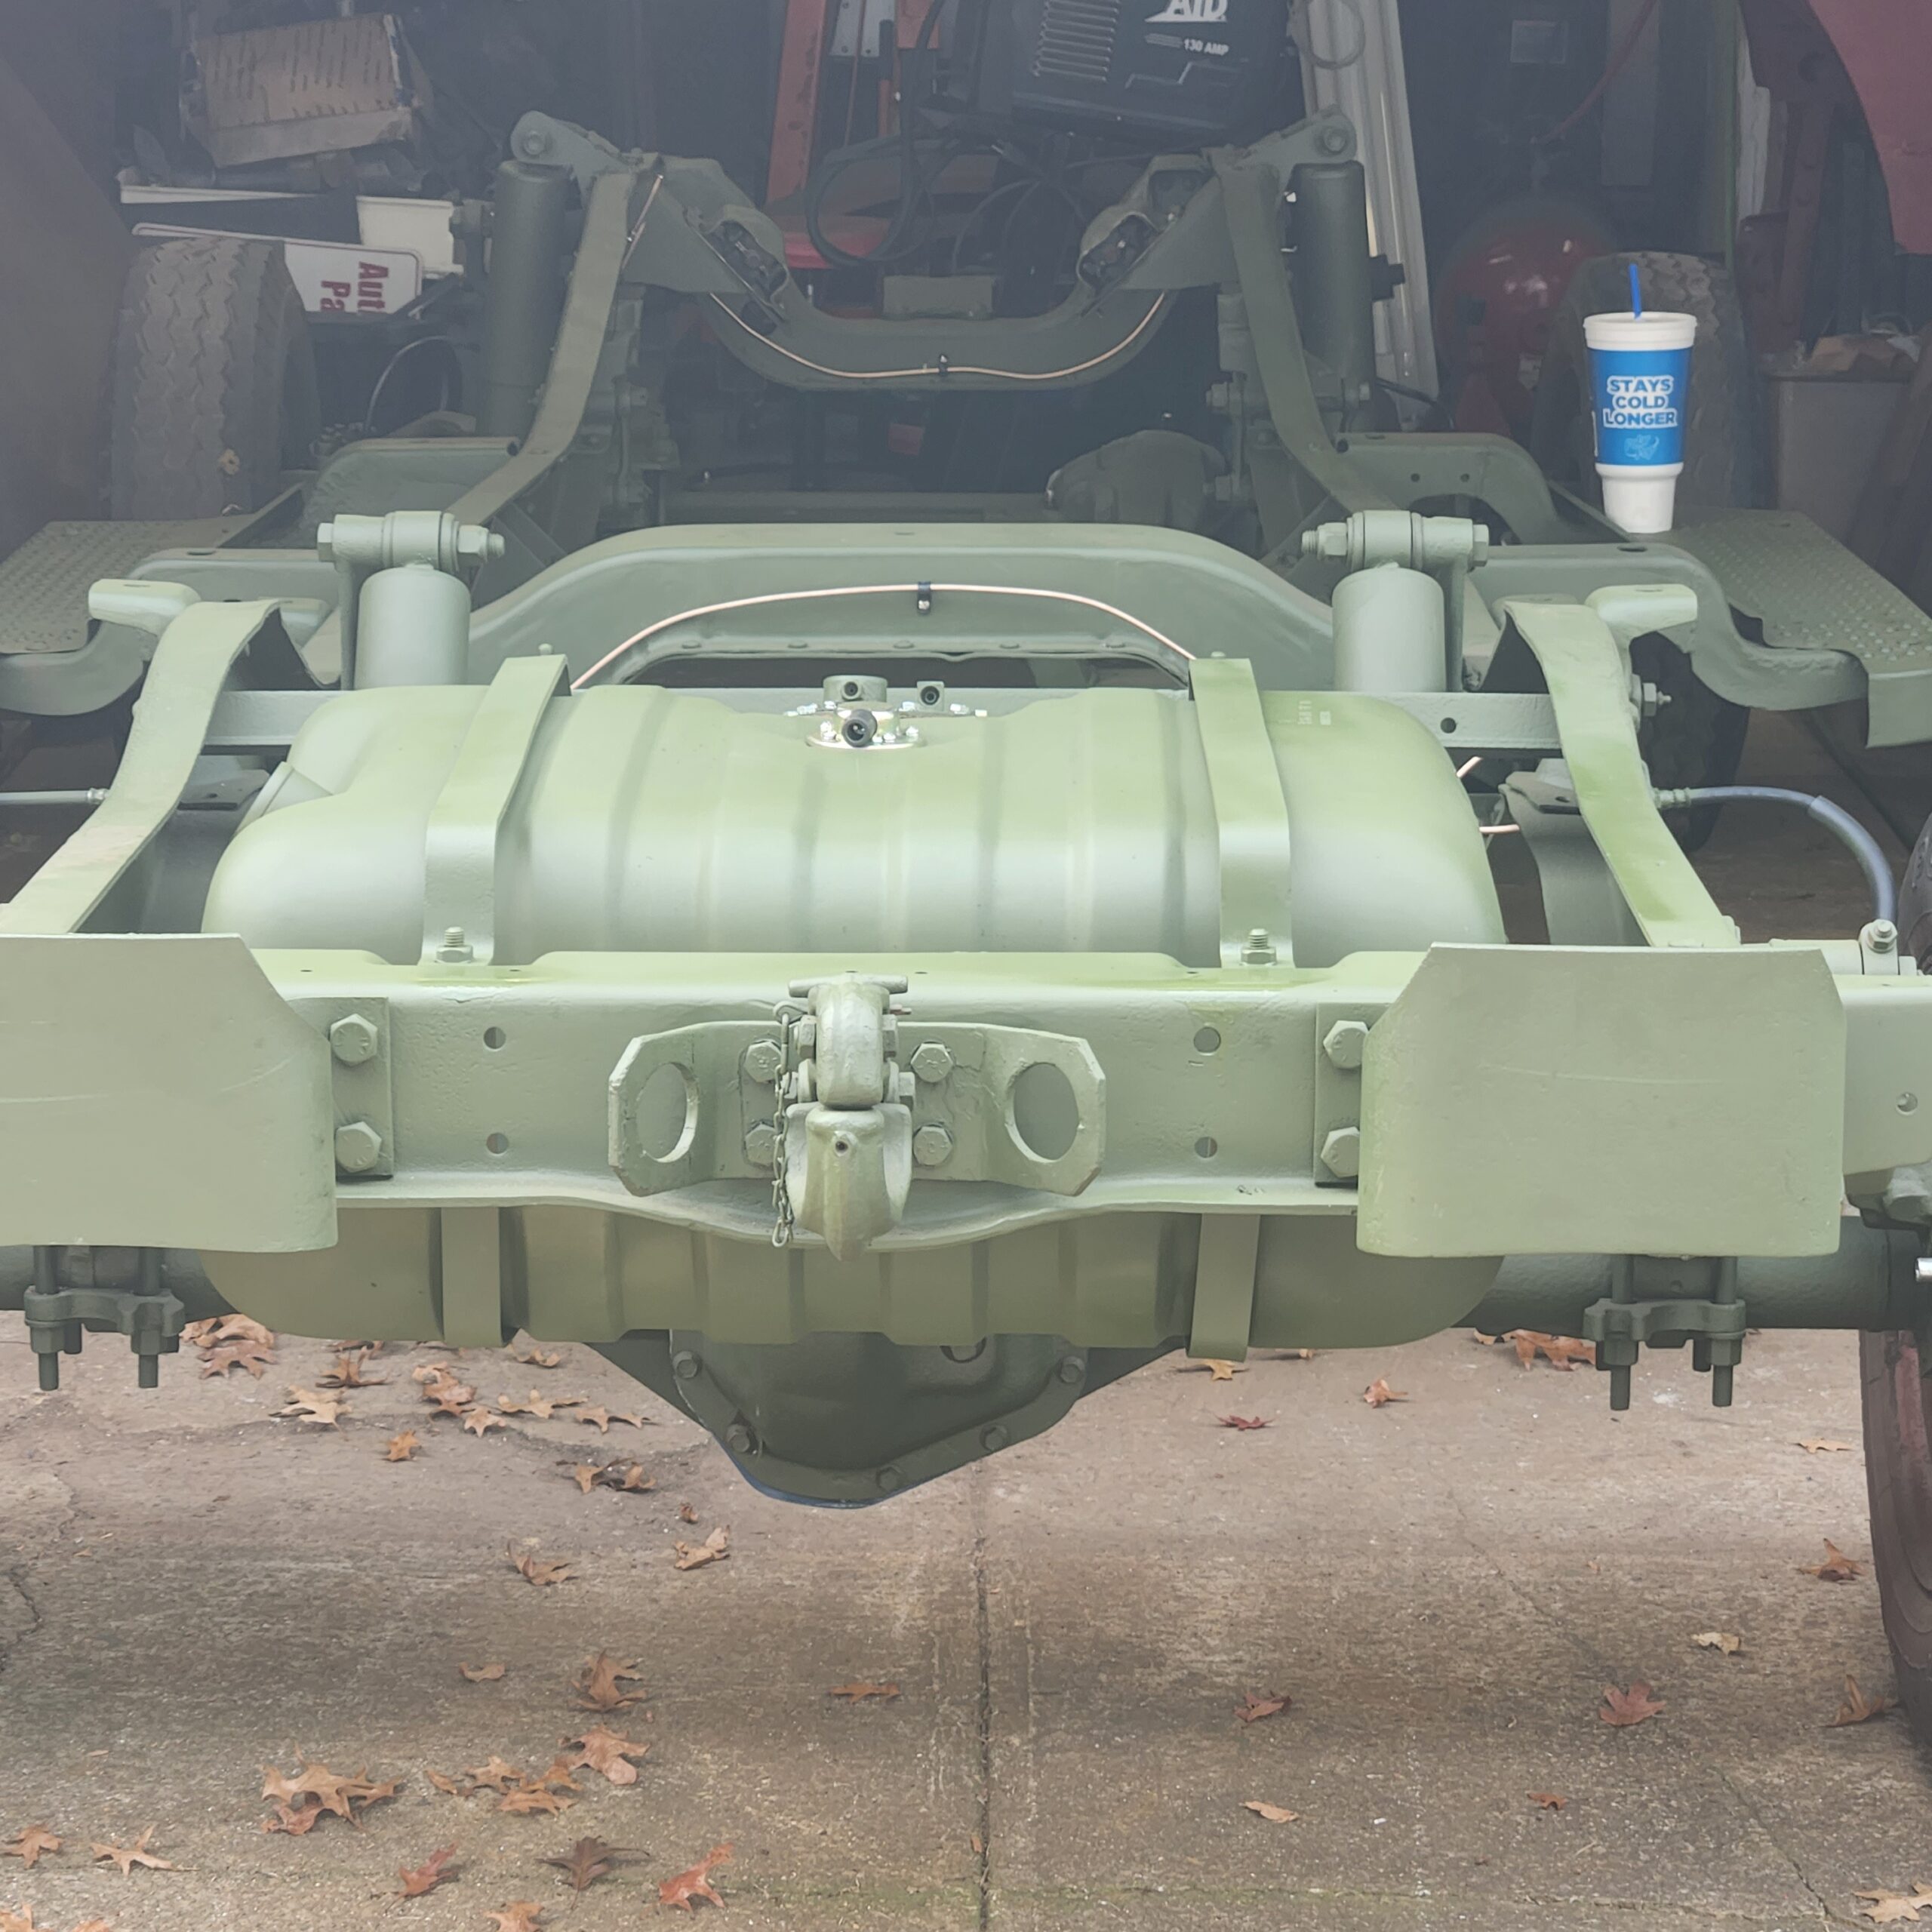
Then I installed the tank.
Advantages are that I get a brand-new tank for a lot less money than restoring the original. Because I'm switching to a diesel motor I would have had to modify the fuel pickup anyway so to me it's a win.
Disadvantage is once the bed gets installed (God only knows when that will be) the access panel for the fuel tank will probably not line up that well with the new pickup and sender and the filler neck may need a little extra curve in it, but hey that's all part of the restomod process right? Also, there is no drain plug to drain the tank like on the original.
I started looking around for a replacement tank. A lot of folks used a tank out of an S-10 blazer and it's close in size, but the s-10 tank is only 18 gallons and it has a corner cut off of it.
I estimated that the M37 fuel tank has a length of 32.5 inches and a width of 22.75 inches and a depth of 8 inches.
I then started looking for a tank that was close to size and found the tank out of a 1980 Ford Bronco was almost perfect in size except that it was a little taller by about 4 inches but otherwise almost an exact match to the M37 tank. This tank is a length of 31.88 inches and a width of 22.25 inches and a depth of 12.75 inches. This tank is 25.5 gallons. This tank only cost me $89.00. I think with shipping and a few other things I'm all total in at around $120.00 for it.
So, the first thing I had to do was modify the hole that I wanted to put the GI fuel sender into. I used a hole saw and clamped a piece of wood in the opening to pilot the saw and cut the opening to the same size and the original sending unit.
I then drilled and tapped the holes for the sending unit to bolt down to the tank.
I then had to enlarge the hole for the fuel pickup. Again, I used a hole saw and some wood to guide the saw and I cut the opening bigger for the fuel sender. I also drilled and tapped the mounting holes.
I then took the shop vac and cleaned the inside and out of all metal shavings. With that large opening it was easy to see and get in and clean everything up. I modified the sender by bending the arm down so that it would drop lower into the tank and I took apart the fuel pick-up and put a new 5/16 tube on it and a fuel strainer from a mid-80's Chevy truck.
I then painted the tank and assembled.
The next thing I had to do was modify the tank straps for the truck. Since this tank is 4 inches taller I had to make straps that where 4 inches longer. I got 1/8 flat stock at Home Depot and I ground off the threaded rod/ bolt on the one end and attached it to the other end and then welded them on and painted them up. Here are the straps I made installed in the truck.
Then I installed the tank.
Advantages are that I get a brand-new tank for a lot less money than restoring the original. Because I'm switching to a diesel motor I would have had to modify the fuel pickup anyway so to me it's a win.
Disadvantage is once the bed gets installed (God only knows when that will be) the access panel for the fuel tank will probably not line up that well with the new pickup and sender and the filler neck may need a little extra curve in it, but hey that's all part of the restomod process right? Also, there is no drain plug to drain the tank like on the original.