• Steel Soldiers now has a few new forums, read more about it at: New Munitions Forums!

  • Microsoft MSN, Live, Hotmail, Outlook email users may not be receiving emails. We are working to resolve this issue. Please add support@steelsoldiers.com to your trusted contacts.

Radiator tank removal and cleaning

hendersond

Well-known member
Steel Soldiers Supporter
1,171
29
48
Location
Galesville, WI
This post is in result of my overheated truck in the middle South Dakota, 507 miles from home. Fortunately, I had another radiator. I will post my repair of this one in a true Gunfreak format :p

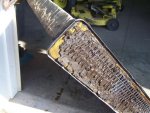
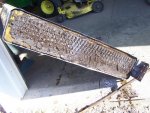
Here are a few preliminary pics so everyone can see what we are dealing with.

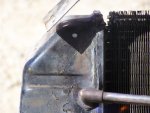
This is the top of the radiator. I chose not to remove the bottom tank at this time. I made this decision because I have minimal (no) experience other than a handful of seam soldering repairs several years ago, the longest being only about 4" without removing the tank. Also I fear loosing the exact location on the mounting brackets which are soldered to the top and bottom tanks. I'm certain others may choose to mark and remove them, but I'm choosing not to do it.

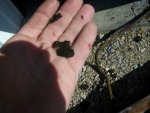
If you ever wondered why radiators are back flushed, this is why. Everything has settled on top of the core. An inspection mirror and light shows the bottom tank and tubes to be very clean!
 

Attachments

Last edited:

hendersond

Well-known member
Steel Soldiers Supporter
1,171
29
48
Location
Galesville, WI
Tank removal.

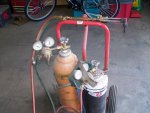
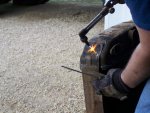
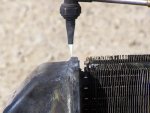
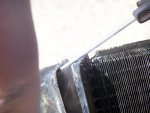
I used my oxy/acetalene cutting torch for heat. It is probably too hot, but that is what I have. I needed to work quick.

First heating the mounting bracket to run the solder out of the joint. It worked very well.

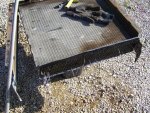
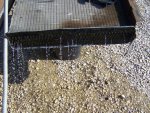
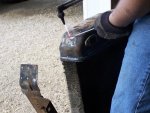
Second I heated the seam between the tank and core. I pointed the torch into the seam and the solder ran out unbelievable fast. Work from the top down. It is obviously too hot. I had all the solder out in less than a minute. I chose to keep my excessive heat away from the cooling fins and tubes. No boubt, the solder could easily be run out of them too. The cap is not crimped on so a gentle pry from a screwdriver easily seperates the cap from the core.

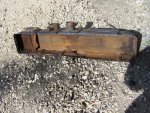
The tank was a little distorted. It looks to have frozen once???? I will have to do a little body work on it before I solder the top baffle back in.
 

Attachments

Last edited:

hendersond

Well-known member
Steel Soldiers Supporter
1,171
29
48
Location
Galesville, WI
Rodding and cleaning

I picked off come of the gunk with a screwdriver and then sprayed it with a garden hose. I stuck it inside the bottom tank and the flow is already better.

A 12" hacksaw blade is what I used to punch thru the end of the tube. I then used a longer 1/2" wide bandsaw blade to get thru the tubes. Then stand the radiator up and spray down the tubes so everything goes out the bottom.
 

Attachments

Last edited:

hendersond

Well-known member
Steel Soldiers Supporter
1,171
29
48
Location
Galesville, WI
I'm going to try a small propane torch to solder the tank back on. Need to go pick up some flux and a roll of solder. I suspect I should try to clean up the mating surfaces with a wire wheel before I attempt it.

May try a light sandblasting????

At this point I still have no intention of removing the bottom tank.
 
Last edited:

hendersond

Well-known member
Steel Soldiers Supporter
1,171
29
48
Location
Galesville, WI
Need two of those rubber test caps plumbers use for testing pvc pipes. I will put air to the drain petcock and see how it holds. On to the hardware store!
 
Last edited:

butch atkins

New member
398
3
0
Location
Fountain Inn SC
when i had my rad done ,i had a new core section put in and just reused the tanks,couldn't ever get the tubes in the core to get enough flow to keep from running hot .the way i tested rad was to pour water in top and see how long it took for water to run out bottom,if it takes more than 30 seconds for the water to run out the bottom, the core is still to sludged up.BTW this is how the rad shop explained this to me.Good luck,keep posting
 
Top