- 1,171
- 29
- 48
- Location
- Galesville, WI
This post is in result of my overheated truck in the middle South Dakota, 507 miles from home. Fortunately, I had another radiator. I will post my repair of this one in a true Gunfreak format 
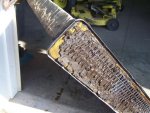
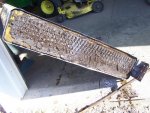
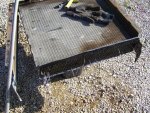
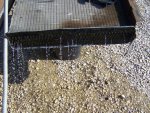
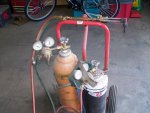
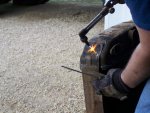
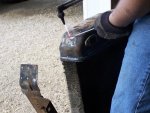
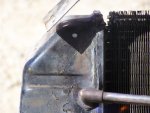
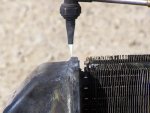
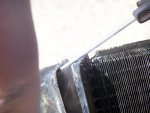
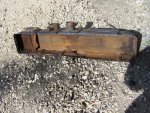
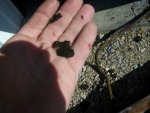
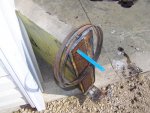
Here are a few preliminary pics so everyone can see what we are dealing with.
This is the top of the radiator. I chose not to remove the bottom tank at this time. I made this decision because I have minimal (no) experience other than a handful of seam soldering repairs several years ago, the longest being only about 4" without removing the tank. Also I fear loosing the exact location on the mounting brackets which are soldered to the top and bottom tanks. I'm certain others may choose to mark and remove them, but I'm choosing not to do it.
If you ever wondered why radiators are back flushed, this is why. Everything has settled on top of the core. An inspection mirror and light shows the bottom tank and tubes to be very clean!
Attachments
-
86.1 KB Views: 41
-
97.8 KB Views: 37
-
104.5 KB Views: 37
-
104.5 KB Views: 40
Last edited:


