Dr Zoidberg MD
Member
- 114
- 6
- 18
- Location
- NH
Steel Soldiers now has a few new forums, read more about it at: New Munitions Forums!

Yes, sir. I never realized that they made these out of turned down drainage pipe.Which beadlocks did you go with? Trail worthy fab?
Worse.I used trail worthy also--great product-----very nice humvee--did you wait 8 weeks for euc--
NICE! What kind of seats and how much do they run?First seat installed. I got 4 of these from Suprman and they look and feel fantastic. Big improvement over the stock configuration. The seat height in the rear is raised a 4-5". Okay, back to work.
View attachment 585625
Send a PM to Suprman. He has some other great stuff, too. Just got the cold weather kit and skidplates from him.NICE! What kind of seats and how much do they run?
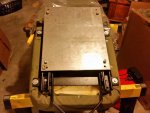
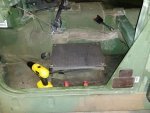
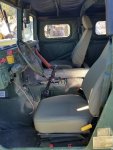
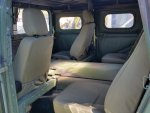
With the exception of the the driver's seat, the install was pretty easy. Just had to drill 4 holes in the covers for the rear seats. The passenger front seat bolted right up to existing holes. The driver's seat required a bit of modification. The seat rails on the new seats were too short the fit in the existing holes of the seat base. So I had a piece of 3/8" steel cut to make a base. Pretty happy with the finished product.
View attachment 586557
View attachment 586558
View attachment 586559
View attachment 586560
You are spot on. It's like having daggers stored under the seat. I was just trying to get it all together last night and make sure all of my holes lined up. Tonight it is coming back out so I can dull the edges and paint the plate.Looks good Dr. Zoidberg ! Thanks you for sharing.
PS: It might make the steel plate safer if the corners are rounded off. My two cents ....
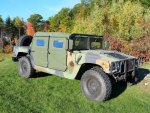
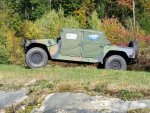
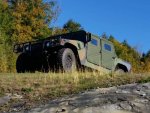
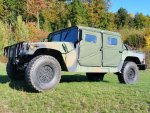
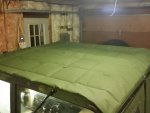
common even on active duty. Used plywood to shore up sagging canvas, also provided a nice spot to mount SINCGARS speakers and hand sets to get them off the transmission "hump".Whatever the reason, the result is that the roof sags in spots giving puddles a place to form. I'll discuss this more in my next post after I take some pictures.
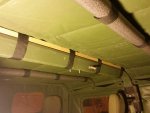
This is my solution in the meantime: Two 1" foam pipe insulators and a piece of pine trim board. I had a 2x3 over the B pillar initially and the roof looked much better, but the velcro straps would not fit around the board and the bar. It definitely helped a little. There is still a pretty big sag in front of the C pillar and a small one just behind the windshield, but it is much better than it was. I'm going to experiment with a few more things and will report back what I come up with.common even on active duty. Used plywood to shore up sagging canvas, also provided a nice spot to mount SINCGARS speakers and hand sets to get them off the transmission "hump".
We get it, advertisements are annoying!
Sure, ad-blocking software does a great job at blocking ads, but it also blocks useful features of our website like our supporting vendors. Their ads help keep Steel Soldiers going. Please consider disabling your ad blockers for the site. Thanks!

