- 3,923
- 77
- 48
- Location
- Comfort, Texas
Steel Soldiers now has a few new forums, read more about it at: New Munitions Forums!


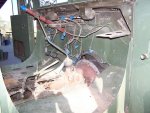
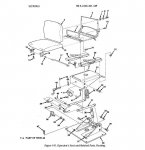
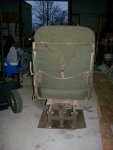
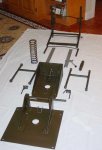
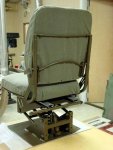
Tinwoodsman, I am doing the same thing to my Deuce. I am going to use theI am starting on the refurb of my driver seat and want to take it apart, blast it and repaint it. I am doing my interior in Rapco Semi-Gloss Olive Drab. In looking at the construction and springs, it seems like it could be a real nightmare trying to get it back together once the parts are refinished. Anyone done this before and have any advice.

Come on Kent, anyone capable of refurbishing his front winch should be able also to do that seat - blindfolded............... In looking at the construction and springs, it seems like it could be a real nightmare trying to get it back together once the parts are refinished. Anyone done this before and have any advice.

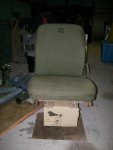
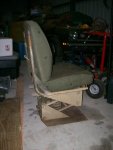
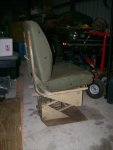
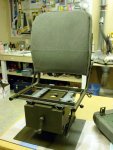
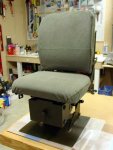
I can see your face....:...... and here is the result......
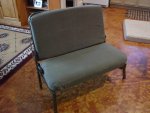
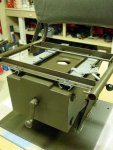
All three of my spring seats have an additional thin metal plate on the outside of the upholstery that the curved bar sits against (to keep the fabric from wearing through, I'm assuming). If nobody else comes up with a pic, I'll try to get you one tomorrow (as it's dark now).The seat back has a curved arm that moves against the back of my seat which is a solid metal pan. Moving the lever raise the back up and down. If you have something different, I would like to see a picture.