gimpyrobb
dumpsterlandingfromorbit!
- 27,791
- 788
- 113
- Location
- Cincy Ohio
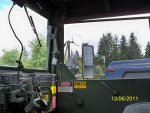
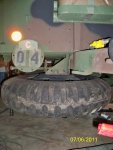
I'm all teeth when driving these trucks brother
hehe
Attachments
-
 33.5 KB Views: 13
Steel Soldiers now has a few new forums, read more about it at: New Munitions Forums!


I'm all teeth when driving these trucks brother


")
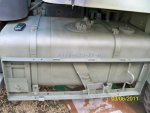
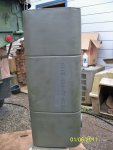
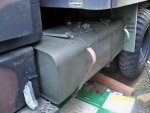
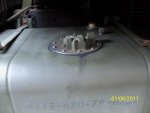
Might be a bit late, but have you thought about spinning the tank around so the fill hole is in front?
Where it's at, you will have a harder time filling it, especially via fuel can.
Hey Ed, I did think about that. However, the fill hole will be under the cab. Being it's my auxillary/emergency fuel supply I don't expect to be filling it up w/jerry cans too much. I probably should figure out a funnel system should I have to someday...good thinking
Btw, you can use one fuel gauge, and just run a lever switch like the m818 has to view the fuel level in each tank. KISS...
I thought about using one fuel gauge but I would need to buy another master switch ($40-50) as that's what the 818 uses. I had another fuel gauge in my parts bin so I might as well put it to use
Speaking of which, for the KISS method, I took the fuel selector OUT of my m818, and run of the driver side tank only. I am going to plumb in a pump to transfer from the aux tank to the main, but I don't have a spare deuce pump (probably use a 12v pump I have laying around.)
I think your plan is a good one. Selector valves, plumbing, leaks, etc, too much to go wrong.
Amen to that brother!!
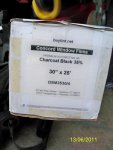
Oh, I personally would only use a simple aftermarket spin on fuel water separator instead of that huge thing. You will not be pumping THAT much fuel, and it will only pump it once, not continually like the stock does. So even a SMALL filter will last a LONG time in that scenario.
I thought about using an aftermarket spin on system as well. However, I have about 6 primary fuel filter housings and a bunch of primary fuel filters sitting in my garage. Plus I'm hitting this project from a purist angle. I know this '50's technology is not cutting edge but there's something to be said in staying original (or close to it anyways). Plus it'll keep everything uniform as I have a ton of spare parts.Why don't you go with a spin on water separation filter?
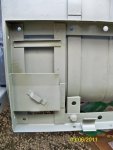
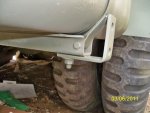
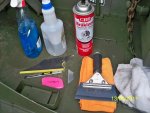
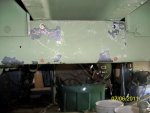
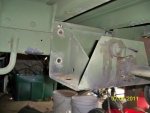
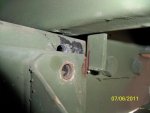
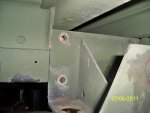
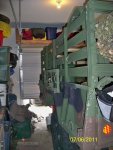
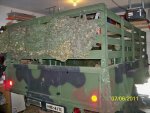
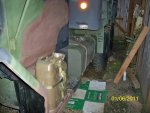
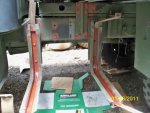
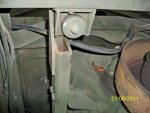
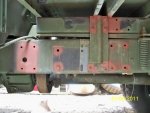
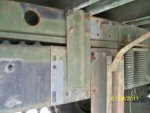
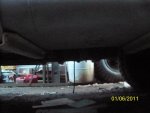
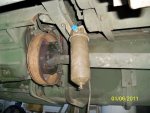
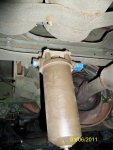
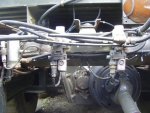
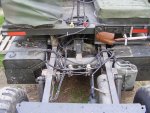
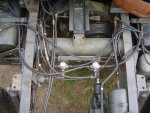
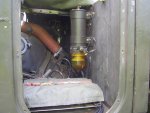
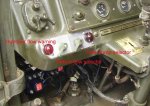
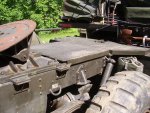
Pics of the primary fuel filter housing. I went back and forth as to where to put this housing. I was going to mount it to the side of the cab, the front of the van box...etc etc. I finally decided on mouting it out of sight. I do have some concerns as to where I chose to put it. I thought it would be an easy target for a rock or stump. I tried to mount it as high as I could. I found one of the frame's crossmembers was the best place. I took a couple pics to show it is at least higher than the fuel tank support brackets. Tomorrow I need to secure some fuel lines to get her hooked up. I attempted to bend some copper fuel line I had laying around. Without the correct tools in hand I ended up kinking it pretty good.