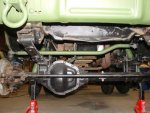
More updates. After a long trip the other day I woke up the next morning to a puddle of diesel in front of the left rear tire (I park it on an incline). You guessed it, a hole in the tank. After inspection, it appeard that the rear tank bracket had rubbed a hole in it. So I drained it by punching a hole in the tank right in the bad spot, dropped the tank down as far as I could, and used a very precise tool to cut the fuel lines going to the tank (knife taped on to a broom handle). I ordered a GM1B fuel tank and a new set of tank straps. To remove the old straps, drill the rivets. Install the new straps with 1/4-20 bolts and lock nuts. Here is something I did to make tank maintenance a whole lot easier next time. Instead of trying to replace the rubber lines with the same length, I used 3 feet for each line. Reinstall was a breeze. I let the hoses naturally curl back into the shape they came off the roll and they rested nicely on top of the tank and I bolted it all back up. As for the sending unit wires, I clipped them and installed a waterproof blade connection for easy removal next time if needed. Next comes the window and door weatherstripping for both sides. I ordered a kit from 1AAuto that does doors, window glass, and window sweeps. Till next time!


 41.9 KB Views: 164
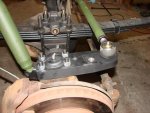 48.1 KB Views: 150


