February Update
Its been a while since I posted any updates, so here is everything I have been working on this winter. Most everything is mocked up and in early spring I give everything a coat of paint and do the final installs and any wiring that is needed.
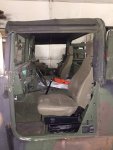
* Rear Half Doors - Installed
* All LED Lighting Installed
* Tachometer - Installed and Functional
* GPS Mount - Installed as Cell Phone Holder
* Hood Mounted Tool Rack - Ready to paint
* Rear Wrecker Light - Mocked up, need to make final pipe cuts and paint
* Strobe/Convoy Light - Mocked up and ready for paint
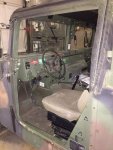
* Switch Panel - Template Made and being welded up
* Winch - Ready for Paint
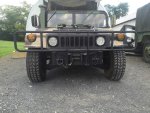
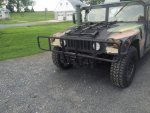
* Upgraded Brush Guard - Ready for Install
* Fording Kit - (Not pictured) Intake Extension Installed and Exhaust Extension Ready to install


I utilized two rear antenna mounts to install my Rear Wrecker Light and Strobe/Convoy Light. Wrecker light is pictured at its highest extension and will normally be down flush with the top of the antenna mount. On/Off Switch is for Wrecker light, Warning Switch is for the Strobe/Convoy Light and the Dual On?off Switch will work my Armor Lights for Back-up lights and the other side may be used for auxiliary fans for cooling. Vic-1 Radio is ready to install too... just haven't got there yet. Still waiting on my lead to pan out for a R-524 Radio to mount in the cab too.