• Steel Soldiers now has a few new forums, read more about it at: New Munitions Forums!

  • Microsoft MSN, Live, Hotmail, Outlook email users may not be receiving emails. We are working to resolve this issue. Please add support@steelsoldiers.com to your trusted contacts.


803 Bogs Down and dies at 85% Load

USAMilRet

Member
392
15
18
Location
Tampa, Florida
OK. I texted the seller who spoke withhis rebuilder Joey who stated unequivocally that these rod bearings were indeed new when installed into the motor. That means, if true and I have no reason ...... to believe otherwise, that these rod bearings only have 15 hours on them. Joey (through the seller) claimed that the engine was torn down and parts trashed before the new parts came in so they can not be the old bearings. He also stated that he did not know why there were push rods PGG 06 96 (1996) in the machine as there was no other machine present at the time. He does not remember if these were the original push rods or not.

And yes, when this is resolved, I will tell the membership where and from who I got the genset so this will not happen to someone else.

Just waiting on my hoist and gantry to get going again on this set.
 

USAMilRet

Member
392
15
18
Location
Tampa, Florida
Have to agree with this. Unless the oil was contaminated or it was assembled with contaminated ports, I just do not see 15 hours here. With the contamination, I guess it is possible because there are some noticeable scarring on the surfaces.
 

justacitizen

Active member
408
40
28
Location
oklahoma
Have to agree with this. Unless the oil was contaminated or it was assembled with contaminated ports, I just do not see 15 hours here. With the contamination, I guess it is possible because there are some noticeable scarring on the surfaces.
no worry! it is going to be in good shape now. some have bought at auction and been worse off. you have a good rebuild able engine and you know the rest of the set is ok.
 

justacitizen

Active member
408
40
28
Location
oklahoma
Yes. And now I have two units. This one and the one I picked up Tuesday. That is the one with the diode issue that I was concerned about.
Uh OH! does your wife know you have acquired an addiction? you should join an online support group of fellow addicts. "wait a minute"
 

USAMilRet

Member
392
15
18
Location
Tampa, Florida
Kind of hard to miss. Not like a it can be snuck into the Winchester or Fort Knox safe like some things. Oops....did I say that out loud?

Besides, with this last purchase, she is liking the bid, buy, repair, and sell. I guess if you do it right, you can do well. But alas, there will be that one that turns into a parts unit that you could loose everything gained on.
 

USAMilRet

Member
392
15
18
Location
Tampa, Florida
My one ton Titan gantry is due in tomorrow. Already have the lift so as soon as I get the gantry built, the genset gets removed from the back of the truck (other 803) and then I can pull this gen/motor and get to work on it.

Just finished reading that thread from BA in CO about his broken rocker arm scenario. Is this a common occurance among these sets?
 

jamawieb

Well-known member
1,412
512
113
Location
Ripley/TN
My one ton Titan gantry is due in tomorrow. Already have the lift so as soon as I get the gantry built, the genset gets removed from the back of the truck (other 803) and then I can pull this gen/motor and get to work on it.

Just finished reading that thread from BA in CO about his broken rocker arm scenario. Is this a common occurance among these sets?
No this is not common. I've worked on hundreds of 802a/803a's and only seen a broken rocker on 1 unit. The rocker didn't actually break but the head stud actually broke right above the bolt head of the stud.
 

USAMilRet

Member
392
15
18
Location
Tampa, Florida
The Final Teardown

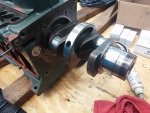
Well I got back into it today. The gantry came in with the 1 ton trolley and the 350/700KG cable lift. I know why people choose chain lifts....the cable can be a hassle when it does not want to wind correctly. Anyways, got the second genset off the truck and off to the side. The motor and generator from the first set, the one this thread is about, got put on the back of the PU truck once pulled from the housing to work on and take apart. Took it all the way down including the removal of the crankshaft and bearings. Came apart relatively easy with no major issues, not even a minor issue. Generator separated from the engine just fine as well.

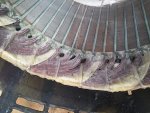
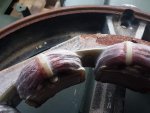
BTW, the generator was full of a very small particulate dust, smaller than talcum powder, almost like confectioners sugar. Had a slight pink color to it. Everywhere inside the generator. Spent some time cleaning it out and getting all the dust out as possible. There was some rust spots on the stator, exciter, and rotor. Cleaned up the rust with ease.

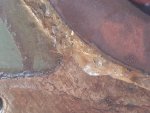
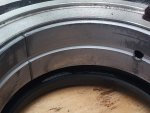
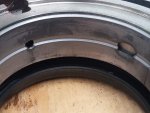
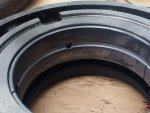
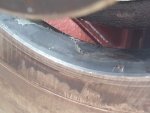
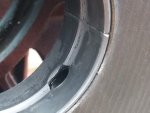
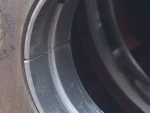
Take a look at the main bearings.....lots of scarring on these as well and some odd wear. The amount of RTV cement and where it was used continues to astound me. Looks like there was a leaking main bearing, flywheel end, and it looks like it was sealed with RTV. Check out the pics, make your own decision.

The block and crank and cam shafts are all in specs, down to .001in, with most being exactly on. Again, what I'd expect to find out of a box. There is evidence that this is the 3rd rebuild (4th really if you count the two the seller had his mechanic do) in that there is engine marking paint in green, white, and now my chalk. I think this was a TIER rebuild of the engine (green paint), then the seller did the rebuild (white paint), and now my rebuild. It would explain the low hours on the 2009 set (218 hours) and also explain the amount of powdered dust there is in the generator itself. However, there is no plate indicating a TIER rebuild, just a CECOM Tier poster on the side of the genset in one of the original pictures from last year.

Now to find the tools to extract and replace the three bearings that specialty tools are needed. Camshaft bearing, crankshaft bearing gear end, and crankshaft bearing flywheel end.

Anyways, some more photos to look over.

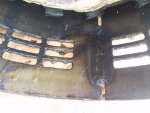
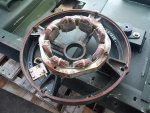
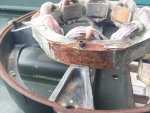
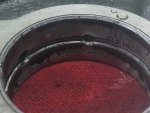
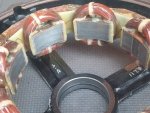
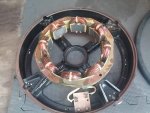
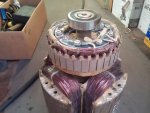
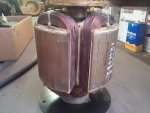
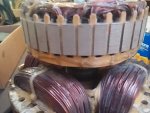
Generator stator, rotor, and exciter. Looks like some oil leakage at the bottom of the generator at the flywheel end of the engine.
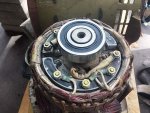
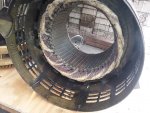
20180822_153646.jpg20180822_153657.jpg20180822_153703.jpg20180822_153713.jpg20180822_154027.jpg20180822_154032.jpg20180822_154040.jpg


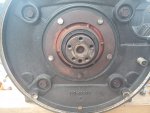
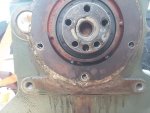
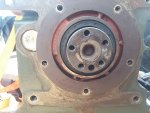
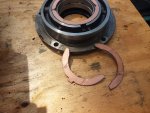
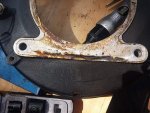
Flywheel end main seal and bearing cap. Look at all the RTV cement.
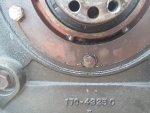
20180822_153723.jpg20180822_153729.jpg20180822_154639.jpg20180822_154644.jpg20180822_155200.jpg20180822_154655.jpg20180822_155207.jpg20180822_155437.jpg


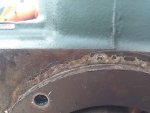
More evidence of leakage from the flywheel end bearing/seal...


20180822_154537.jpg20180822_154542.jpg


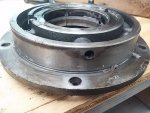
Camshaft bearing.

20180822_163113.jpg20180822_163051.jpg20180822_163043.jpg


More to come.
 

USAMilRet

Member
392
15
18
Location
Tampa, Florida
Rear main bearing and end cap.


20180822_165835.jpg20180822_165932.jpg20180822_165938.jpg20180822_165946.jpg


More RTV cement.....

20180822_170019.jpg20180822_170028.jpg


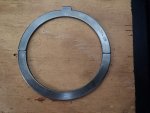
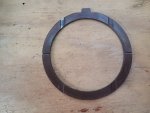
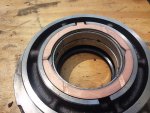
Thrust bearing, flywheel end.

20180822_170403.jpg20180822_170416.jpg


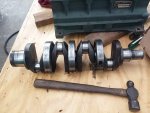
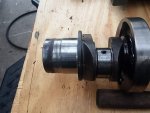
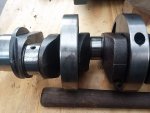
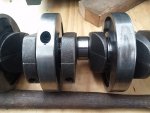
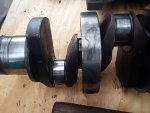
Crankshaft

20180822_172131.jpg20180822_172206.jpg20180822_172200.jpg20180822_172155.jpg20180822_172136.jpg20180822_172150.jpg


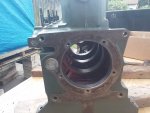
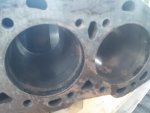
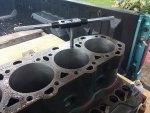
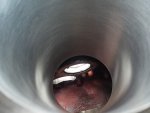
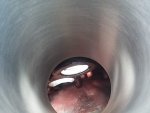
A peek into the block


20180822_173904.jpg20180822_173856.jpg20180822_173848.jpg


Main crankshaft bearing gear end.

20180822_172753.jpg20180822_172741.jpg20180822_172732.jpg


More to follow.....
 

USAMilRet

Member
392
15
18
Location
Tampa, Florida
More peeks into the block.

20180822_173904.jpg20180822_173913.jpg20180822_173922.jpg


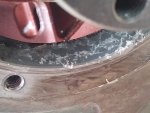
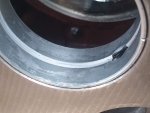
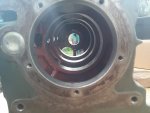
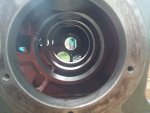
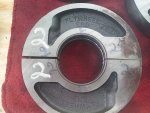
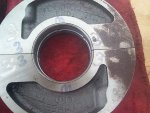
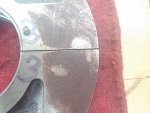
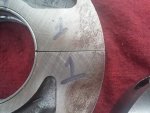
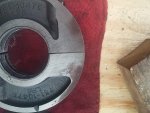
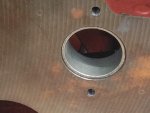
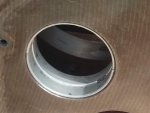
Center bearing mounts. Do not know what that crud is on them but it is on both sides at the same location.


20180822_181551.jpg20180822_181555.jpg20180822_181559.jpg20180822_181604.jpg20180822_181609.jpg20180822_181612.jpg


20180822_181619.jpg20180822_181633.jpg20180822_181643.jpg20180822_181636.jpg


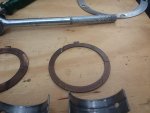
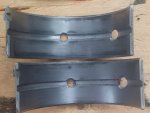
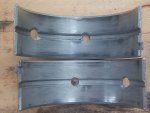
Center bearings.


20180822_181708.jpg20180822_181703.jpg20180822_181659.jpg


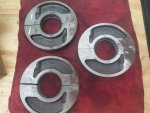
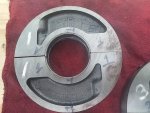
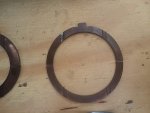
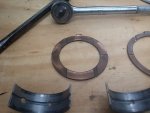
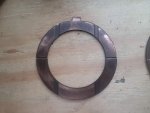
Thrust bearings.

20180822_184231.jpg20180822_184227.jpg20180822_184224.jpg20180822_184219.jpg


One more to follow.....
 

USAMilRet

Member
392
15
18
Location
Tampa, Florida
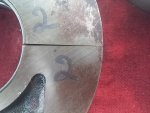
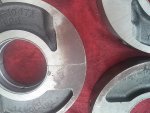
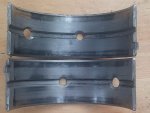
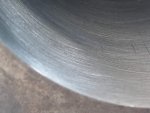
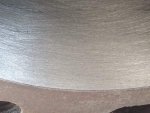
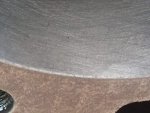
Center bearings. Some serious scarring on the edges for 15 hour bearings....

20180822_184259.jpg20180822_184307.jpg20180822_184314.jpg


Generator after clean up, ready to go back together.

20180822_192157.jpg20180822_192203.jpg20180822_200113.jpg20180822_200120.jpg20180822_200129.jpg

And that is it for today picture wise and as always, comments are welcome about what you see. Opinions are welcome as well.
 

justacitizen

Active member
408
40
28
Location
oklahoma
looks like it was deployed into a very dusty environment and the hygiene was terrible. now you know where the oil pressure was going. great job and it will be a very very nice generator when you are done.
 

Guyfang

Moderator
Staff member
Moderator
15,871
22,100
113
Location
Burgkunstadt, Germany
Looks like normal wear and tear to me. Not all resets get a metal plate. In fact, hundreds were done in early 2000's, and nothing would lead you to know it. Everyone complains about how soldiers do shoddy work, but you know, RESET is done by civilians. The facility only has a certain amount of time and money. Cutting corners, (RTV for example) is a real good example of what you can get. I won't say all RESET is done this way, but it sure happens. You all expect the RESET is some magic, super repair thing, and it's just not so. Some parts are automatic replacement, but not all. If it ain't broke, don't fix it, is the rule. If it passes inspection, it's good. On the whole, yours looks not to bad.
 

USAMilRet

Member
392
15
18
Location
Tampa, Florida
Looks like normal wear and tear to me. Not all resets get a metal plate. In fact, hundreds were done in early 2000's, and nothing would lead you to know it. Everyone complains about how soldiers do shoddy work, but you know, RESET is done by civilians. The facility only has a certain amount of time and money. Cutting corners, (RTV for example) is a real good example of what you can get. I won't say all RESET is done this way, but it sure happens. You all expect the RESET is some magic, super repair thing, and it's just not so. Some parts are automatic replacement, but not all. If it ain't broke, don't fix it, is the rule. If it passes inspection, it's good. On the whole, yours looks not to bad.
Yeah, but this is a Mar 2009 set. SO no data plate. I think way too early for a reset.

I am not opposed to the use of RTV cement when warranted. Even this rebuild requires some for around the flywheel end main bearing housing spacer. What I am opposed to is the use of RTV cement as an alternative to a real gasket. Or the use of RTV as a leakage stopper because you can not find the right bolt and are too lazy to go and get the right one.

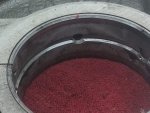
Yeah, I think it is looking good. Everything I measure is right on spec like it just came out of the box. Put the crankshaft back in. Did a little bit of polishing at home with the 400 grit wet paper, a shoe lace, and some penetrating oil. Some zig and some zag and it looks pretty good. Can't get all the damage out but at least the scarring and ridges have been polished out. New center bearings, main bearing, flywheel end main bearing, seal, spacer, new thrust bearings on both ends. Did the engine hone and cylinders are looking pretty. New rod bearings and piston rings for the piston install in the AM. Have to check the rings for proper clearance.

Tomorrow I will work on the camshaft, pistons, and get the mid to upper completed. Glad to be getting here.


Prior to honing the cylinder bores.

20180824_114601.jpg20180824_114605.jpg


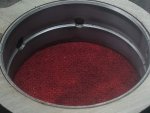
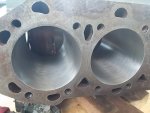
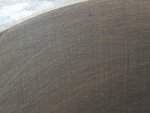
The cross hatch look of the honing process. Your have to keep the RPM of the drill to about 60 and with the rhythmic back and forth motion, you get that cross hatched pattern.

20180824_114633.jpg20180824_114911.jpg20180824_115828 - Copy.jpg20180824_120039.jpg20180824_120058.jpg


New camshaft bearing and main bearing, gear end. No special bearing installer, just a nice piece of aluminum rod and a ball peen hammer. A tap here and a tap there and the come out as well as go in.

20180824_120111.jpg20180824_120113.jpg


"Renewing" the threads in the block as the TM puts it. A metric 10X1.5 tap and some cutting fluid and good as new. I can not over-emphasize the need for and use of cutting fluid.


20180824_134206.jpg


Flywheel end main bearing installed with seal (should have waited later for seal installation) and thrust bearings.

20180824_142905.jpg20180824_142908.jpg


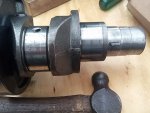
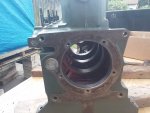
Crankshaft halfway home. Out and in with ease. End play is at .006 and min is supposed to be .007+ but I am not going to sweat the .001in at this time.

20180824_144031.jpg


Pictures of the thrust bearing installed, gear end.

20180824_144047.jpg20180824_144058.jpg20180824_144101.jpg


More to follow tomorrow.
 

USAMilRet

Member
392
15
18
Location
Tampa, Florida
And BTW, is the heat the pinion gear to 460deg F really the way to install it on the crank shaft? Will it just slide on or do you have to use a gear installer as well? How much time do I have to "play" with the installation?

Like this:

Open and drink a beer while pondering the next job.

Heat pinion gear to 460deg DF

Open and drink a beer while waiting for pinion gear to heat up.

Take pinion gear out of oven and place pinion gear on crankshaft.

What now??? Use a gear installer or the like? Hammer it on? It slides on with no problem?

Open and drink a beer while pondering which was the better way to go, obviously not the way you chose.
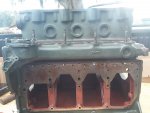
Throw your hammer at the engine block due to multiple burns sustained while installing the pinion gear.
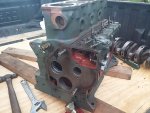
Open and drink a beer for a job well done.

Have another because you hand still hurts. The cold bottle is to keep the heat out of the burn in your hand.
 

strycnine

Member
223
8
18
Location
Claxton, GA
We use a bearing heater here at work. After you get it to the proper degree it will slid on by hand. If you start to put it on and it sticks knock it back off and heat more.
 
Top
AdBlock Detected

We get it, advertisements are annoying!

Sure, ad-blocking software does a great job at blocking ads, but it also blocks useful features of our website like our supporting vendors. Their ads help keep Steel Soldiers going. Please consider disabling your ad blockers for the site. Thanks!

I've Disabled AdBlock
No Thanks