Duckworthe
Member
- 329
- 23
- 18
- Location
- San Diego, Ca
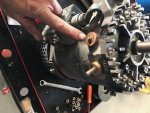
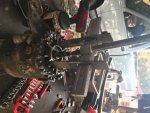
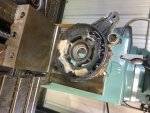
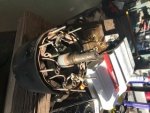
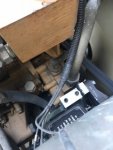
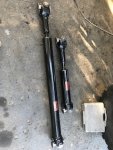
Good afternoon everyone. So I was working on my alternator bracket and decided to remove the alternator all together to see if there was a better way. Well, while I was removing the 24 volt lug the 1/4-20 stud that was corroded snapped right off. It took about 5 foot lbs to snap it off. Glad it did it at my shop and not on the road! So now comes the journey. I have opened up alternators before but never this one. The manual has an exploded view but to directions on how to do it. I am getting ready for a trip and cant wait/pay someone to do it so I decided to go at it. As you can see in the pics there is a lot of wires and nuts to remove but over all easy. Here are some issues. The bolts that hold the said nuts and SMALL! and so inclined to brake easy. I used wd-40 and wire brushed them all first as mine was full of silt/sand. the nuts all came off easy but getting the case ends to come off require a puller. I didn't have the puller attachments that were required so I made them out of flat bar to fit into the small openings. With a bit of force, the end caps came off. They were really stuck because of the silt in-between the cases. I made sure to mark all of the wires to make sure they all go back to the right studs. There are about 10 large studs and only 8 wires. They also have special plastic washers to keep voltage going only to the studs and not into the case of the unit. Make sure they go to the right spots also. I found it surprising that the 24v stud is a 5/15 stud tapered down to a 1/4-20 stud and the 12v stud is 5/16 stud. I know they did this so the cables cant be placed on the wrong stud. but really?! a 1/4-20?! So after going through the effort to disassemble the unit I found that you cant just replace the broken stud anyway. If you look at the pics closely you will see that the studs and wiring are all embedded in a hard epoxy. I thought about chipping it away or drilling it out of the way of the stud but wires are also buried in the epoxy. I thought that I would just not risk it. So I ended up mounting it in my mill and center drilling the broken stud out to 1/4-20 and tapping it. Now I just use a bolt to hold the cable on instead of the 1/4-20 stud. It works great just as before but I at least was able to learn how to repair and disassemble the unit. It shouldn't have been so hard to disassemble but as I stated, It was full of silt in all the joints. You will also have to have a press to put the end caps back on because you have to put the sealed bearings back on the shaft ends and into the case ends. In the end, I could have just put the whole alternator on the mill and center drilled the stud and make the repair. But now I know. I asked my local shop and showed them the pic of the stud and epoxy, they said they would have had to just order a new replacement end cap anyway. You can also see my new stainless upper mount. I didn't use stainless for its anticorrosion capabilities. I used it because stainless is a better material for high vibration applications. I built it a little wider also as my original one broke because there was just no material between the bolt holes and the side of the mount. This one also has no sharp inner corners as I used a ball mill cutter to make that cut. Sharp corners are a great place for cracks to start. But now that my drive shafts are fixed I wont have the vibrations anymore! Now I can take my trip through Arizona and not worry about these three items anymore, Alternator, mount, and shafts.

