cajuninmn
New member
- 22
- 0
- 1
- Location
- Crosby, MN
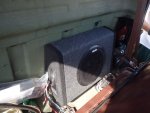
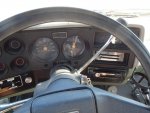
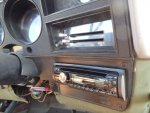
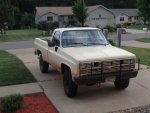
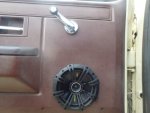
Since I hadn't seen a good "How to" on stereo installs here we go! I figured as much as I loved listening to the constant roar of that 6.2 at highway speeds, that stock radio wasn't going to cut it anymore... So to anyone looking to make a little upgrade to the M1028, that I thought made a world of a difference and definitely makes driving the beast much more enjoyable, here is how to go about doing it!
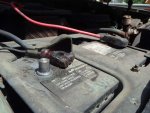
Safety first!
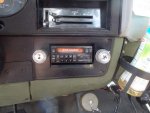
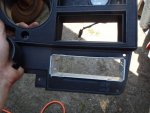
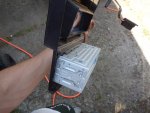
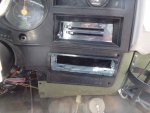
Stock stereo was removed by simply pulling the knobs off than removing the two bolts off of each knob shaft. Most CUCV's come with a plastic over over the stock radio mount that can be simply removed by releasing two little prongs on the back or by just ripping the thing off.
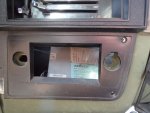
Had to wiggle around the wires a little bit to get the radio out from the rats nest behind the dash but it pulled down and out without to much of a struggle.
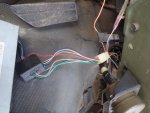
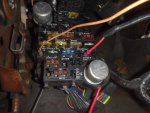
The old wiring harness on the radio was a bit of a joke, but I just chopped the wires as close to the unit as I could so they could still be re-used being the speaker wires had already been run and connected.
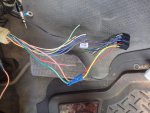
I followed the wires off the old harness so I could match them with the new than crimped away! I was left with a couple unnecessary wires but if you are starting from scratch and wiring it yourself it shouldn't be much of a problem.
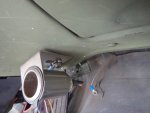
Being I had previously installed a 12v outlet that was hooked up to the constant power supply I side spliced my stereo's power cable into the wire than grounded the unit to the outlet's bolt where the old stereo had been grounded.
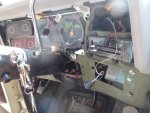
Pull the dash out and let the fun begin.
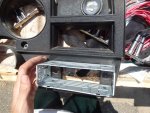
Used the stereo's mount as my template and etched an outline to mark my cuts.
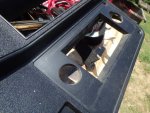
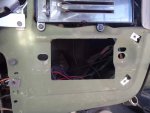
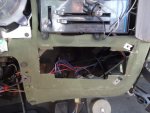
You are left with a good chunk of space to work with so most stereo heads should fit... Key word... SHOULD.
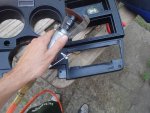
I used an air cutter and let 'er rip! Just a warning, you need to make quick short cuts because of the friction. It melts that plastic quickly and let me tell you... THAT PLASTIC GETS HOT! We're talking napalm...

Safety first!

Stock stereo was removed by simply pulling the knobs off than removing the two bolts off of each knob shaft. Most CUCV's come with a plastic over over the stock radio mount that can be simply removed by releasing two little prongs on the back or by just ripping the thing off.

Had to wiggle around the wires a little bit to get the radio out from the rats nest behind the dash but it pulled down and out without to much of a struggle.

The old wiring harness on the radio was a bit of a joke, but I just chopped the wires as close to the unit as I could so they could still be re-used being the speaker wires had already been run and connected.

I followed the wires off the old harness so I could match them with the new than crimped away! I was left with a couple unnecessary wires but if you are starting from scratch and wiring it yourself it shouldn't be much of a problem.

Being I had previously installed a 12v outlet that was hooked up to the constant power supply I side spliced my stereo's power cable into the wire than grounded the unit to the outlet's bolt where the old stereo had been grounded.

Pull the dash out and let the fun begin.

Used the stereo's mount as my template and etched an outline to mark my cuts.

You are left with a good chunk of space to work with so most stereo heads should fit... Key word... SHOULD.

I used an air cutter and let 'er rip! Just a warning, you need to make quick short cuts because of the friction. It melts that plastic quickly and let me tell you... THAT PLASTIC GETS HOT! We're talking napalm...
Last edited:


