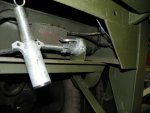
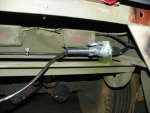
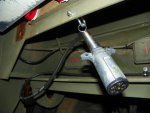
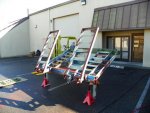
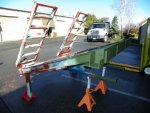
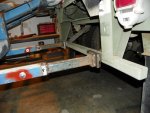
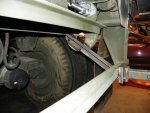
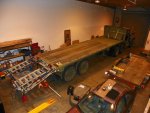
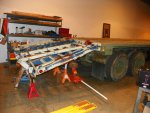
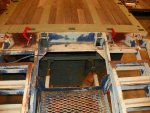
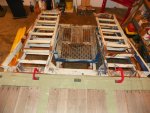
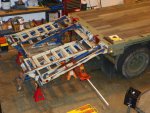
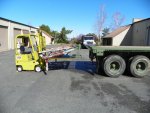
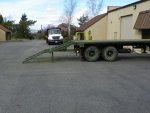
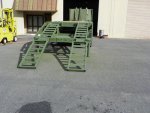
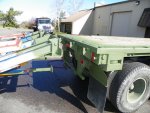
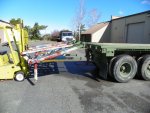
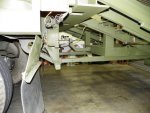
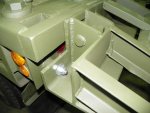
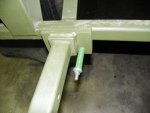
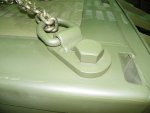
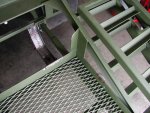
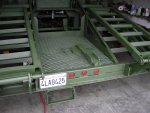
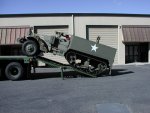
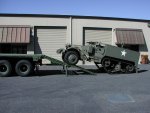
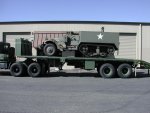
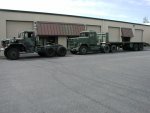
These are photos of the finished attached ramp. There is a good view showing how the pins slip into the hooks. To prevent the ramp from bouncing out of the hooks when going down the road, two large bolts were added to prevent vertical movement of the ramp. It also adds extra support for the hooks. The ramp arms are not hard mounted to the ICC pads because if the trailer squatted during loading, the ramp would want to pivot on the pins/hooks and you would put undue loads on the arms and ramp. The arms are supported for downward loads on the ramps, but there are springs on the pad so that if the ramp tries to lift upwards, the springs will give and let the ramp rise(or the trailer squat) without stressing anything. Also shown is one of the swing down support arms. It folds up for normal driving, but swings down to support the back of the ramp during loading. It has a heavy jackscrew in the middle of the two tubes that allow you to screw the bottom tube of the leg up or down to match the ground elevation.


 88.7 KB Views: 188
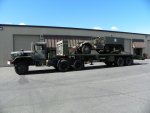 99.5 KB Views: 197
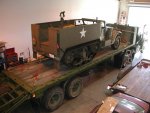
 I wish I had to fab up some ramps for my half track