• Steel Soldiers now has a few new forums, read more about it at: New Munitions Forums!

  • Microsoft MSN, Live, Hotmail, Outlook email users may not be receiving emails. We are working to resolve this issue. Please add support@steelsoldiers.com to your trusted contacts.


Finally restoring the M37

hndrsonj

Senior Chief/Moderator
Super Moderator
Steel Soldiers Supporter
7,583
358
83
Location
Cheyenne, WY
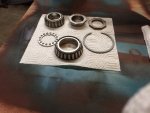
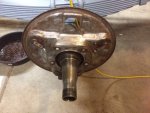
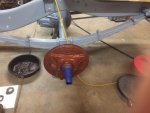
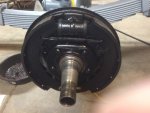
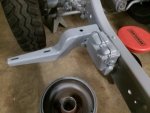
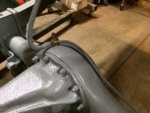
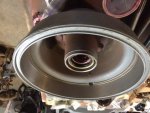
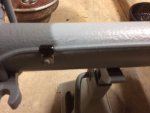
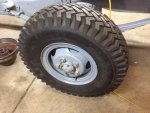
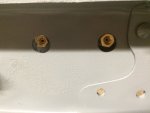
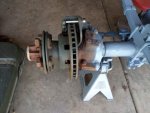
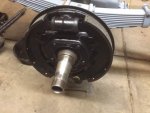
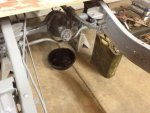
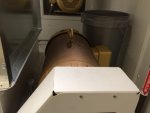
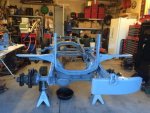
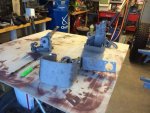
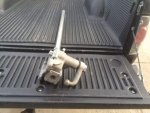
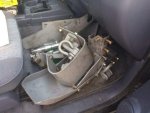
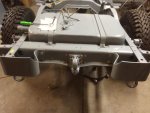
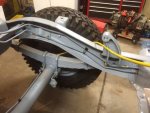
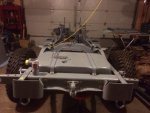
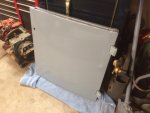
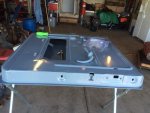
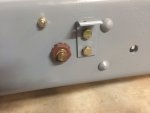
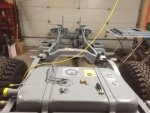
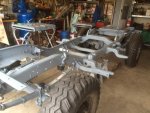
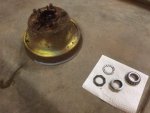
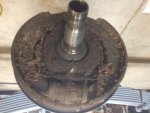
So found the rear axle slightly off. Turns out according to the manual the springs are equidistant front to back on rear springs... Mine are different by 1/4". Had to turn around the PAX side and it is now where it should be. Removed first hub, notice all the crud and dead ladybugs.... Brakes tomorrow (hopefully)!
 

Attachments

hndrsonj

Senior Chief/Moderator
Super Moderator
Steel Soldiers Supporter
7,583
358
83
Location
Cheyenne, WY
Starting to go back together. First brake done and painted. Drag links rebuilt. Split master cylinder installed along with some new brake lines. Decided on disks on front only (at least for now).
 

Attachments

F18hornetM

Active member
1,135
10
38
Location
Ocean City, Md
Good looking project.
Its funny you mentioned the rear springs being off. We just noticed tonight that our rear springs are mounted different than each other. We've never had it on the road yet other than around the field so never noticed how it tracked. My driver side has the doubled end towards the rear while the passenger side has it at the front. Which is the direction I think it belongs in.
Thanks for the pictures.
 

hndrsonj

Senior Chief/Moderator
Super Moderator
Steel Soldiers Supporter
7,583
358
83
Location
Cheyenne, WY
Had to turn the drums. Painted more parts. Getting ready to start front hub disassembly. Plumbing new Master Cylinder and brakes.
 

Attachments

TGP (IL)

Active member
511
33
28
Location
Metro East IL
how did you take of the door handles? I found out how to take the window cranks off but still scratching my head on the the door handles.
Should be the same, unless someone changed out one or the other.
I'm guessing you had a screw in the one you removed?

Originally they had a small pin under the echelon.
Push back the echelon and push out the pin, careful not to loose it.
Tom
 

hndrsonj

Senior Chief/Moderator
Super Moderator
Steel Soldiers Supporter
7,583
358
83
Location
Cheyenne, WY
Got rear end totally done. Front end drained. A lot of miscellaneous parts mid paint. Burned up the 10HP exhaust motor on the new 100K paint booth.......
 

Attachments

GUNNY 155

Member
238
4
18
Location
elgin illinois
Getting the steering wheel off is the tricky part. Remove the nut from the steering wheel place it in a vise and soak it with penetrating oil or ATF for a few days. Pull the horn wire. Insert a 1/2 X 1 inch bolt into the hole in the shaft. Place a bearing splitter under the steering wheel base then use a jaw puller to finish the job. After that take the steering box apart and the shaft comes out the bottom. You will need a TM to get the specs and procedure for the rebuild.
 

mkcoen

Well-known member
Steel Soldiers Supporter
5,637
380
83
Location
Spring Branch, TX
Wow! That looks amazing. I'm starting to feel a little embarrassed by mine. Good thing it's really the wife's. I can just say she's the one that cut corners.
 

hndrsonj

Senior Chief/Moderator
Super Moderator
Steel Soldiers Supporter
7,583
358
83
Location
Cheyenne, WY
Last coat on frame (46 ouncesaua) Ready to start dropping body parts on next week. Pick up cab and fenders from blaster tomorrow. Doing final door assembly right now....
 

Attachments

Top
AdBlock Detected

We get it, advertisements are annoying!

Sure, ad-blocking software does a great job at blocking ads, but it also blocks useful features of our website like our supporting vendors. Their ads help keep Steel Soldiers going. Please consider disabling your ad blockers for the site. Thanks!

I've Disabled AdBlock
No Thanks