Salty dog
Active member
- 113
- 176
- 43
- Location
- Spring, Texas
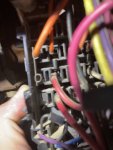
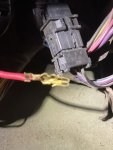
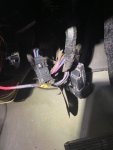
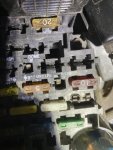
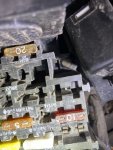
Discovered that the “Main light” 30 amp fuse slot had melted/ distorted in the past. The fuse will not fully go into the slot, I discovered the problem when I was driving and suddenly lost my driving lights . Is there a way to repair the slot? Carefully cut the plastic to allow the fuse to be fully seated or do I need to replace the fuse box?
Attachments
-
 95.6 KB Views: 37
 -
 94.1 KB Views: 39