lino
Member
- 148
- 2
- 18
- Location
- Wake Forest, NC
First, Merry Christmas
Second, back to regular programming...
Hopefully today, and certainly this weekend, I'll be getting the air-ride seat mod done - with some adaptations. Pics shortly.
I also have all the gauges in-hand, so hope to do those too. Fuel sender tweaks might happen this weekend also.
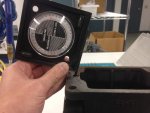
I'm using the same gauges as Peashooter, the SW HD series.
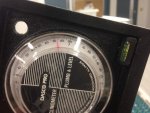
The mechanical gauges (Oil press, water temp, air press) don't care what voltage the vehicle is (aside from lighting, which I'll get to).
The Voltmeter is available in 24v.
But the fuel gauge needs a SW sender, and that's only available in 12v. HOWEVER, since those are just resistive, it should be reasonable to add a resistor in series or parallel to the sender and get the gauge to a happy place.
I'll keep y'all posted.
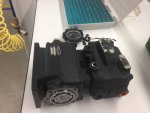
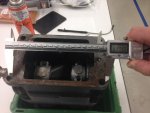
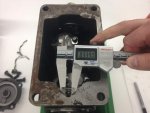
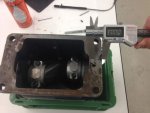
The compressor stuff will keep moving slowly in the background...
ciao
lino
Second, back to regular programming...
Hopefully today, and certainly this weekend, I'll be getting the air-ride seat mod done - with some adaptations. Pics shortly.
I also have all the gauges in-hand, so hope to do those too. Fuel sender tweaks might happen this weekend also.
I'm using the same gauges as Peashooter, the SW HD series.
The mechanical gauges (Oil press, water temp, air press) don't care what voltage the vehicle is (aside from lighting, which I'll get to).
The Voltmeter is available in 24v.
But the fuel gauge needs a SW sender, and that's only available in 12v. HOWEVER, since those are just resistive, it should be reasonable to add a resistor in series or parallel to the sender and get the gauge to a happy place.
I'll keep y'all posted.
The compressor stuff will keep moving slowly in the background...
ciao
lino
Last edited by a moderator: