Sooo, a few more troubles going on.
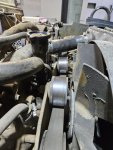
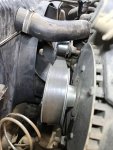
While searching for Serpentine Belt, I found one on Fleabay with 3 pictures. The first had a government issued belt, with military tags and other marking for $42 +S&H. The other two pictures were from an aftermarket belt. The markings on them were PK82490. Google search revealed the brand Bando. Here is a screenshot of the dimension on a autoparts store:
View attachment 924310
So it seems to match the OEM... This store charges $46.99. But on other sites the prices start at $15 to $66... Anyone have this brand/parts number installed? Any issues?
And, while trying to drain the front differential, I noticed my fill plug was very loosely put in place, the diff is near empty and the drain plug hex is stripped (good thing I didn't drive it but up the driveway). The plug still has the original CARC or Rhino liner around it, so I am guessing it hasn't been removed in years. I most likely will have to take the cover off to drain and inspect (the TM doesn't show a gasket, so RTV ok?), but any suggestions how to remove the drain plug? I've applied butane torch heat to the case, no go. Thinking of tack-welding an Allen wrench to it to tap it lose. Will have to replace for sure.


 Thanks!