jbingvtx
Member
- 529
- 2
- 18
- Location
- Meadow Bridge, WV
Looks GREAT!! The duel 11.00's are on my mods list.
Steel Soldiers now has a few new forums, read more about it at: New Munitions Forums!

It's hard to tell how much quieter it is with the insulation. i use hearing protection when driving the truck. I installed the insulation to cut down on the heat coming from the engine during the trip.How much quieter do you think the 109 is with the insulation work done..? Did you use the peel and stick...?
How do you like the ride with the new tires..? Razer wants me to get away from the stock tires and go with BF Goodrich road tires, he says it's like riding on glass...smooth.
BTW, I have followed this thread and you have done a remarkable job....![[thumbzup]](https://www.steelsoldiers.com/images/smilies/icon_smile_thumzup.gif "Thumbs Up [thumbzup]")

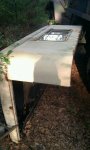


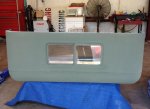
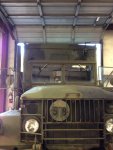
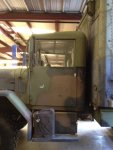
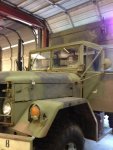
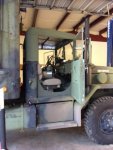


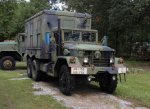
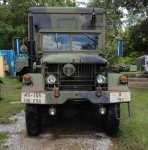
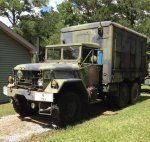
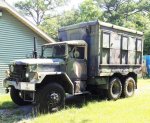
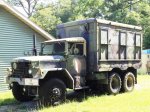
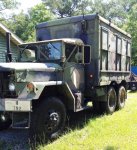
That rascal will look really good parked on "M109 Row" at the GA Rally GE!!I finally went outside a took some new pictures of the truck with the hard top installed. It also shows the new mirrors I installed. I did not remove the blue plastic protector from the aluminum backs.
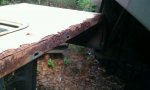
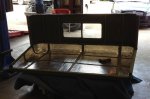
I sent my hard top to my friend Allen's to have it restored properly. After a week of part time work he got the Top repaired and repainted. He assembled the top and back section using the 1/4" stainless steel bolts I got for the job. He used the rubber gasket and seam sealer to seal the joint.
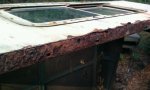
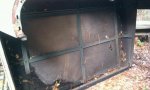
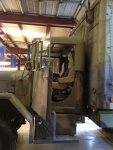
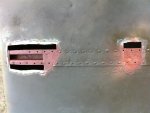
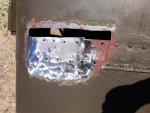
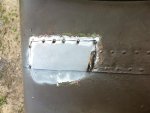
Today i went to Home Depot and picked up 2 rolls of 5/16" aluminum bubble wrap insulation. 24" wide by 25 feet long. We ended up installing 3 layers of the insulation on the ceiling of the Top. Afterwards we reinstalled the metal strapping that came with the top. I was going to add a sheet of galvanized sheet metal on top of the strapping as the final ceiling but decided it was not necessary. The ceiling looked good just as it was. I plan to spray it with Krylon Fusion OD green paint so it blends in to the rest of the cab.
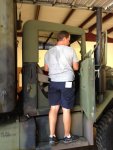
We also took a vinyl weatherstripping and notched it at the 2 corners to allow for the curves of the bottom edge of the Top. (where it will attach to the cab back wall) Allen will attach it to the bottom edge using lots of seam sealer and let it set. This way we can install it later tomorrow.
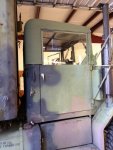
Here are some pictures I took of the work done today...
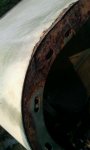
Looks great in and out. now - what are you going to do with the rusty chain steering wheel lock? Spoils the image. Could clean it up and coat with liquid vinyl - stuff they make for reconditioning tool handles. Comes in lots of colors.I finally went outside a took some new pictures of the truck with the hard top installed. It also shows the new mirrors I installed. I did not remove the blue plastic protector from the aluminum backs.
Yes they are 11.00-20 Michelin tires. I got them before all the 11.00 G177 Goodyear flooded the market.Love those tires. Need to get some for mine. You did say they were 11.00's??
LC
