rflegal
Member
- 128
- 11
- 18
- Location
- New Mexico
Hey guys, been around for a while and checking in but haven't posted in ages; been way too busy.
I have finally finished up the rebuild of the transmission in my M36 after the woodruff keys stripped out on 2nd/3rd.
That was a lot of work, but well worth it from a learning standpoint.
Lots of help from the folks and resources here and now I'm ready to put it back in.
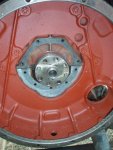
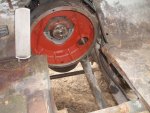
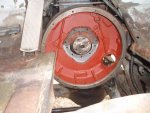
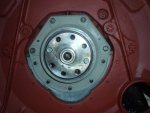
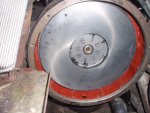
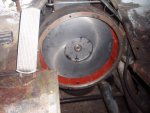
Had the flywheel machined, new clutch, new throw out & pilot bearings; all good to go. Pilot was a bear to get out - used the grease method after the puller wouldn't get it.
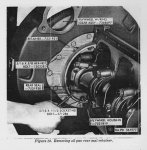
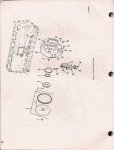
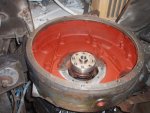
Anyway - decided to replace the rear main seal too as the inside of the bellhousing was wet and the old clutch indicated some leakage. Thanks to this board, it hasn't been that daunting of a task. I really appreciate everyone's posts here. So before I went ahead and whipped through the install, I thought I check to see if anyone would be interested in me documenting the procedure? Thought I might give back a bit to the forum.
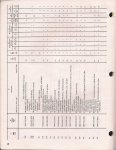
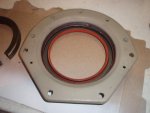
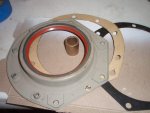
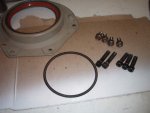
I have cross-referenced the new seal from the old WHITE # to several others but was able to find the National part as the quickest available. Bought two just in case I goofed one up.

485915H
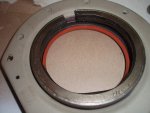
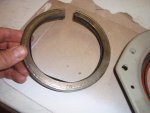
As I said, bought two - it is a good replacement. I will have an extra carrier too, fully loaded then. Not sure why I would need it but these things are getting harder to find.
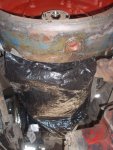
In changing the seal - Yes, you do need to drop the oil pan to replace the seal. Yes, it is a pain; but not really that big a deal. Mine was pretty much glued to the engine by the PO because they didn't have a proper gasket. It took a lot of effort to get it separated.
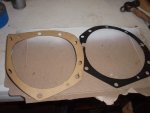
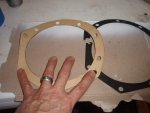
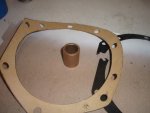
Yes, you should try to find a gasket set if you have one of these old OA-331s (in this case for the oil pan gasket). I found one set and never will use it but rather make new gaskets from fresh cork or gasket sheet using the army issue as a pattern. If you buy a cheap punch set you can knock what you need out pretty fast. I've picked up a couple extra head gaskets as well.
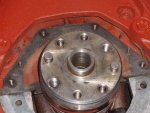
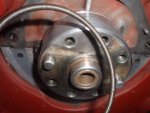
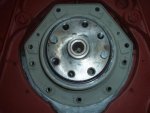
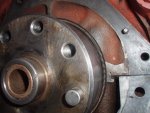
Anyway, I have already dropped the pan and removed the seal holder; was very happy to see how nice and tiddy my lower short block was.
I'm gonna try and put it all together this coming weekend. I will probably never need to do this again, but if folks are truly interested, I'll make the effort to document with some photos. Just didn't know if anyone was still playing with these old gassers anymore.
Let me know if anyone wants photos. Otherwise, I'll just get 'r done. Wish me luck.
I have finally finished up the rebuild of the transmission in my M36 after the woodruff keys stripped out on 2nd/3rd.
That was a lot of work, but well worth it from a learning standpoint.
Lots of help from the folks and resources here and now I'm ready to put it back in.
Had the flywheel machined, new clutch, new throw out & pilot bearings; all good to go. Pilot was a bear to get out - used the grease method after the puller wouldn't get it.
Anyway - decided to replace the rear main seal too as the inside of the bellhousing was wet and the old clutch indicated some leakage. Thanks to this board, it hasn't been that daunting of a task. I really appreciate everyone's posts here. So before I went ahead and whipped through the install, I thought I check to see if anyone would be interested in me documenting the procedure? Thought I might give back a bit to the forum.
I have cross-referenced the new seal from the old WHITE # to several others but was able to find the National part as the quickest available. Bought two just in case I goofed one up.

485915H
As I said, bought two - it is a good replacement. I will have an extra carrier too, fully loaded then. Not sure why I would need it but these things are getting harder to find.
In changing the seal - Yes, you do need to drop the oil pan to replace the seal. Yes, it is a pain; but not really that big a deal. Mine was pretty much glued to the engine by the PO because they didn't have a proper gasket. It took a lot of effort to get it separated.
Yes, you should try to find a gasket set if you have one of these old OA-331s (in this case for the oil pan gasket). I found one set and never will use it but rather make new gaskets from fresh cork or gasket sheet using the army issue as a pattern. If you buy a cheap punch set you can knock what you need out pretty fast. I've picked up a couple extra head gaskets as well.
Anyway, I have already dropped the pan and removed the seal holder; was very happy to see how nice and tiddy my lower short block was.
I'm gonna try and put it all together this coming weekend. I will probably never need to do this again, but if folks are truly interested, I'll make the effort to document with some photos. Just didn't know if anyone was still playing with these old gassers anymore.
Let me know if anyone wants photos. Otherwise, I'll just get 'r done. Wish me luck.


