alphadeltaromeo
Active member
- 1,901
- 3
- 38
- Location
- Alto, GA
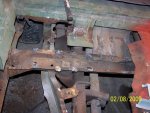
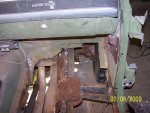
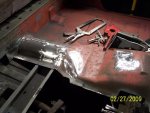
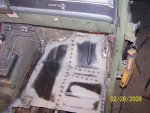
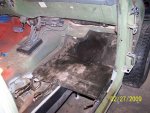
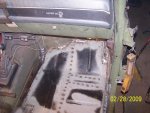
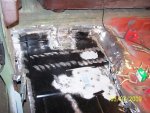
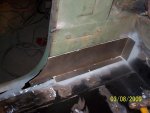
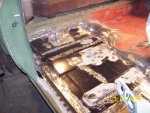
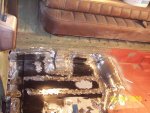
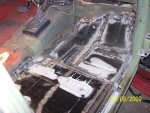
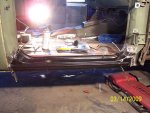
Chuck, you're doing a great job...so keep up the good work. Thanks for the pics ")
Andy
Andy
Steel Soldiers now has a few new forums, read more about it at: New Munitions Forums!

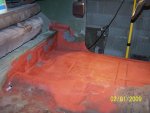
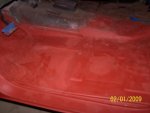
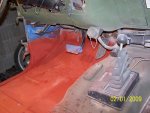
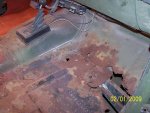
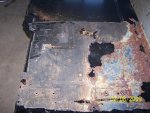
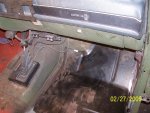
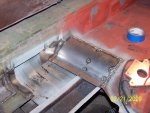
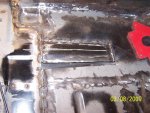
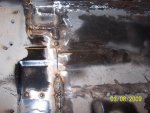
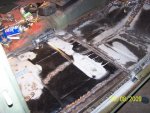
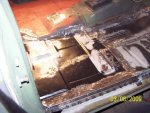
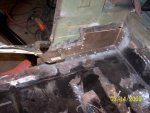
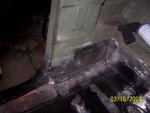
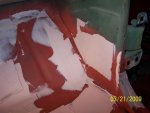
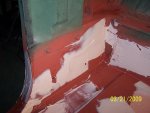
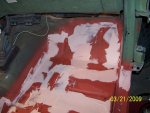
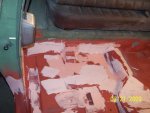
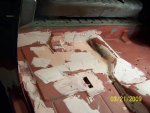
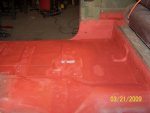
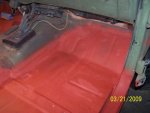
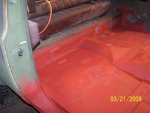
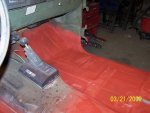
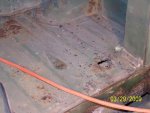
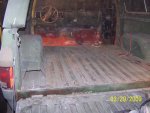
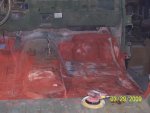
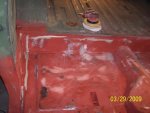
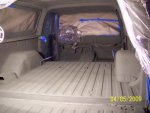
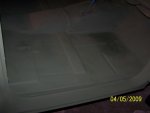
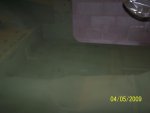
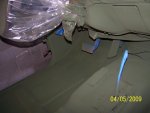
Is ther an easy way to remove the rubberized coating on thr floorboard? Mine is worn and I want to Herculine the whole thing. Nice Dog! I have a 100lb German Shepard too!


We get it, advertisements are annoying!
Sure, ad-blocking software does a great job at blocking ads, but it also blocks useful features of our website like our supporting vendors. Their ads help keep Steel Soldiers going. Please consider disabling your ad blockers for the site. Thanks!