- 728
- 7
- 18
- Location
- New Jersey
Steel Soldiers now has a few new forums, read more about it at: New Munitions Forums!

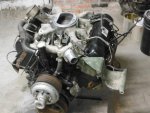
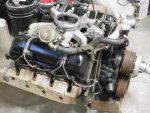
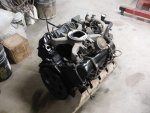
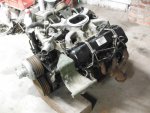 Today I did a lot of studying of the engine installation and have the engine completely assembled for installation. I have set aside a day next week to install it into the chassis. It is the wire routing and brackets that I have some doubt about. I am sure I will figure it out. Not like I am losing sleep over it. Quality work takes time. Hack jobs not no much. Tomorrow I will be in Conowingo Maryland fishing for catfish. Have a great day.
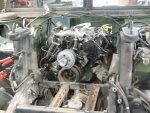
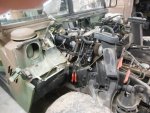
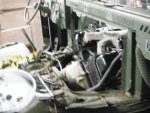
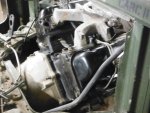
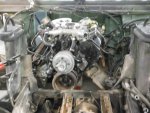 Thursday night I was successful in getting the engine back in the HMMWV. It took a lot of patience and a lot of thinking to get it in and not damage anything. I made a wooden engine cradle for the oil pan and used a floor jack to support the engine from below then hooked the picker to the front of the engine. I worked smarter not harder. It is in now.
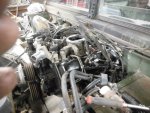
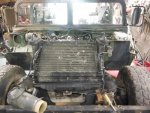
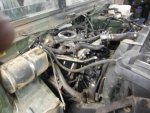
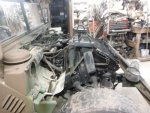
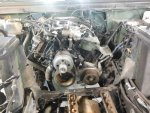
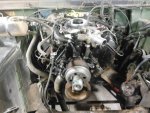
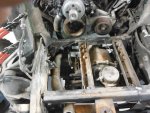
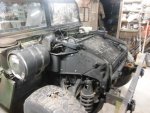 I stayed out in the garage till about 2 AM and then got right back on it this morning at 6AM. I went fishing and came back and worked on it again. If not for the broken alternator ear I would have had it running today. I tried for 2 hours to get the starter on by myself. I made it a goal to do it. I failed. That is a 2 man job. Maybe 20 years ago I could have done it but I could not bench that thing up there and put the bolts in. I bought new bolts and then it was in after my Son helped me. It was the first task after coffee. I used all new hardware and studied many pictures and looked at a few HMMWV to get this vehicle back together.
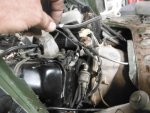
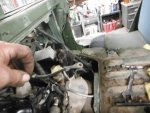
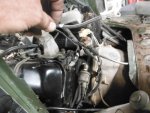
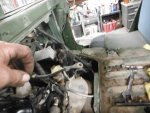 Anyone know where this wire goes? I think it may be a ground. Does anyone know?
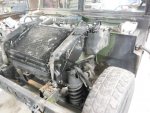
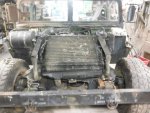
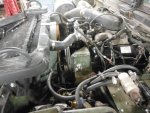
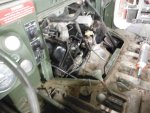 Does anyone have any feedback. Check out the pictures does everything look good? I replaced a lot of worm drive clamps. Almost everyone was over tightened and stripped. I used a lot of new fasteners. I used some of my Torx 40 5/16" bolts to bolt the fender aprons in place. Like I said if not for the broken alternator ear I would have had it running today. Anyone check out my classified for parts wanted? 1992 M98 HMMWV 60 alternator front case.
What's the number on the metal tag on the wire? Every wire in the truck has a tag and the number corresponds to the circuit number in the TM. Given the location it's probably the ground wire off the main engine harness - but a number from the tag will confirm it.Anyone know where this wire goes? I think it may be a ground. Does anyone know?
2A - Generator armature circuit (main positive line) - goes to AC SenseWire 2A
Wire 3B
Wire 74A
Wire 81A
Can someone help
It's pretty hard to bleed out the air with just a mechanical fuel pump that's active only when cranking. Some people will pressurize the tank to push fuel up to the engine to make it easier to bleed (there is a ventline with a check valve that would need to be blocked - or the check valve removed to use that vent for pressurizing the tank.Any ideas as to how hard it is to purge the air from an M998? And is it standard to have a rubber expandable plug in the bottom of the fuel tank as a drain? This one just has a plug no bolt to tighten it and leaks at will.
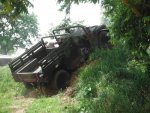
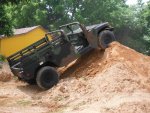
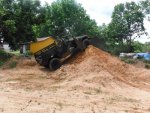
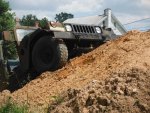
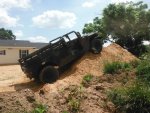
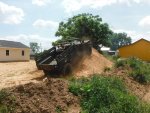
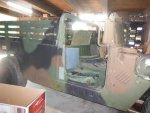
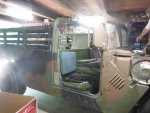
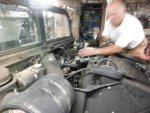
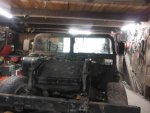 Well that was easy. Never knew about the screw on top of the fuel filter. That's OK I figured it out. Cranked right up. It seems that the Glow Plugs cycle in and out. I know nothing of them. I put 8 new Glow Plugs in. I am not sure they are working correctly. We took it for a ride. Went to eat and drove in the field. Everything works well. The transmission needs to be serviced. I think it was driven HOT and that is what caused the engine to burn up. The hydraulic fan is not operating correctly. I unplugged it and it works fine now. Always engaged. But keeping the engine cool none the less. Drove it down and filled it with diesel fuel. It drives well and everything is functioning as designed. That was easy. I could do them easily now. I learned a few things that would help make the next one a piece of cake. I now have my Cadillac in the garage cleaning it.