- 3,923
- 77
- 48
- Location
- Comfort, Texas
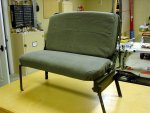
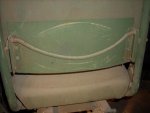
GW, I see what you mean now. The diagrams I had did not include the plate. Also, my seat only has a lever lock on one of the seat adjuster rails. Does your have a cross connecting arm to a second seat lock on the other rail?
")