• Steel Soldiers now has a few new forums, read more about it at: New Munitions Forums!

  • Microsoft MSN, Live, Hotmail, Outlook email users may not be receiving emails. We are working to resolve this issue. Please add support@steelsoldiers.com to your trusted contacts.


Starting My Bobber Project!!

palskidoo

Member
88
1
8
Location
CT
looks really good!! I didn't see if you mentioned it or not but did you keep the center rear axle position to same or did you move it?
 

misterbill64

Member
51
2
8
Location
Buckhannon WV
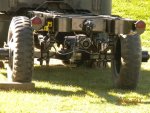
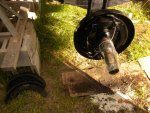
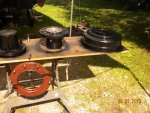
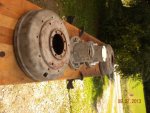
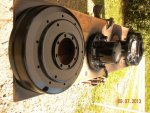
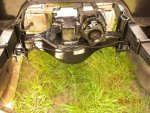
Latest update , I blasted and painted the axle from backing plate to backing plate, installed it on the truck then removed the drums to blast and paint. Cleaned the brakes and painted the inside backing plate, repacked the bearings and replaced the seals. I don’t have the tires to single it out yet so I didn’t flip the hubs. Installed the bumperetts, taillight brackets and tail lights, replaced the air line valves with ball valves , reinstalled the fuel tank.
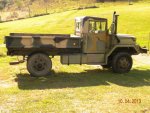
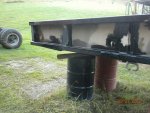
Shortened the hard brake line and made a bracket to connect it to the flex line. Decided I didn’t like having to put a loop in it ( rear brake line too long ) so I ordered and installed a front line instead, works great. Ran a line to the engine compartment for the vents, only connected rear axle so far . Not going have time to get the body blasted this year so I blasted the rust spots on the bed and por15 them then repainted the camo. Have a neighbor that has a work truck with a crane so he lifted and installed the bed back on.
axle installed.jpgaxle installed 2.jpgbacking plate.jpgded on.jpgdrum & hub.jpgdrums & hubs blasted.jpgdrums & hubs painted.jpgPOR15.jpg
 

misterbill64

Member
51
2
8
Location
Buckhannon WV
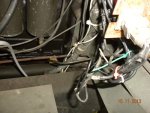
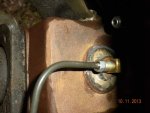
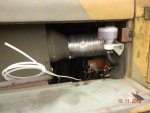
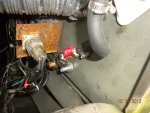
I wanted a remote reservoir for the brakes since it's a pain to check pre trip, this turned out to be the most frustraighting part of the truck yet ! I wanted hard line all the way except where it connects to the reservoir but had a heck of a time getting the cap sealed.The threads in the cap weren’t threaded right and striped the threads on the new fitting I had to buy because the G.I. fitting was wrong . They had a regular pipe fitting instead of a flair fitting. I tried too just lightly weld the sides of the hole , but ended up welding the hole completely up and redrilling it , then taped it to the correct depth. I put a tee and a shutoff valve near the reservoir for a pressure bleeder. I think it turnout right
brake line by frame.jpgcap old vent in backround.jpgNew reservoir.jpgshutoff valve.jpg
 
Top
AdBlock Detected

We get it, advertisements are annoying!

Sure, ad-blocking software does a great job at blocking ads, but it also blocks useful features of our website like our supporting vendors. Their ads help keep Steel Soldiers going. Please consider disabling your ad blockers for the site. Thanks!

I've Disabled AdBlock
No Thanks