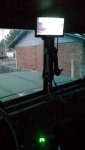
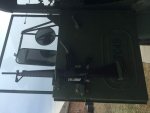
Nice Machinist75! I have a couple of those same door mounts due to arrive this coming week. I didn't see the dash one's or are they they same kits just positioned differently?
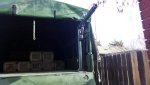
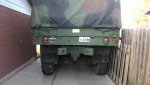
I did a couple of stencils and mounted my personalized license plate. (I only drilled the lower holes as the upper's were already there?..Do/did the Texas Army reserve run plates or some other placard that was plate sized?) Anyways, I was happy to still be able to get this as all of the others I tried were gone (101AB, AB101, 101ST, A101B, etc)
Edit...Oh I also trimmed about 2 inches of foam out of my driver's seat back cushion and straightened out the seat back's metal pan (it was bent forward when I got it). I like it so much better now! I didn't realize how much 2 inches out of the back of the seat would effect my leg room