- 424
- 60
- 28
Stunning!!! And the "cars" bike helmet (my son has the same...came with the bike)....great secondary use....."zerk" mechanic.
Steel Soldiers now has a few new forums, read more about it at: New Munitions Forums!


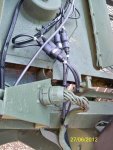
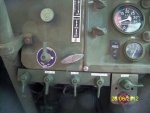
Thanks Mike, I have a total of 4 mounts in the cab. Two on the dash and two on the doors. I've got another set of seatbelts to add to the bench seat to seat a total of 3.Nice work on the truck...I love the mods...
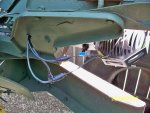
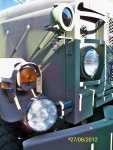
Regarding the gun mounts, am I correct that you now have 5 mounts in the truck? Why have dash and door mounts? The reason I'm asking is that I have a NOS pair of gun mounts and am deciding where to mount them in the truck.
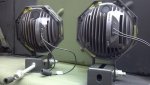
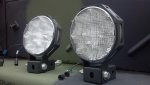
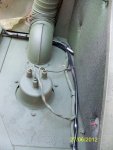
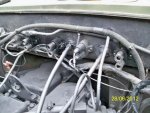
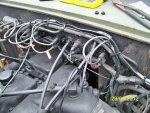
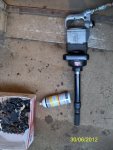
Oh I do plan on using the IR lightsI never seen or had to use the black lights I would place these new lights in place of the black lights the wire and switch and fuse or breaker is all in place and you will use these L E D s alot

 Your truck kinda looks like it did when you left my house!
  Cant wait to see your truck and all your mods. If you need help with your truck or finding O-rings let me know... I have a buddy that works at Les Schwab and he can get most anything.
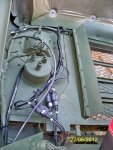
Hi Peter, more than likely I'll be spending the 4th at St. Peter's Hospital. My wife is scheduled to be induced this Monday (July 2nd). Would like to make it to an event, I'm having withdrawals and I miss all you guys!!

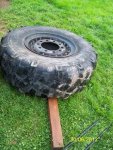
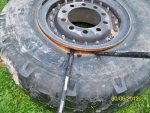
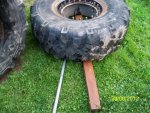
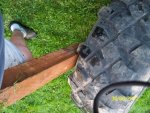
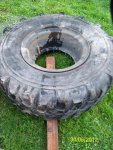
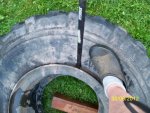
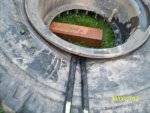
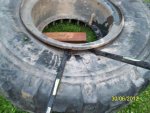
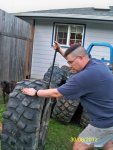
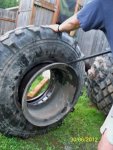
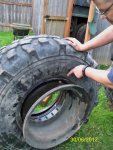
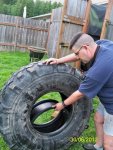
Thanks Peter for the offer, I do remember my back issue..LOL. I'm really taking it easy on this project. I'm finally making use of my physics classes from years past on this project. Fulcrum is a wonderful thingMike, if you need an engine hoist, I have one of those roll around models that you could certainly use. remember the back issue a few weeks back?
As for this baby thing, some people are just too serious. When my daughter was born 27 years ago, there were complications. Baby was fine but mom had issues. After about 24 hours at the hospital, mom was stabilized and the baby was doing great. It was time to go home and get some rest. Well, there was a flea market that I happened to pass, so thought it couldn't hurt to take a quick look. There was a great leather painted 718th Bomb Group patch for 5 dollars. Bought it and headed home. I always thought that besides be under the great navigator, my daughter had an assist, being under the wing of the 318th. Of course I did not have the same protection when my wife caught wind of this great deal.
Best wishes with the baby. Bon chance.
