AMGeneral
Well-known member
- 2,301
- 116
- 63
- Location
- Connelly Springs, NC
Well,After searching the threads and getting questions from other members,I decided to cover the cleaning /rebuild of the fuel tank selector valve used on the M39,M800 and possibly M900 series 5 tons.
First off,this valve is a common air leak in the fuel system on the 800 series trucks with the NHC 250 Cummins and dual fuel tanks(wreckers,tractors,dumps).
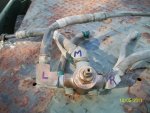
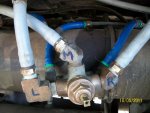
Removal is pretty starightfoward,first remove the tool box under the drivers side of the cab,then disconnect the 6 lines that are attached to the valve itself,then remove the screw attaching the seletor lever to the valve stem itself,afterwards remove the 2 bolts attaching the valve to the bracket under the cab.
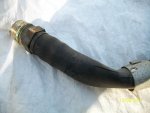
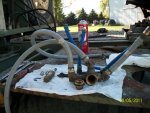
You should now be holding the valve in your hand with 6 short rubber hoses attached,this is a perfect time to replace any rotten or cracked hoses here,the 3 larger diameter ones are the suction hoses for each of the 2 lines from the tank and the 1 going to the filter housing.
Secure the valve in a vise(carefully as not to crack or distort the housing) and unscrew the top cap surrounding the valve stem,there should be 2 O rings here,1 directly over the threads and 1 surrounding the valve stem itself,these are the 2 you will need to replace.
Under the cap,there should be a small flat washer,a spring and a C shaped limiting washer for the valve itself, after removing these,the valve itself should now be able to be pulled free of it's bore,it is a tapered fit so it may require some pressure while twisting the valve back and forth.
Hopefully you are now holding the valve in your hand and looking at the bore of the valve body,if not you may have to soak this aera repeated times with you favorite penetrating oil(Kroil,WD40,PB Blaster,etc) until it comes free.
Basically clean everything up till it's nice and shiny and make sure the valve and bore fit correctly( not egg shaped or scored up) if everything looks good,reassemble it in reverse order with the 2 new O rings and a little grease,and install it in the truck.
**** Steel wool and carb cleaner work great at cleaning the valve. Make sure all traces of the wool are removed before reassembly ****
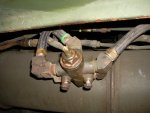
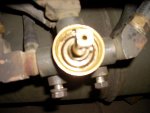
Pic 1- Valve after removal from the bracket,showing the cap covering the valve stem
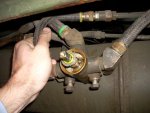
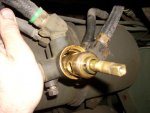
Pic 2- cap removed,showing the stem O ring,washer,spring and C shaped limiting washer
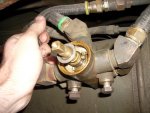
Pic 3- closer view,with stem O ring removed
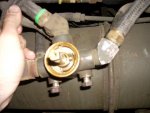
Pic 4- view,with close up of the C shaped limiting washer
Pic 5- showing top of valve and valvebody,with C washer removed
Pic 6- Fit of valve into valve body
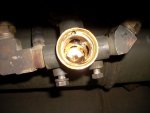
Pic 7- Valve body inside view with valve removed
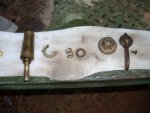
Pic 8- Parts removed from valve,left to right,Valve,C shaped limiting washer,spring,flat washer,valve body cap,valve operating handle and retaining screw.
Attachments
-
43.1 KB Views: 551
-
47.2 KB Views: 519
-
53.2 KB Views: 508
-
37.7 KB Views: 486
-
33.5 KB Views: 482
-
40.7 KB Views: 496
-
33 KB Views: 495
-
44.6 KB Views: 531
Last edited by a moderator:


