I am just surprised by how many 6.2/6.5 engines that people have put ARP head studs in, that leak. I have used head studs in other engines (not the 6.2/6.5 series) that the studs run into the coolant ports and have never had any issues with leaking. What is it about these engines that causes them to leak and why don't head bolts have this same issue?
Great question!
The early 6.2 was never built from GM to have a turbo. Because of the lack of power and torque it produced, people complained.
Because of the many early 6.2 diesels in production and complaints, there became a demand for a turbo. That’s when Banks introduced their turbo kit and ATS I believe.
The high compression on the early 6.2 with a turbo kit tends to stretch the bolts holding the heads causing head gasket failure.To fix that problem others use the Arp studs to prevent stretching.
Even with the Banks Sidewinders turbo kit only producing between 5-10 psi, over time there has been known and reported head gasket failure with the TTY bolts. ARPs studs will correct that problem if installed right.
However, coolant is very corrosive! ARPs thread sealer is not up to the job. The coolant will slowly eat away ARPs sealer. Also I have seen coolant pressures get up to 20 pounds or more, pushing the ARPs thread sealer out of the threads as well.
ARPs instructions say to use only their sealer or it will void warranty even though it is a crap product. I think they might have updated their sealer but there are old new stocks of Arp studs for the 6.2/6.5 head floating around in the market.
In my case, I bought the cheapest Arp studs I could find. I picked up an old new stock product and got their crappy thread sealer.
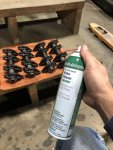
If you google Arp stud failure, it’s not just in these old diesels. They are happening to many other different types of motors. In the hot rod world they are used a lot but with different applications such as ultra gray. Optimum Black is one of their newer sealers I thought I should try because of its oil resistance, high temp 500 degrees, corrosive resistance and its elasticity.
But we shall see!
Here is a great read! A must read for all interested in turboing a 6.2/6.5. He has a list of sealers that have been known to work.
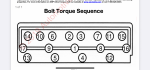
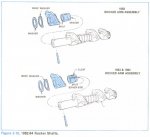
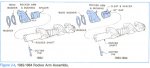
Installing ARP 6.5 Head studs is a must for consistent, long lasting high torque and horsepower in your GM diesel. We show you first-hand how you can do it here…
www.65turbogarage.com
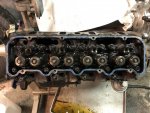
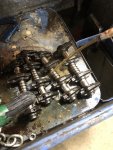
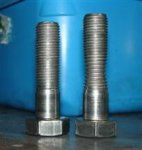
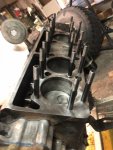
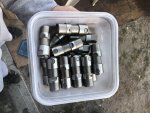
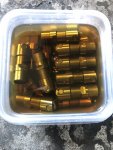
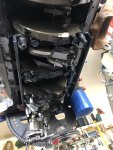
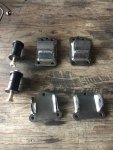
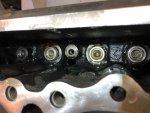
To answer your other question, TTY bolts are great! On the lower compression 6.5 motors that don’t go repeatedly above 15psi boost especially! The TTY bolts stretch as it reaches its tty limit. As it stretches, the threads on the tty bolts tightly fill in the threads on the block making a super tight leak free bolt. Also with a clean flat surface from the bolt head, there is no washer or any gap for the fluid to seep threw.
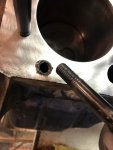
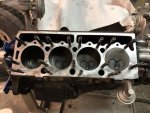
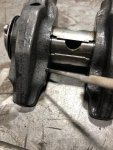
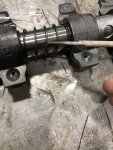
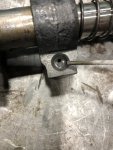
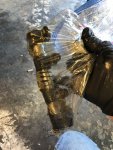
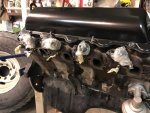
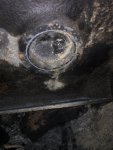
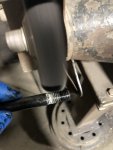
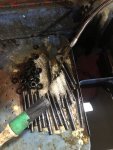
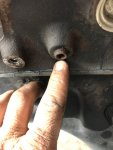
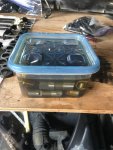
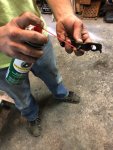
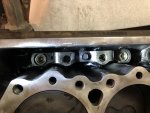
Looking at this picture I provided, you can see the threads on the tty bolts have expanded which in return would fill in the thread gaps on the motor.
I do want to add that even the ARP studs can not stop a high compression motor from blowing a head gasket.
One of my friends that has tinkered many times with ARPs, 6.2’s and turbos informs me that the high compression and high boost 20+ will pull the Arp Studs right out of the block, damaging all the threads in the block.
So before turboing an early 6.2 one must know the limits of the 6.2’s boost pressure. I feel safe to say that any boost 8psi-15 psi the early 6.2 should have Arp studs in them.
I don’t know anyone that has over 100k + miles on a early 6.2 with TTY bolts and a turbo that has not had any head gasket problems.
If my information is incorrect and someone out there has an early high compression 6.2 with tty bolts and had been turboed a whole 100k+ miles with no head gasket issues, please chime in and correct me without prejustice.


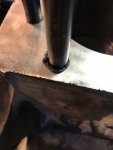
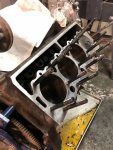
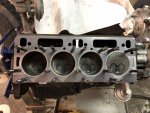
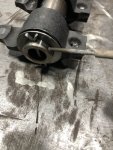
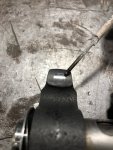
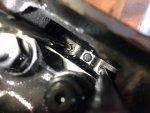
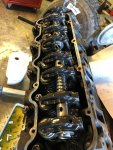
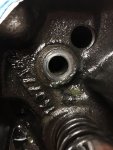
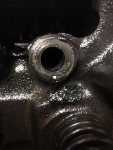
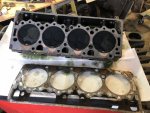
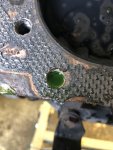
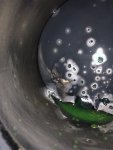
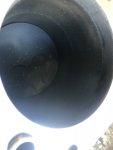
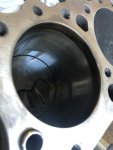
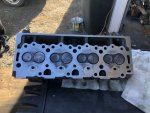
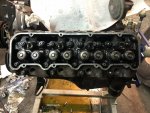
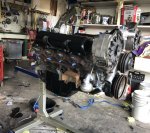
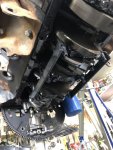
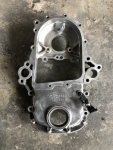
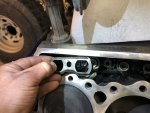
 dark spots on deck indicate water seepage.
 uncleaned
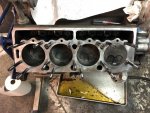
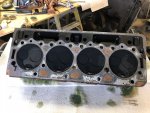
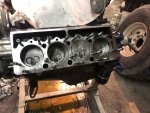
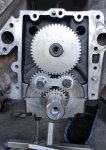
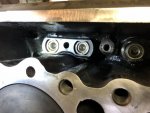
 already "deck honed"


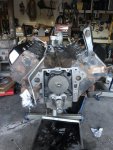
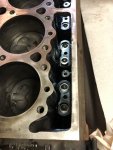


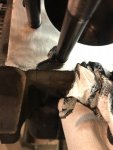
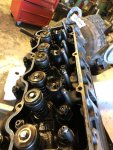
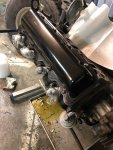
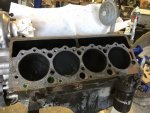
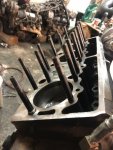
") Again...
Again...