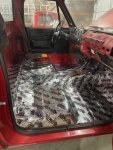
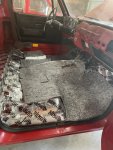
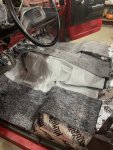
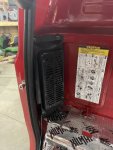
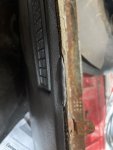
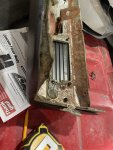
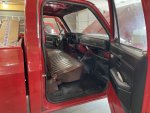
It’s been a little while since I posted but have slowly chipped away at the interior. I originally ordered sound dampening/matting from LMC but I wasn’t impressed so I ordered Kilmat instead. I’m still going to use the LMC heat insulation but it seems odd that there’s a spot of padding missing on the drivers side. Overall wouldn’t recommend this stuff. I also changed out the headlights to LEDs and worked though an issue I had in this post.
My new LED headlights came in today so I figured I’d install them to see how they are. I went with the Phillips H6054s. Well I got them hooked up and all was well for a minute until I switched back and forth from high to low beams a couple times. That’s when the drivers side went out. I...
www.steelsoldiers.com
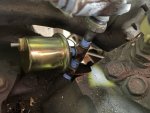
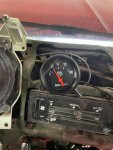
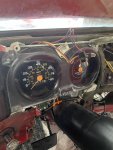
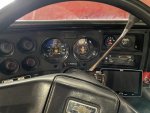
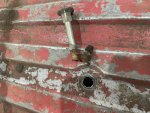
I took apart the dash and cleaned up the instrument cluster and changed out those bulbs to LED as well. And lastly got an auto meter oil pressure gauge hooked up. Put a “T” on the current pressure gauge sender and installed the new one there. It seems to be slow on responsiveness but I only ran the truck in the garage for 10 mins with revving it briefly so I’m sure that’s probably part of the reason for that. Had about 25 psi on normal idle.

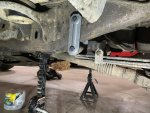
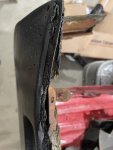
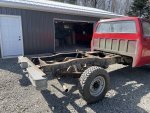
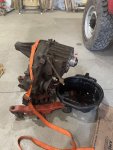
 Probably would either get a spreader or remove the axle from the truck for better access if I had to do it again!