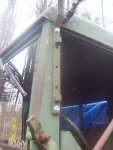
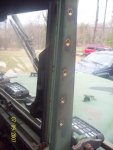
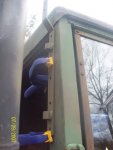
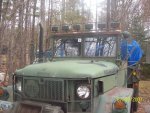
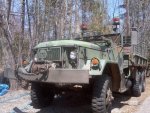
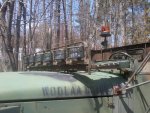
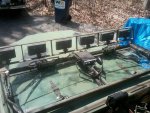
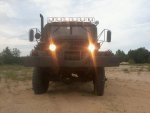
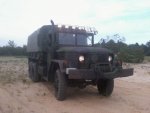
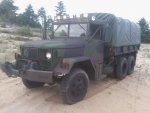
Made a lot of progress today, started with the right side bracket.
At first I used clamps to hold the bracket in place as I drilled the 5/16 pilot holes but I later found out that the bracket moved and caused one of the holes to be out of alignment. Pretty simple fix, just reamed the hole on the bracket a bit and it was good to go.
Once all the pilot holes were drilled I stepped them up to 9/16 for the Rivnuts, after a bit of de-burring I painted the holes and let them dry.
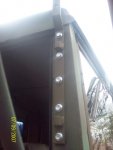
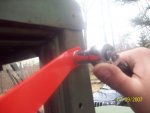
The Rivnuts went in pretty easy and my tool worked great. I would definitely recommend making your own tool if you only need to do a handful of these, I just couldn't justify spending big bucks on a tool for hardware I may never need to use again.
The Rivnuts I had were flush profile so there would be no gap between the windshield frame and the bracket.
After all of the nuts were in place I shot a quick coat of paint over them to hopefully keep them from rusting.
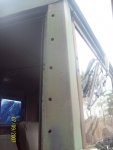
On the Left side I got smart about how I did the holes, I completed the top and bottom nuts before I drilled the pilot holes for the middle three. This way it was nearly impossible to drill anything out of alignment. I repeated the quick coat of paint and installed the brackets.
I can tell you this, these mothers are not going anywhere. Very secure fit and will withstand some pretty tough conditions.
I'm really glad I decided to go this route, my original intention was to use big machine screws but I feel a lot better knowing it was done right.
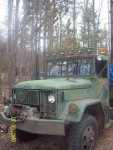
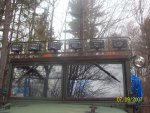
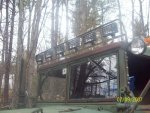
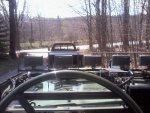
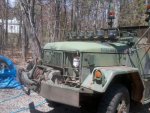
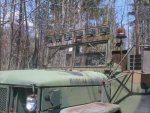
Finally I mounted the bar, looks pretty neat but I think it's going to take some getting used to.
(pay no attention to the date on the pics, I was using an older camera)
Next up, getting her wired up.
-GM


