• Steel Soldiers now has a few new forums, read more about it at: New Munitions Forums!

  • Microsoft MSN, Live, Hotmail, Outlook email users may not be receiving emails. We are working to resolve this issue. Please add support@steelsoldiers.com to your trusted contacts.

Fresh Resto 5 M1009

82ABNMP

Active member
Steel Soldiers Supporter
556
53
28
Location
Winston Salem NC
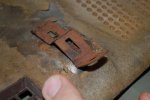
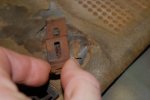
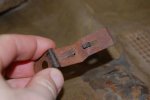
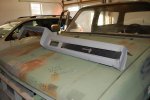
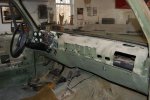
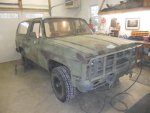
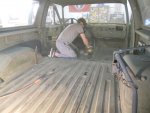
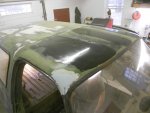
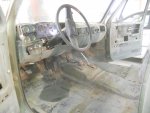
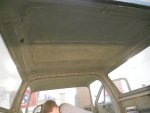
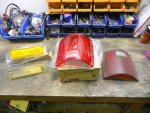
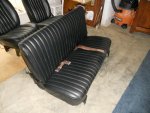
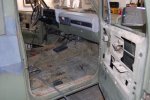
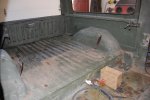
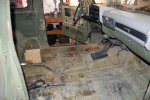
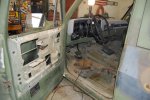
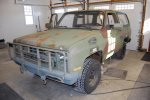
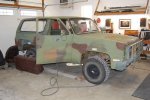
New M1009 in the shop getting a full cosmetic restoration for a customer so I thought I would show you some in progress pictures. He wants it grey inside and out, with the black interior. It should be real nice. 66K miles and lots of new parts from the military.

David
 

Attachments

82ABNMP

Active member
Steel Soldiers Supporter
556
53
28
Location
Winston Salem NC
M1009

Thanks, I hope I can help some guys out. This is after 8 hrs of deconstruction. Next, take out the dash pad, side kick panel vents, sun visor, all the rest of the interior trim. I also, took the time to take off the rear tailgate access panel and lube the rear window crank. Also, lube the door hinges, and anything else that you can now before you start the sanding and painting.

David
 
Last edited:

A-10AV8OR

New member
3
0
0
Location
MD
My schedule has been hectic lately. When it settles down I will contact you about a m1008 resto. Anxious to see the grey!
 

82ABNMP

Active member
Steel Soldiers Supporter
556
53
28
Location
Winston Salem NC
Dash

Got the dash out and the rest of the interior. For those who don't know how the dash goes in/out. It's very easy, the dash is held in place with 4 screws that run across the bottom edge of the dash pad, take these along with the (1) screw on the passenger side end and the screws in the gauge cluster and the pad comes right out. Just lift the front and pull out toward you. Then turn over and you can see the clips that hold the dash in. These are a little tricky to install/take out of the dash. If you are putting in a new dash pad you will need these. They way to get them out without breaking them (because they are rusty and brittle) is to use a flathead screwdriver and pry the flat end up while at the same time twisting the clip 90 degrees. Install them in the reverse process. David
 

Attachments

Last edited:

82ABNMP

Active member
Steel Soldiers Supporter
556
53
28
Location
Winston Salem NC
m1009

Guy's sorry to let this build get cold. I have had a VERY busy week at work and will get back on the M1009 this week, David .
 

82ABNMP

Active member
Steel Soldiers Supporter
556
53
28
Location
Winston Salem NC
Progress

Ok, got some work done on the truck. Had to call in the sanding monkey to help (kid next door). Sanded the whole truck patched the holes and smoothed out the holes and any surface rust pitting with the body putty. Applied POR15 to any rust and surface scale (on the roof). This stuff works great no pinholes and it’s easy to sand smooth. Also, ordered my parts and you can see the huge difference between the new tail light and side marker lenses to the old ones. I had the seats recovered and got them back, they look good, now another day sanding then prime and paint. :grd:
 

Attachments

Last edited:

ssdvc

Well-known member
971
639
93
Location
CT
This is one good looking truck in person. By the looks of her as she sits, this oh9 was extremely well cared for and maintained. Minor (and I mean minor) surface rust only. And those panels are uber straight. I think the gray will look really good with the windows tinted.

You do very thorough restoration work !!!!!!! I can't wait to take her home !:beer:
 

82ABNMP

Active member
Steel Soldiers Supporter
556
53
28
Location
Winston Salem NC
Parts

Parts are from LMC, and the seats are custom covered by a shop near me. :D

This truck will be REAL nice...maybe I should keep it...:razz:

David
 

ssdvc

Well-known member
971
639
93
Location
CT
Come'on now Dave, you are selling that fine lookin machine to me. No take backs !

I called it first !!:jumpin::mrgreen::jumpin: LOL !

It is nice, very nice.
 
Top