- 1,949
- 1,665
- 113
- Location
- Laramie County, Wyoming
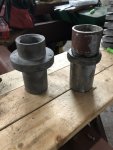
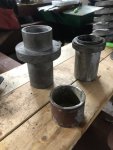
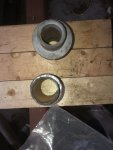
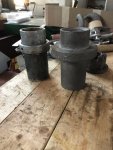
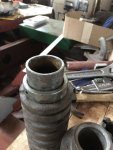
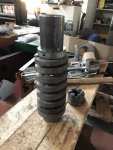
I’m going to have to scrounge into my unbelievable pile of miscellaneous stuff. That’s a good idea. It’s better than the ideas I came up with: machine one out of a billet of steel or forge(?) one. Problems with my ideas: I don’t have a milling machine to make one, nor do I have the materials necessary to forge one. I like your idea much better.I just checked my truck, and found that I do have two sleeves as indicated. I only remembered one...
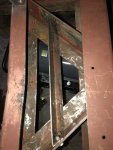
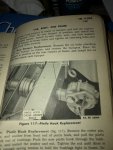
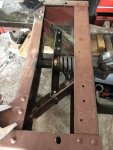
Could you fabricate one with a short length of pipe and a 1/2" or 5/8" thick steel "donut"??
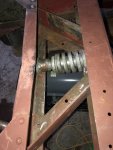
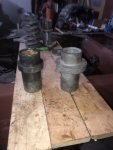
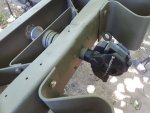
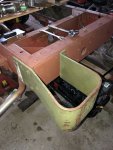
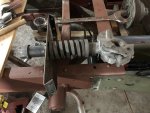
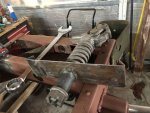
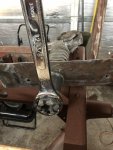
One other idea came to mind, on 2 1/2 ton truck pintle, there’s a couple pieces that would be used to bolt the pintle hook to the frame. I don’t want to start drilling extra holes into the frame but if I install them on the shaft, they can help hold everything in place.