rlltide12
Member
- 227
- 1
- 18
- Location
- NW Florida
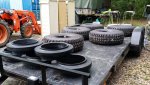
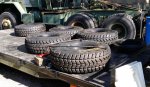
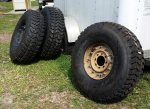
Easiest way to get those out is to tie a strap to them and tie the tire to something and pull them out with a truck. I did it to a set i have
Steel Soldiers now has a few new forums, read more about it at: New Munitions Forums!

I saw that being done on Youtube. It reminds me of pulling a calf out of a cow. (Incredible Dr. Pole) If I was going to keep the tires I would have done that. However, the tires were trash and it took 15 minutes to do all 5 my way. I bet it took at least 15 minutes each to do it your way.Easiest way to get those out is to tie a strap to them and tie the tire to something and pull them out with a truck. I did it to a set i have
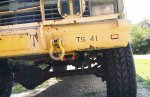
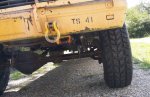
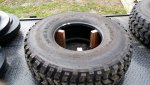
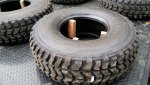
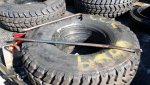
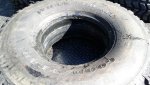
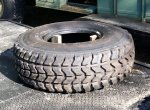
Yes they are except for the beads. That is why I cut the sidewalls near the tread as seen in the picture. I use a fine tooth metal cutting jigsaw blade. It was so fast i could not believe it! I just drilled a 1/2" hole and went in both directions with the saw. I made sure the run flats were slid to the bottom and out of the way.Hadnt thought of it that way haha i only had to do two and i was trying to save the tires. Are the sidewalls as thin as people say?
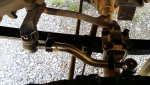
Thanks for the info.Sorry that was "you CANT remove the throttle pump without removing the intake manifold"...
In my opinion they did. When we installed them in it took 2 people to get them in. Sitting in the LA sun for a few days allowed the beads and sidewalls to expand out. It allowed me to get the run-flats in easier. (when I removed the blacks the side walls only moved a little and there was a significant gap between the beads compared to the way they were when we started)Did the blocks do any good?
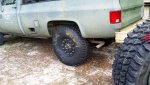
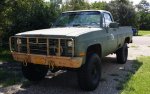
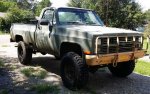
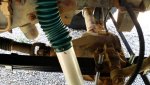
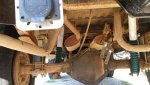
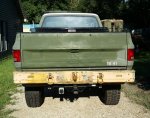
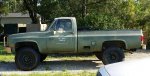
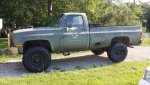
Have you figured out what leveling kit you are going to use up front?